Monday, July 28, 2014

Setting Up Your Week in Your Erin Condren Life Planner

After my post last week about making your ECLP perfect for you, I received many requests to create/write a follow up post on how I set up my weekly layouts. Now, please understand that while this is a perfect system for me, it took me time to get my system set up like I like it! So if it doesn't work for you on the first try, give it some time and experiment with it! However, I will definitely provide you with a step-by-step of how I set up my weekly layouts.

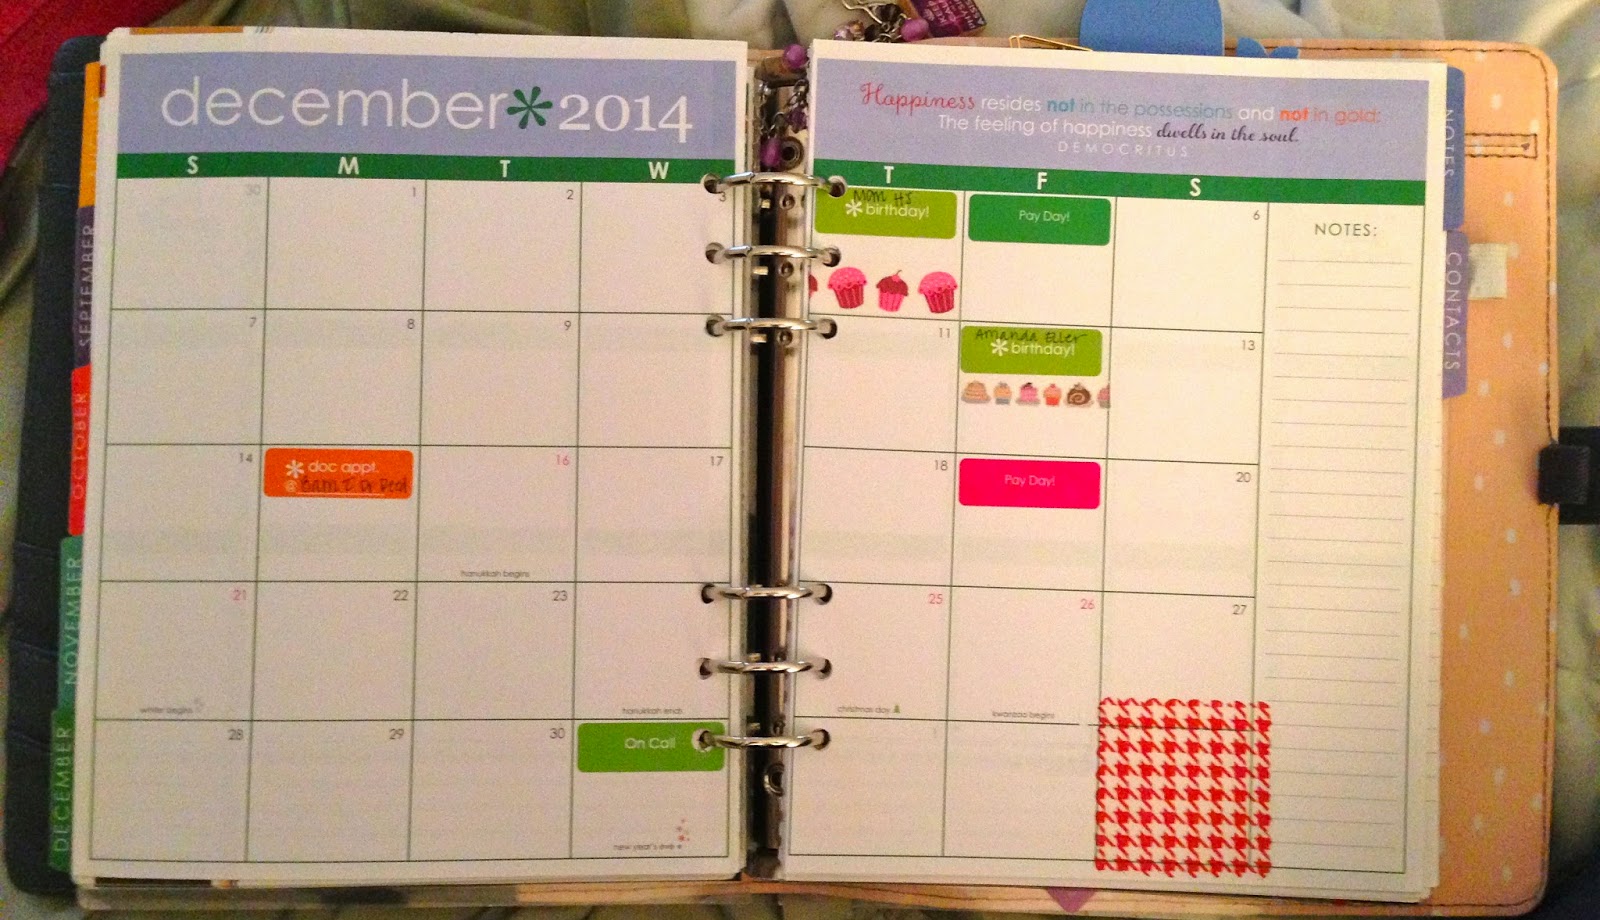
1. I generally put recurring dates in my planner in the monthly layouts as soon as I get the planner. These "recurring dates" include (but are not limited to): birthdays, anniversaries, pay days, etc. Other important dates I include in my weekly view are: weddings, days off work, Saturday work days, weekends my stepson visits, J's retreats/conferences for work, my conferences. I try to keep my monthly layouts a simple as possible so that I don't go cross-eyed trying to figure out what date something is happening on when I transfer it to the weekly views. It's not a perfect method, and some things do get missed. However, I have gotten used to my system and very few items are missed or skipped (actually, none recently!).

2. I start out by putting important dates for that week on a sticky note. I add to it as I get closer to the week, as my work schedule is given to me, or as events/trips/etc. are brought to my attention. I received these cute little iPhone sticky notes as a gift, but I believe someone said she was able to find them at Walmart.
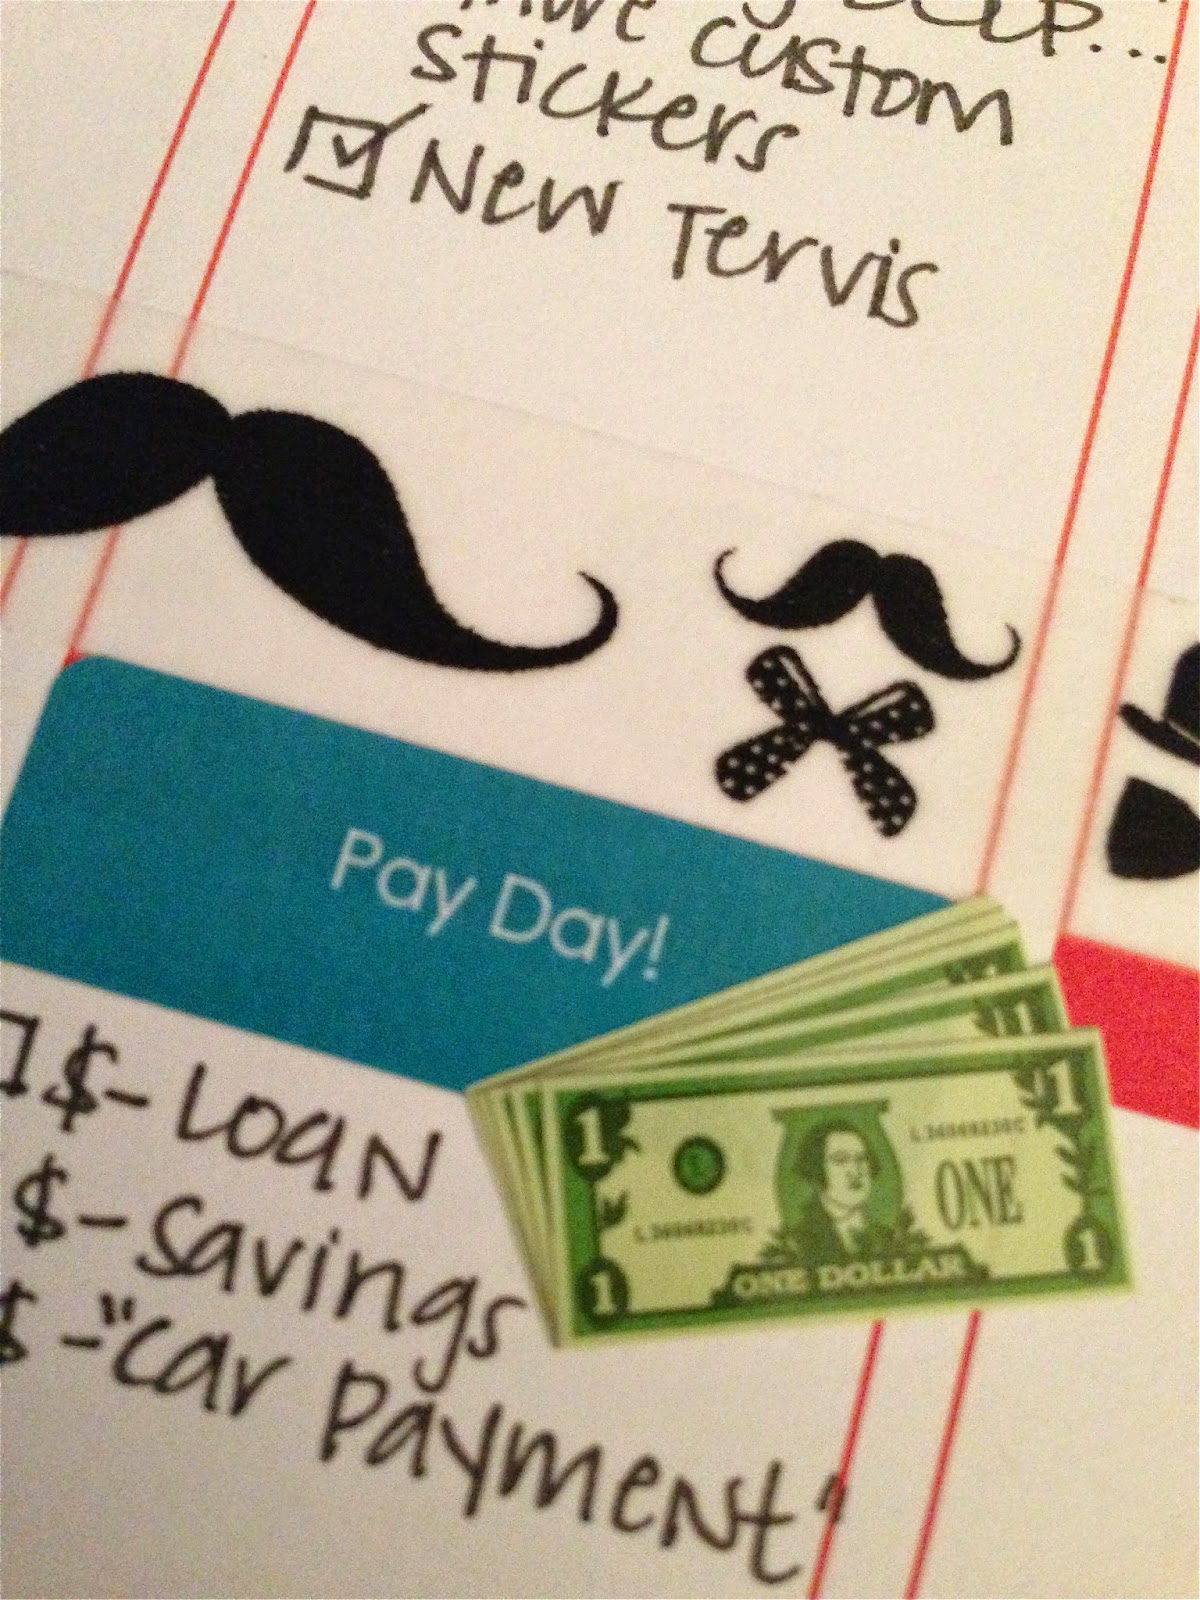
3. I then start by adding stickers for work days off, Saturday work days, birthdays, etc. I generally put these at the top of the column for that day (yes, it does cover the "morning" label). You can see below where I have already added in my "Day Off Work" and "Saturday Work Day" stickers at the top of the applicable day. I generally place my Pay Day stickers over the night section on Pay Day to allow myself room for a checklist of where money needs to go: bills, loan payment, savings, etc.
SIDEBAR: Several people have asked me "How do you determine what you use a sticker for and what you just write in?" I've come up with a "sort-of system," meaning that I sort-of have a system and I sort of do whatever I feel like. I've ordered custom stickers from EC for things that occur regularly for me: my stepson's visits, Bible study, Delivery Days, Errands to Run, Conferences, J on Retreats. Obviously, when those events occur, I already have stickers for said occasion, and I can just utilized those. Now, for events like weddings, parties, showers, etc., I use EC's pre-printed stickers. Important events/things I don't want to miss or forget, I add in on a sticker, so that it stands out more from other things on my to do list (ex: applying/getting a marriage license). Also, for things that I want to do/make sure I don't forget that I have a fun applicable washi tape, I use stickers and my coordinating washi tape (Ex: mani/pedi and Finalizing my honeymoon Itinerary!). Most of the more everyday life kind of things, I just write in with little check boxes beside them - we'll get there, I promise!


4. Add in events that will occur over several days. For me, this is marked off with washi tape and a sticker/label. This includes when J travels for conferences or retreats, when we are out of town, or when we have my stepson for several days. Generally, it looks something like this:
5. I then add in my work schedule, using washi tape to cover the "morning" and "day" labels to write down where I'll be each morning and afternoon for work, since it varies daily, weekly. Once that is done, I figure out what stickers/washi tape I have that correspond to what I need to do that week. If I have corresponding washi, I use a label sticker. If I have a sticker for it, I hand write it in. Other, more day-to-day to-do lists are just hand written in. I then decorate with fun stickers: fruits, whales, hearts, etc. 
The best advice I can give you is to have fun with it! Play around and figure out what system works best for you. Just because it makes my life easier doesn't mean that it will work best for you! Enjoy decorating and figuring out your own system! :)

Tuesday, July 22, 2014

Stepping Into Stepmom-Dom: Ripping Off the Bandaid

T is obsessed with wearing bandaids now. And not just while there is a scab. He continues to wear a bandaid on the area until the scar has faded! Want my advice?! Go buy stock in Bandaid brand. I'll single-handedly drive up the stock value just from the amount of Bandaids I buy for this kid. I understand the fear associated with taking a bandaid off while a scab is still in place. What if it hurts? What if it bleeds? As a 4 year old, I can see where that could be scary. What I don't get is the fact that he insists a bandaid stays on once the scab is gone. Anyways, we've been working with him on taking off bandaids for bath time. Can you say "lead balloon?" He's not too thrilled with us, and he generally whimpers and whines through bath time. Then he insists on a new bandaid after he is out of the bath. Frus. Trating.

It did make me stop and think the other night about something, though. As adults, we don't generally apply bandaids to our physical wounds (unless they are really bad). We generally have more emotional scars or wounds - that we don't often deal with. We sweep them under the rug and ignore them, saving the problems and monsters in our closet for another day when we have time to deal with them. We do this without realizing what effect this has on our family, our kids, or even our co-workers. We think we can shove emotion down into the corners of our lives and everyone in our life will be none the wiser. Think again. Kids are incredibly intuitive. I have seen many situations personally where children act like their parents are acting - without the parent even realizing it! When T's mom was uncomfortable around me, T picked up on it. And when I was with J during pick-up or drop-off, T was shy and almost anxious or afraid around me. His mom was never outwardly rude to me, but he sensed her discomfort and mimicked it.

Remember: just because you think you have it under control doesn't mean someone else isn't noticing what you are doing. So please, as a parent, friend, coworker, rip the emotional bandaid off. Take some time. Maybe it's after your kids go to bed one night. Forego the laundry or the dishes or whatever else is on your to-do list, and rip the bandaid off. Then let it go (sing with me now, Frozen fans!). You'll be amazed at how much less stressed you will feel. Isn't it amazing what our kids can teach us?


Saturday, July 19, 2014

Making Your Erin Condren Life Planner Work For You

My original beauty. I *might* have purchased 2
additional covers. Shhhh!
Let's face it: sometimes there's not a perfect product on the market, but there's one that comes *this* close to perfection. So how to you purchase said "this-close-to-perfection" product and make it your own?! Well, if it's an Erin Condren Life Planner (ECLP), look no further! I'm obsessed with all products Erin Condren. The list of items/products I have purchased her is too long (and possibly embarrassing?) to list. Let's just say it's a slight problem. When I purchased my first LP 18 months ago, I was fairly "boring" with how I utilized it - black pen and some check boxes, nothing more. I didn't realize all the possibilities that you can create for yourself when it come to this amazing planner! I thought that there was a slim chance that someone else was feeling like I was - they had the perfect product and felt like they weren't utilizing it to its full capacity. So here is how I have made my ECLP perfect for me!

Let's Get Started!

1. Custom Stickers: EC herself provides you with an option to create custom stickers on her website. Want to mark Pay Day? How about Anniversaries? Look no further than your source for an ECLP! There are PLENTY of outside sources for custom stickers if you don't like the price tag of the EC custom stickers. Here's a list of my favorite sources for custom stickers (Click on Site Name to be taken to their page!): Sizemore Designs, Love Affair With Paper, and KrissyAnneDesigns! Your options are endless, but these are few of my favorite sites!
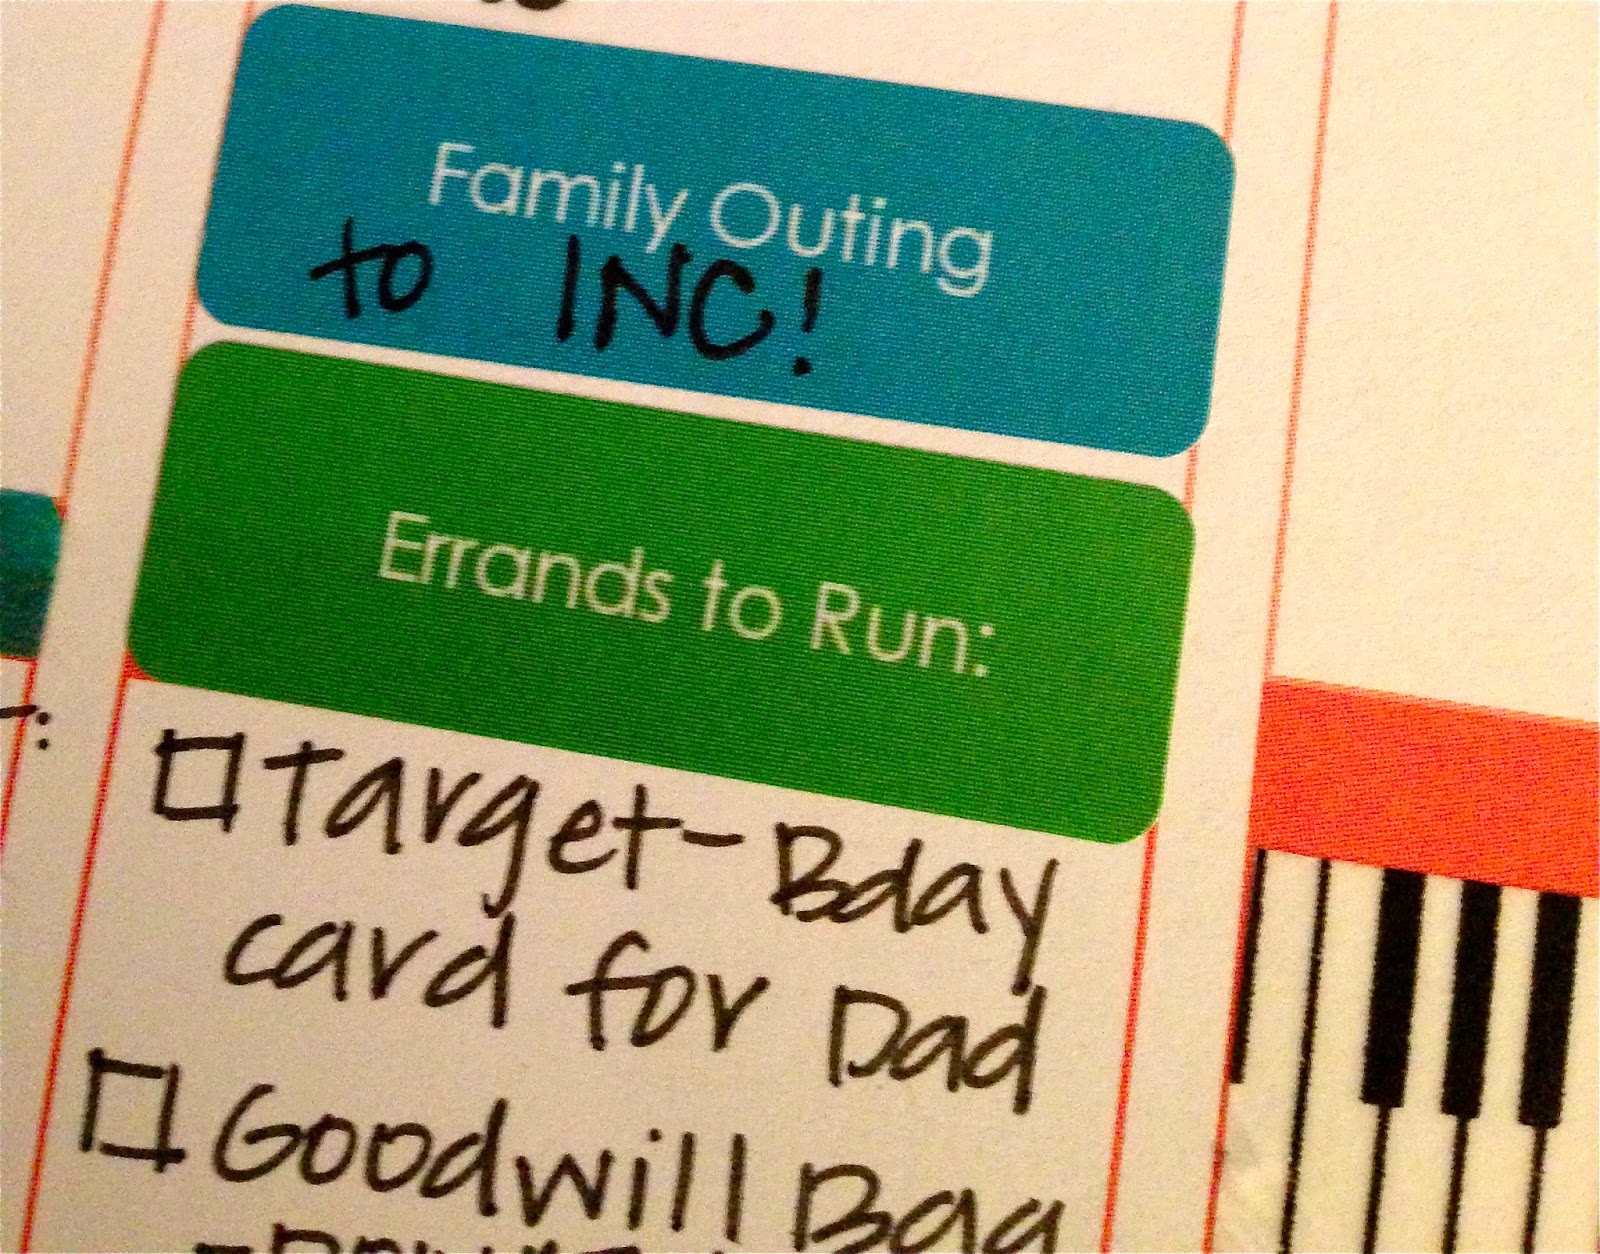
"Family Outing" and "Errands to Run" stickers from Erin Condren
2. Page Markers: EC has an adorable clear page marker that comes with the planner. I'm not a fan. That doesn't mean YOU won't be. I have a preference for other (adorable) means of marking my pages. Those include (but are not limited to):
  • Adorable coffee mug, animal, and weather kawaii paper clips, as found at KawaiiPaperie on etsy.
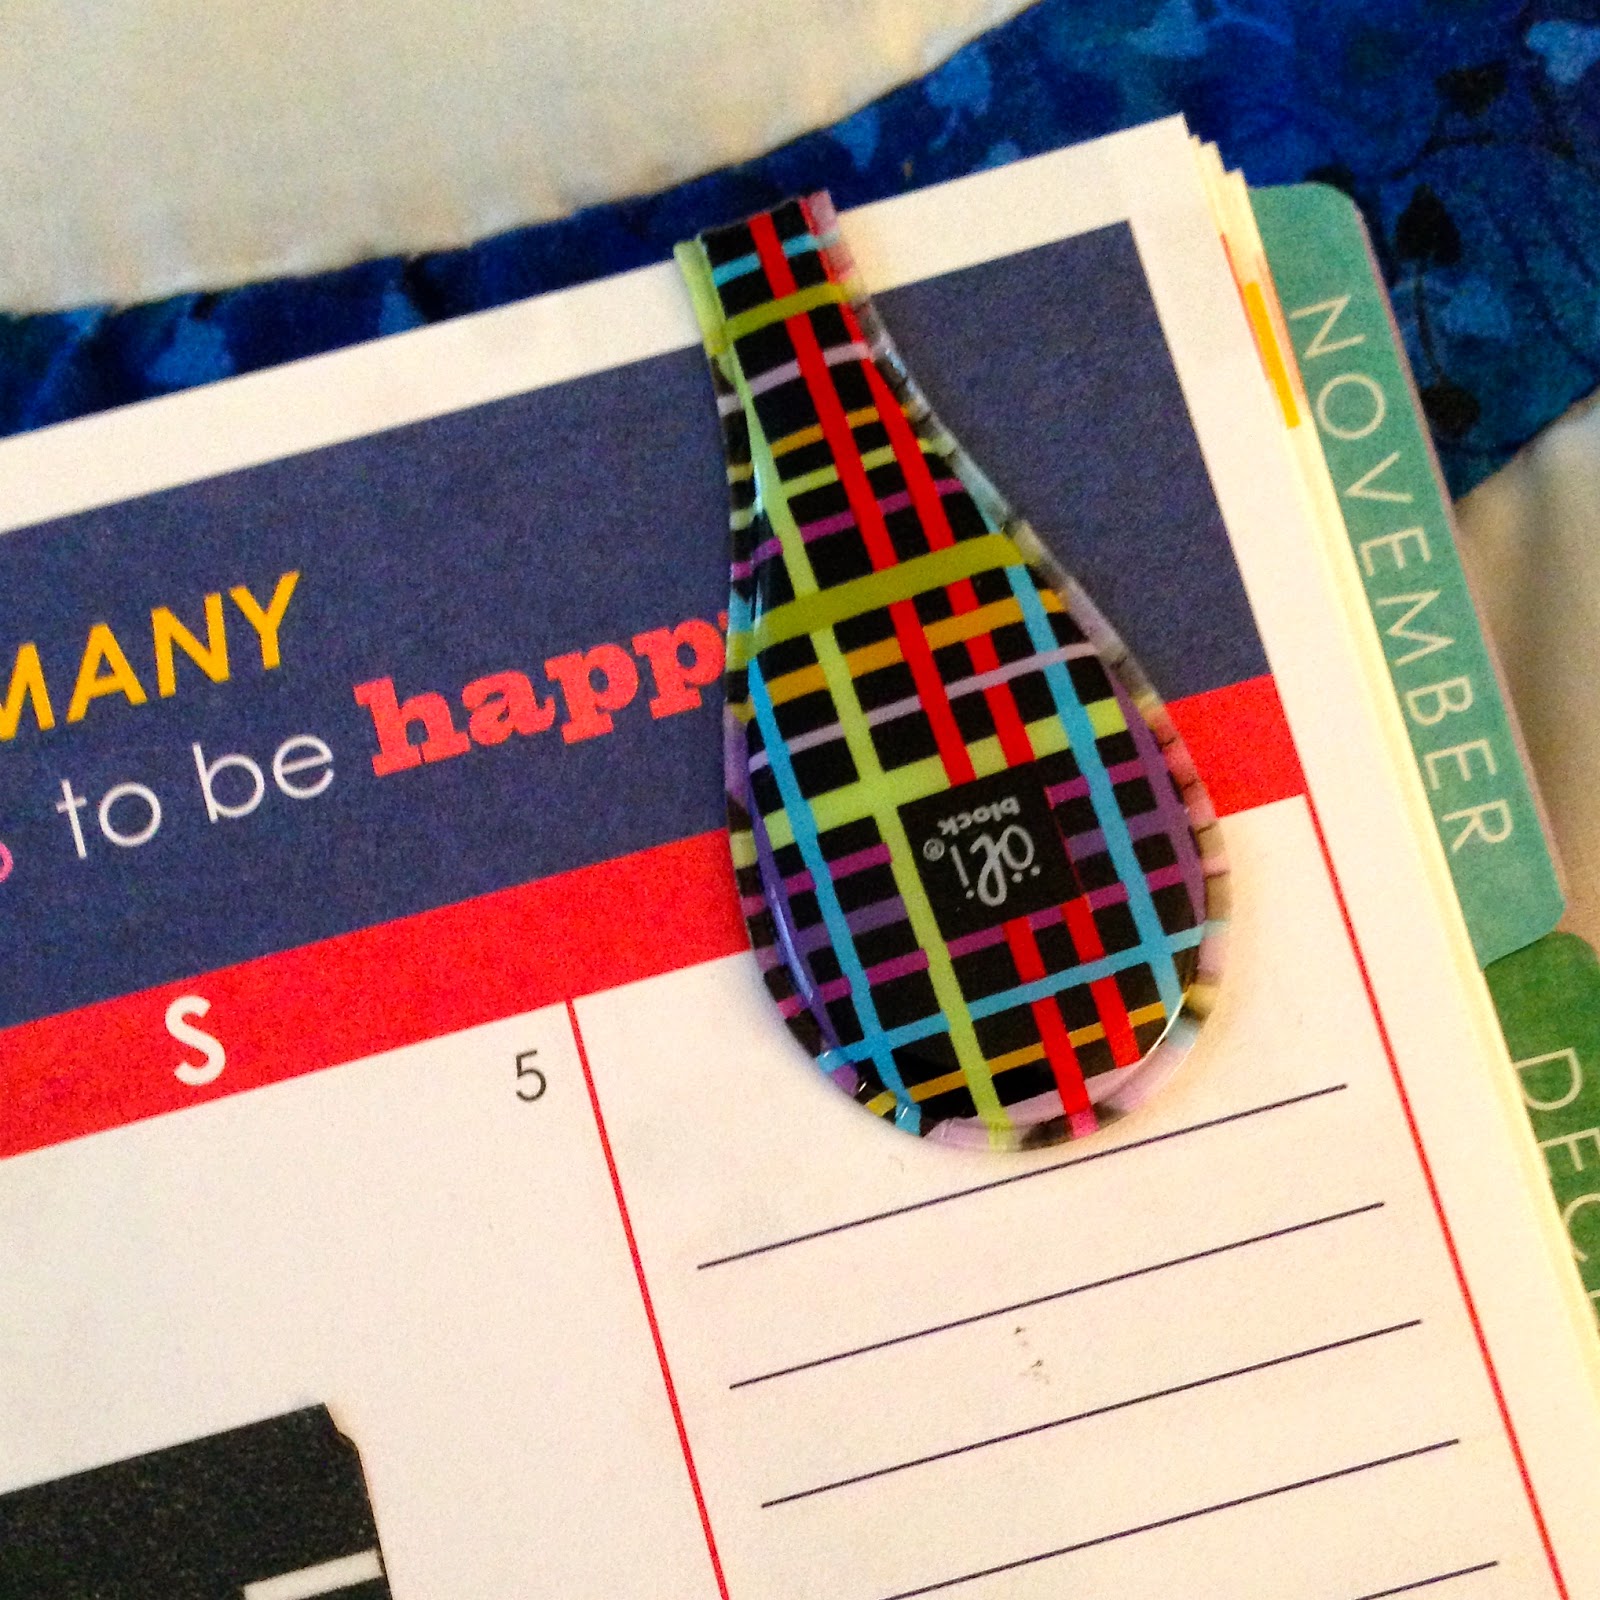
  • OliClips: Generally these gems are found at The Container Store, but there has recently been a shortage. Rumor on the street is that they will be available again on etsy soon, as well as in-stores again soon. Can't wait that long? Check out the facebook group "OliUClip by OliBlock."
One of the many cute patterns available on the OliClip
  • Want something cute, but simple? Check out these ribboned paper clips at MadeYouLookNovelities on etsy! 
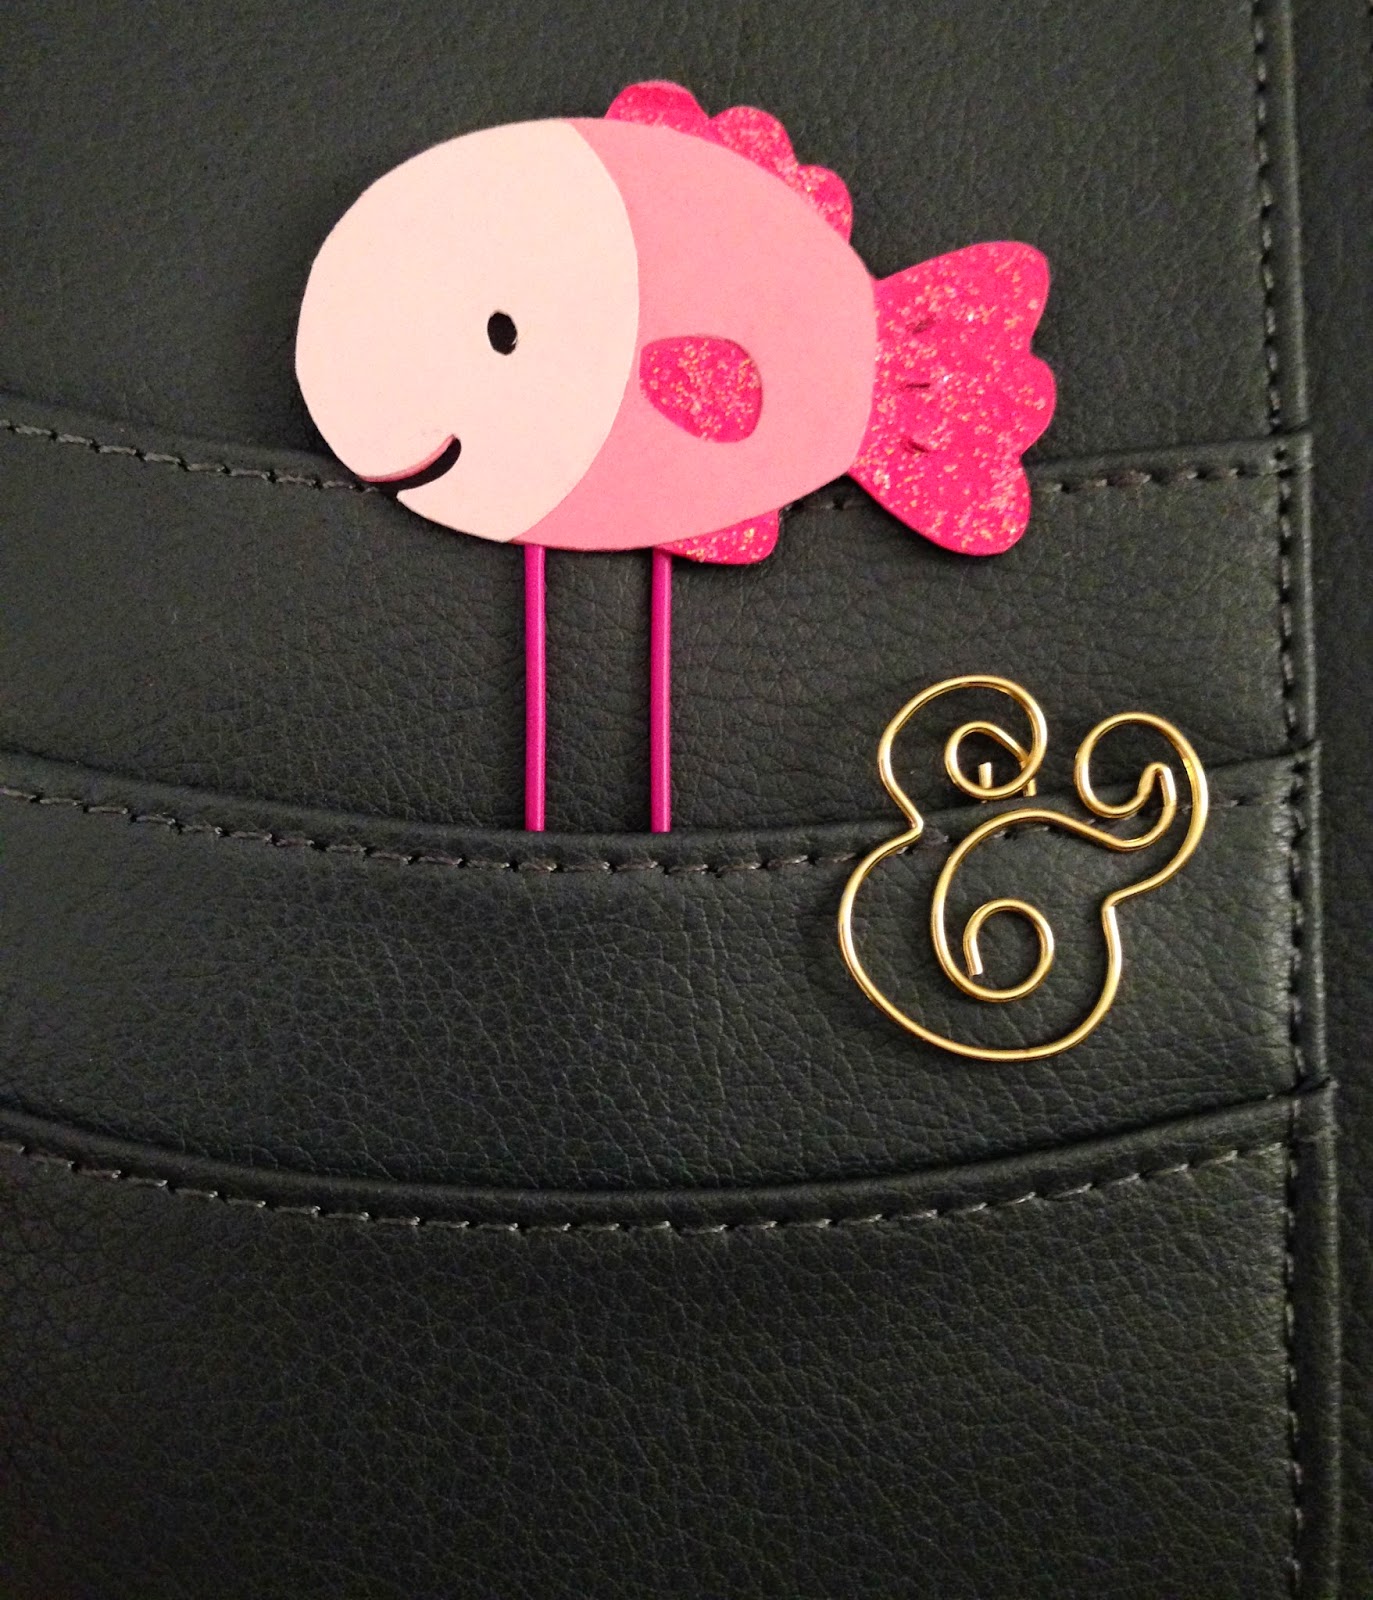
  • Kate Spade: Kate Spade makes some absolutely adorable paper clips! Bow shapes, ampersand, exclamation point...adorable! Find them on amazon or if you want just one, check out MyQueenBeeDesigns on etsy.
Fish from KawaiiPaperie and ampersand from
MyQueenBeeDesigns, both found on etsy.
3. Washi Tape: Watch out - it will become an obsession. Don't say I didn't warn you! It's starts with "Oh just these few rolls and I'll be set." Then it turns into "Oh, I need 15 shoeboxes to store my collection." You can use it to mark events that occur on more than one day (i.e. vacation, road trips, retreats, etc.), decorate your daily view, mark out a time you will be doing something (i.e. DIY project, napping, driving, studying, etc.). Oh - you want my favorite places to buy this new soon-to-be collection you will own?! Of course! Check out ACherryOnTop, Pikwahchan, Washi Tape Maniac, Mind the Wrap, and LightLife.

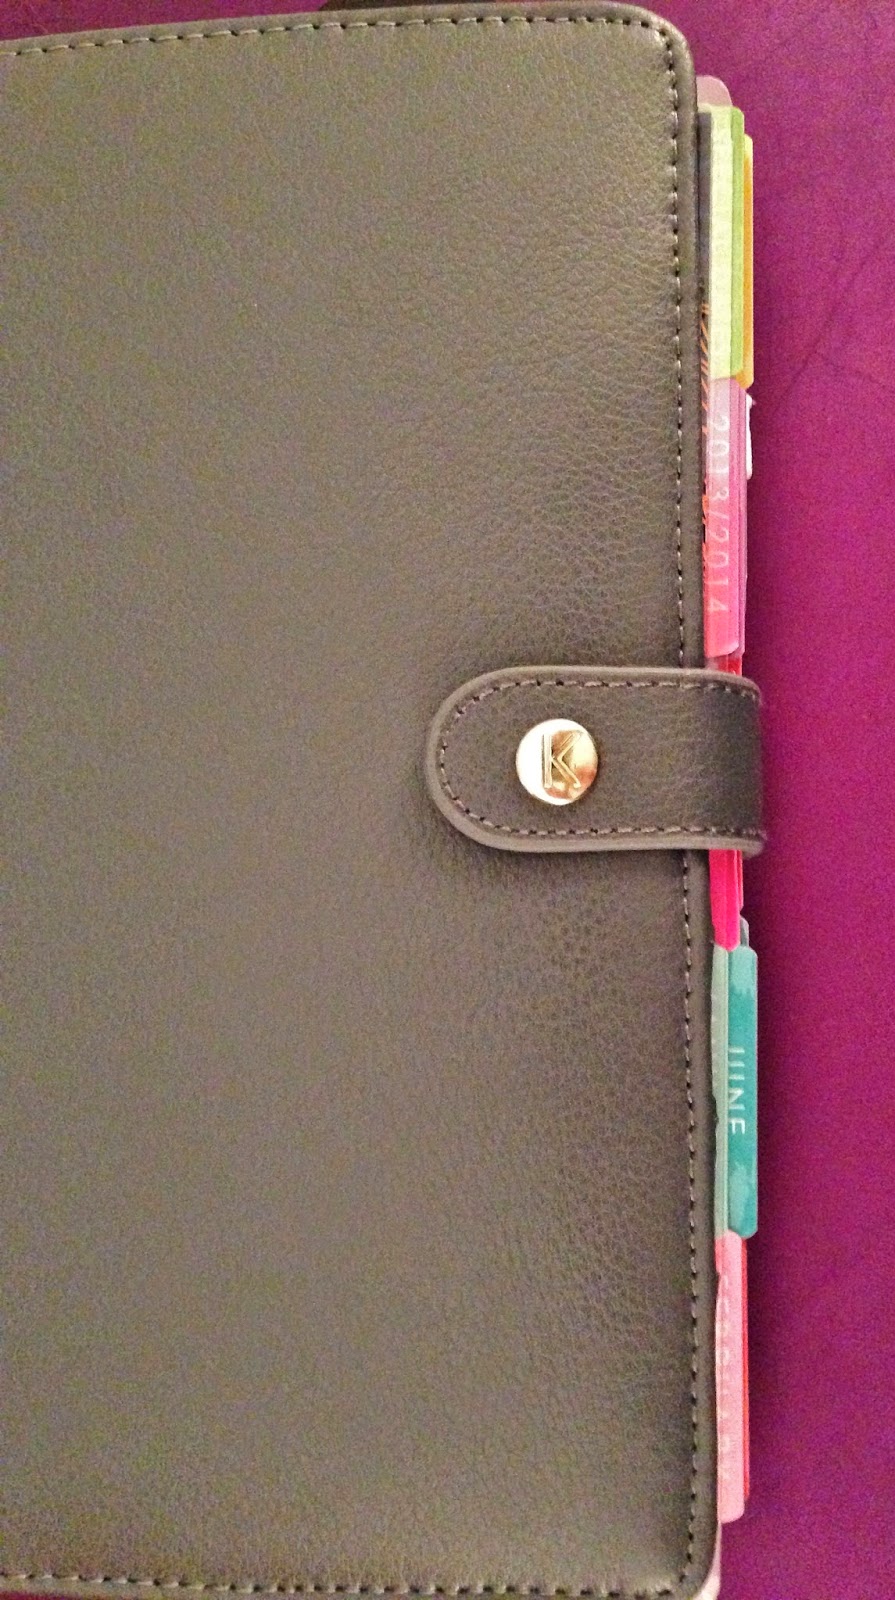
4. The Binding: I am obsessed with the spiral binding for the ECLP. But maybe that doesn't work for you. Check out Kikki K or Filfofax (A5 size). There's tons of tutorials on youtube on how to put your uncoil your planner, trim the edges off and punch it to fit into an A5 Filofax, place it in a Leather Personal Kikki K Planner, or use the Arc system. It doesn't matter what you choose to do - there are so many others who have done the same thing that you are bound to find a tutorial!
Example of my ECLP in a Kikki K
The tabs on my ECLP in a Kikki K.
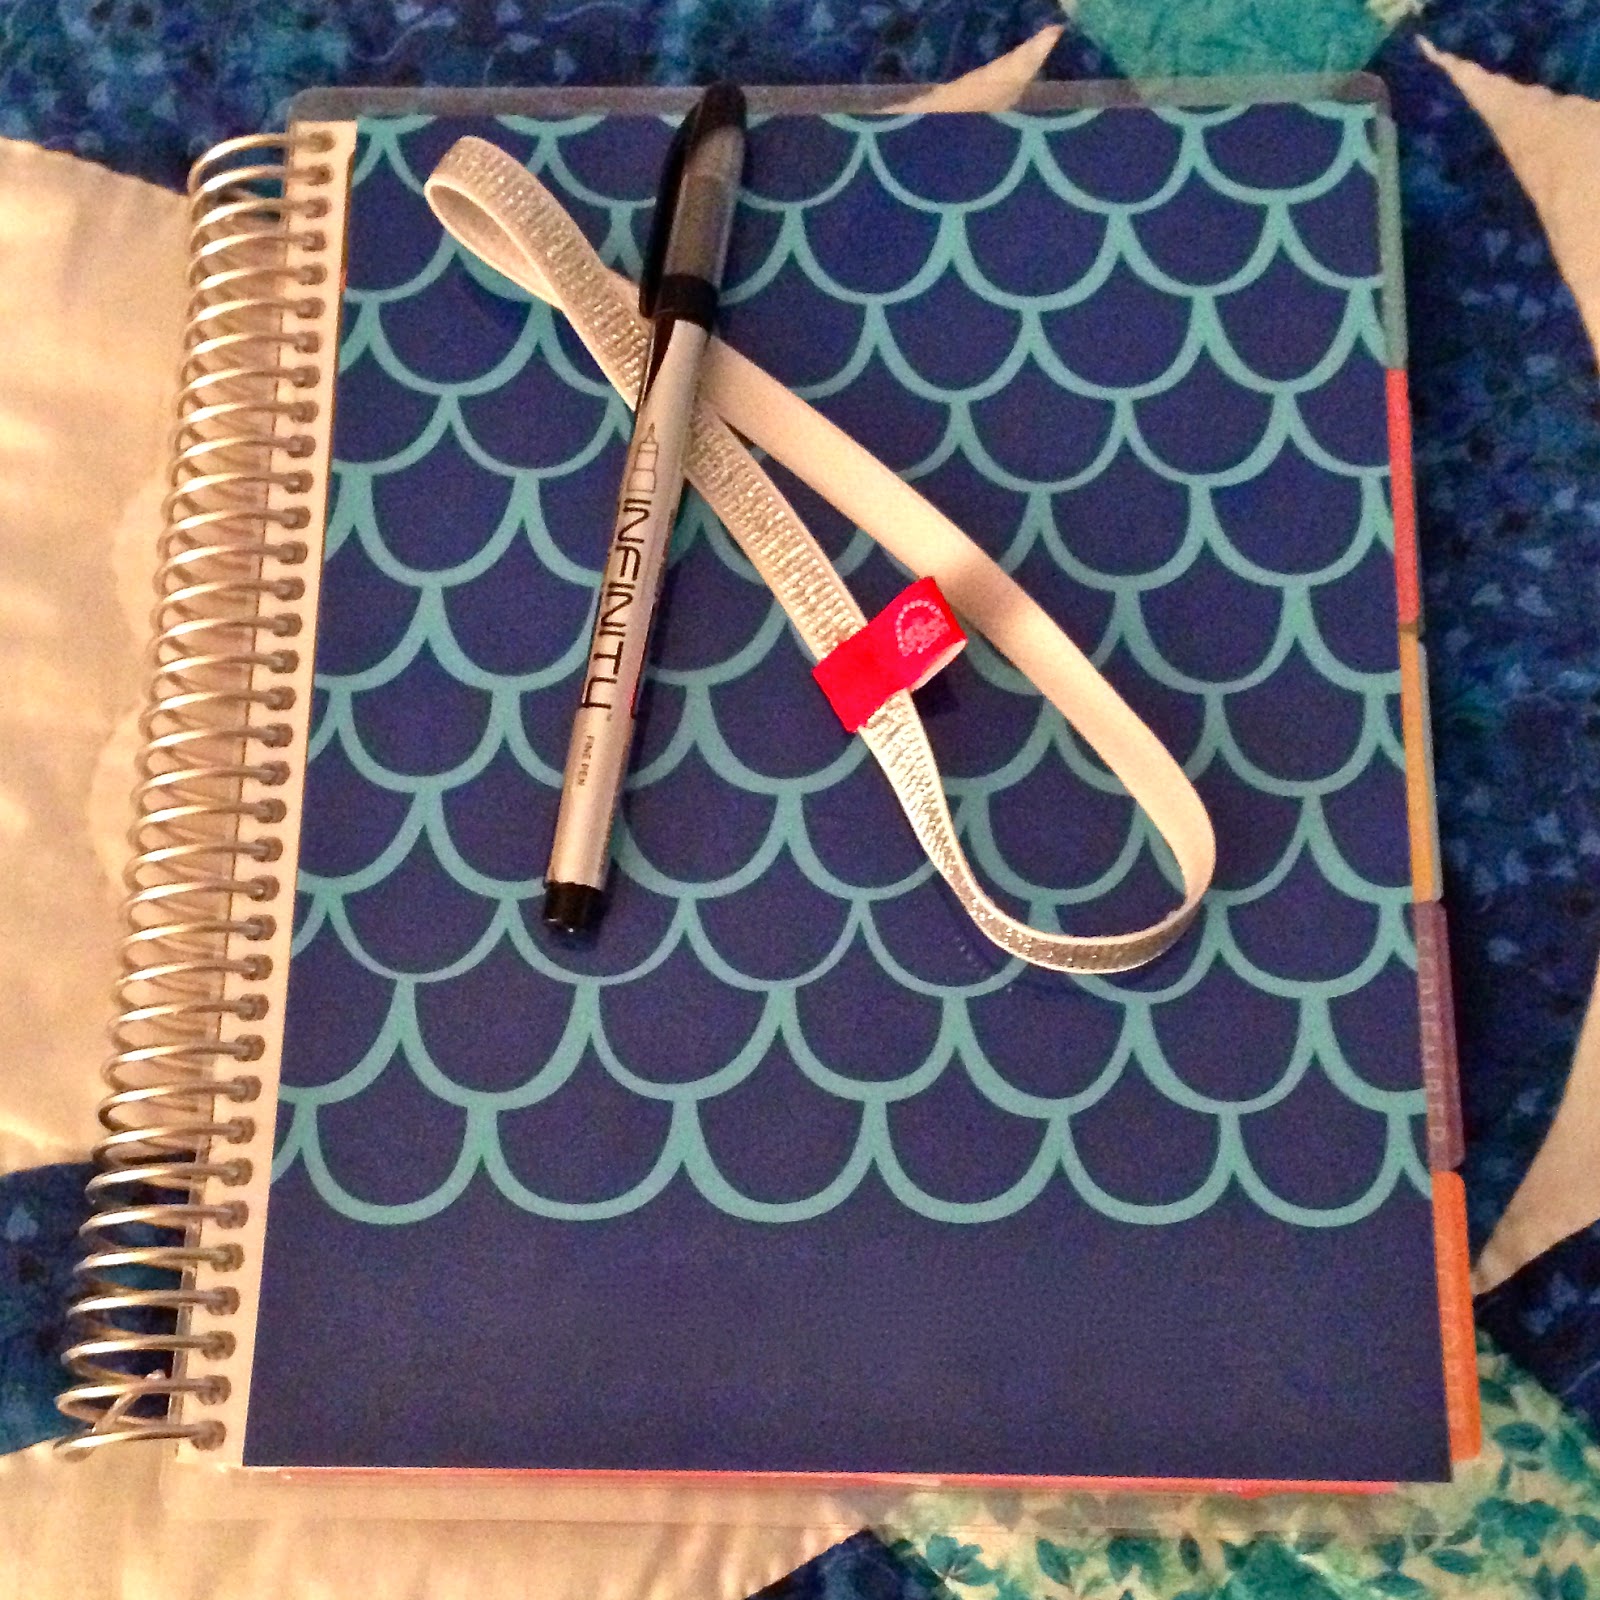
5. Colorful Pens: I love Papermate Flairs. They are colorful, but don't bleed through the page like some pens do. I also love the Infinity pens, as well. They are also great for the ECLP and don't bleed through the page.

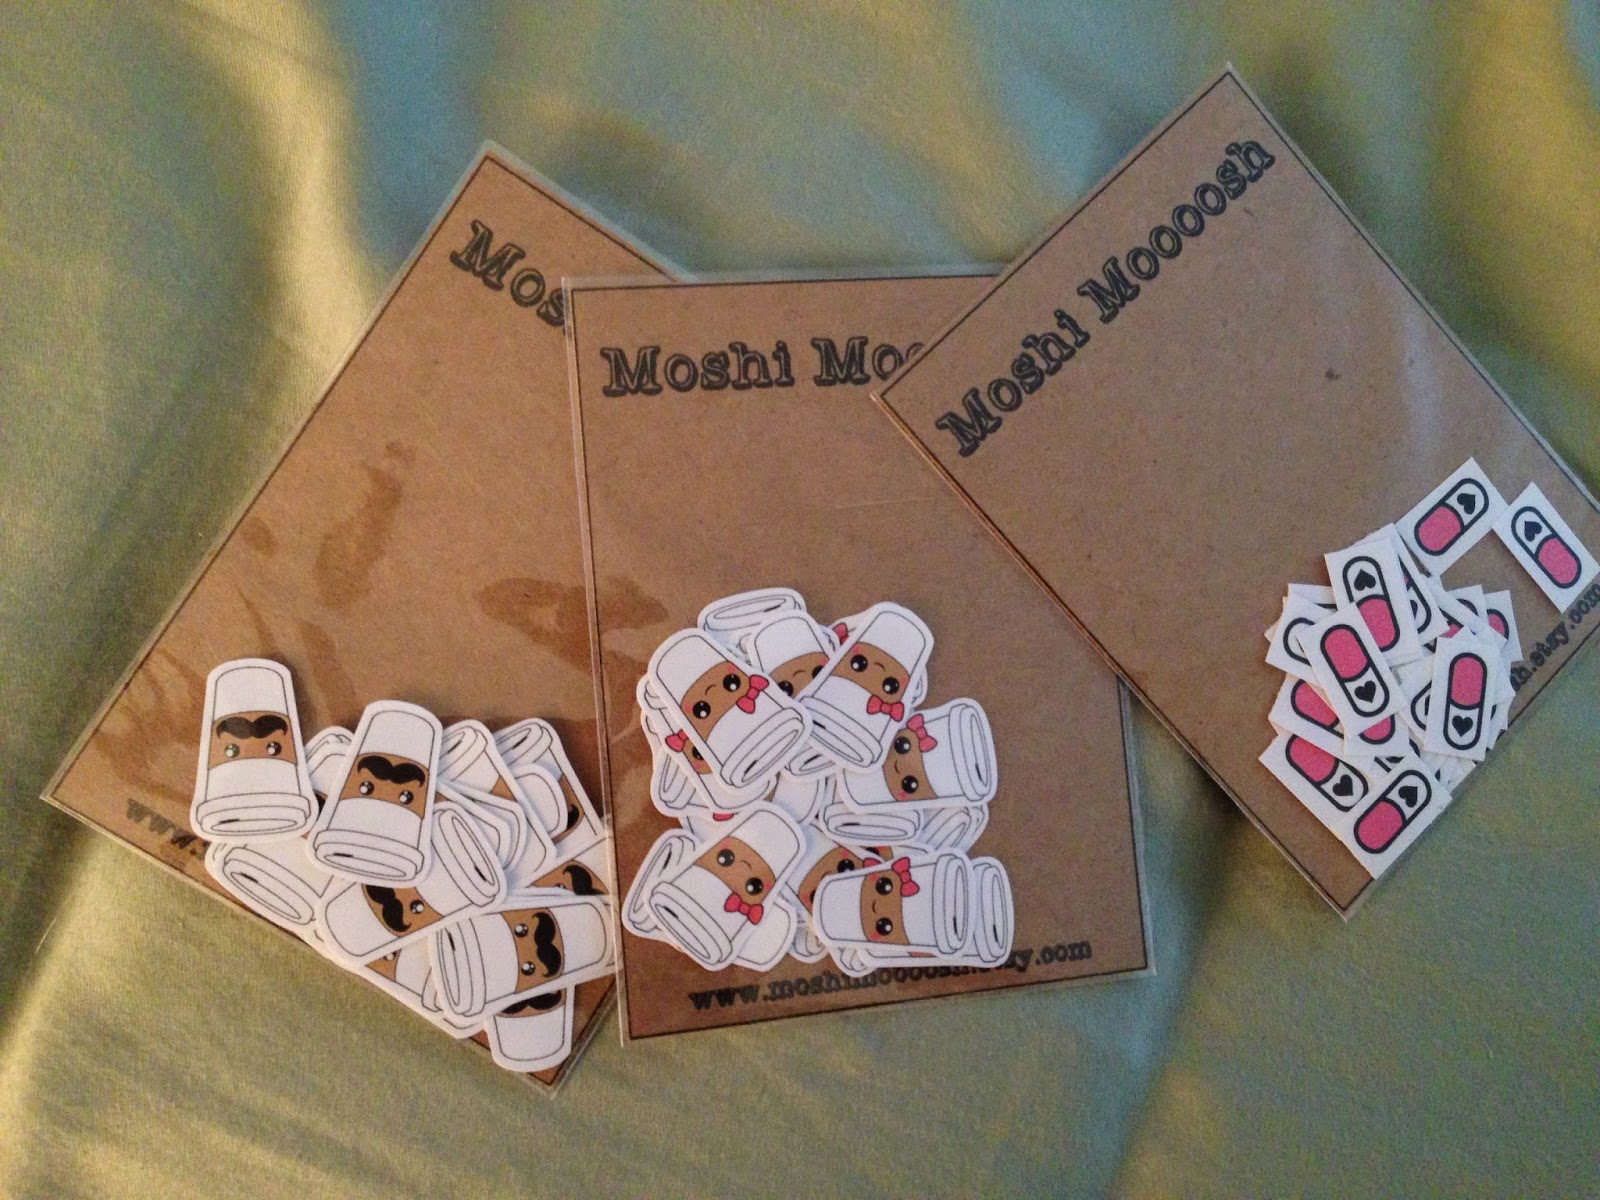
6. Decorative Stickers: Not so sure about washi tape? Check out the scrapbook stickers at your local craft store to add some flair! I would not recommend any stickers that are 3D, but some adorable seasonal stickers, holiday stickers, even cutesy fruit (or whales or hearts or....you get it) can add some adorable pops of color and fun without taking up too much room! My sweet friend Marci has a store with some adorable stickers to mark trash day, coffee time, and she'll even do custom orders. Check out her store! Or I love the stickers you can find in Moshi Moooosh.  Want some little miniature stickers? Check out KawaiiStickers4You on etsy.
My recent purchase from Moshi Moooosh.
Dollar Stickers from Mrs. Grossman's website!
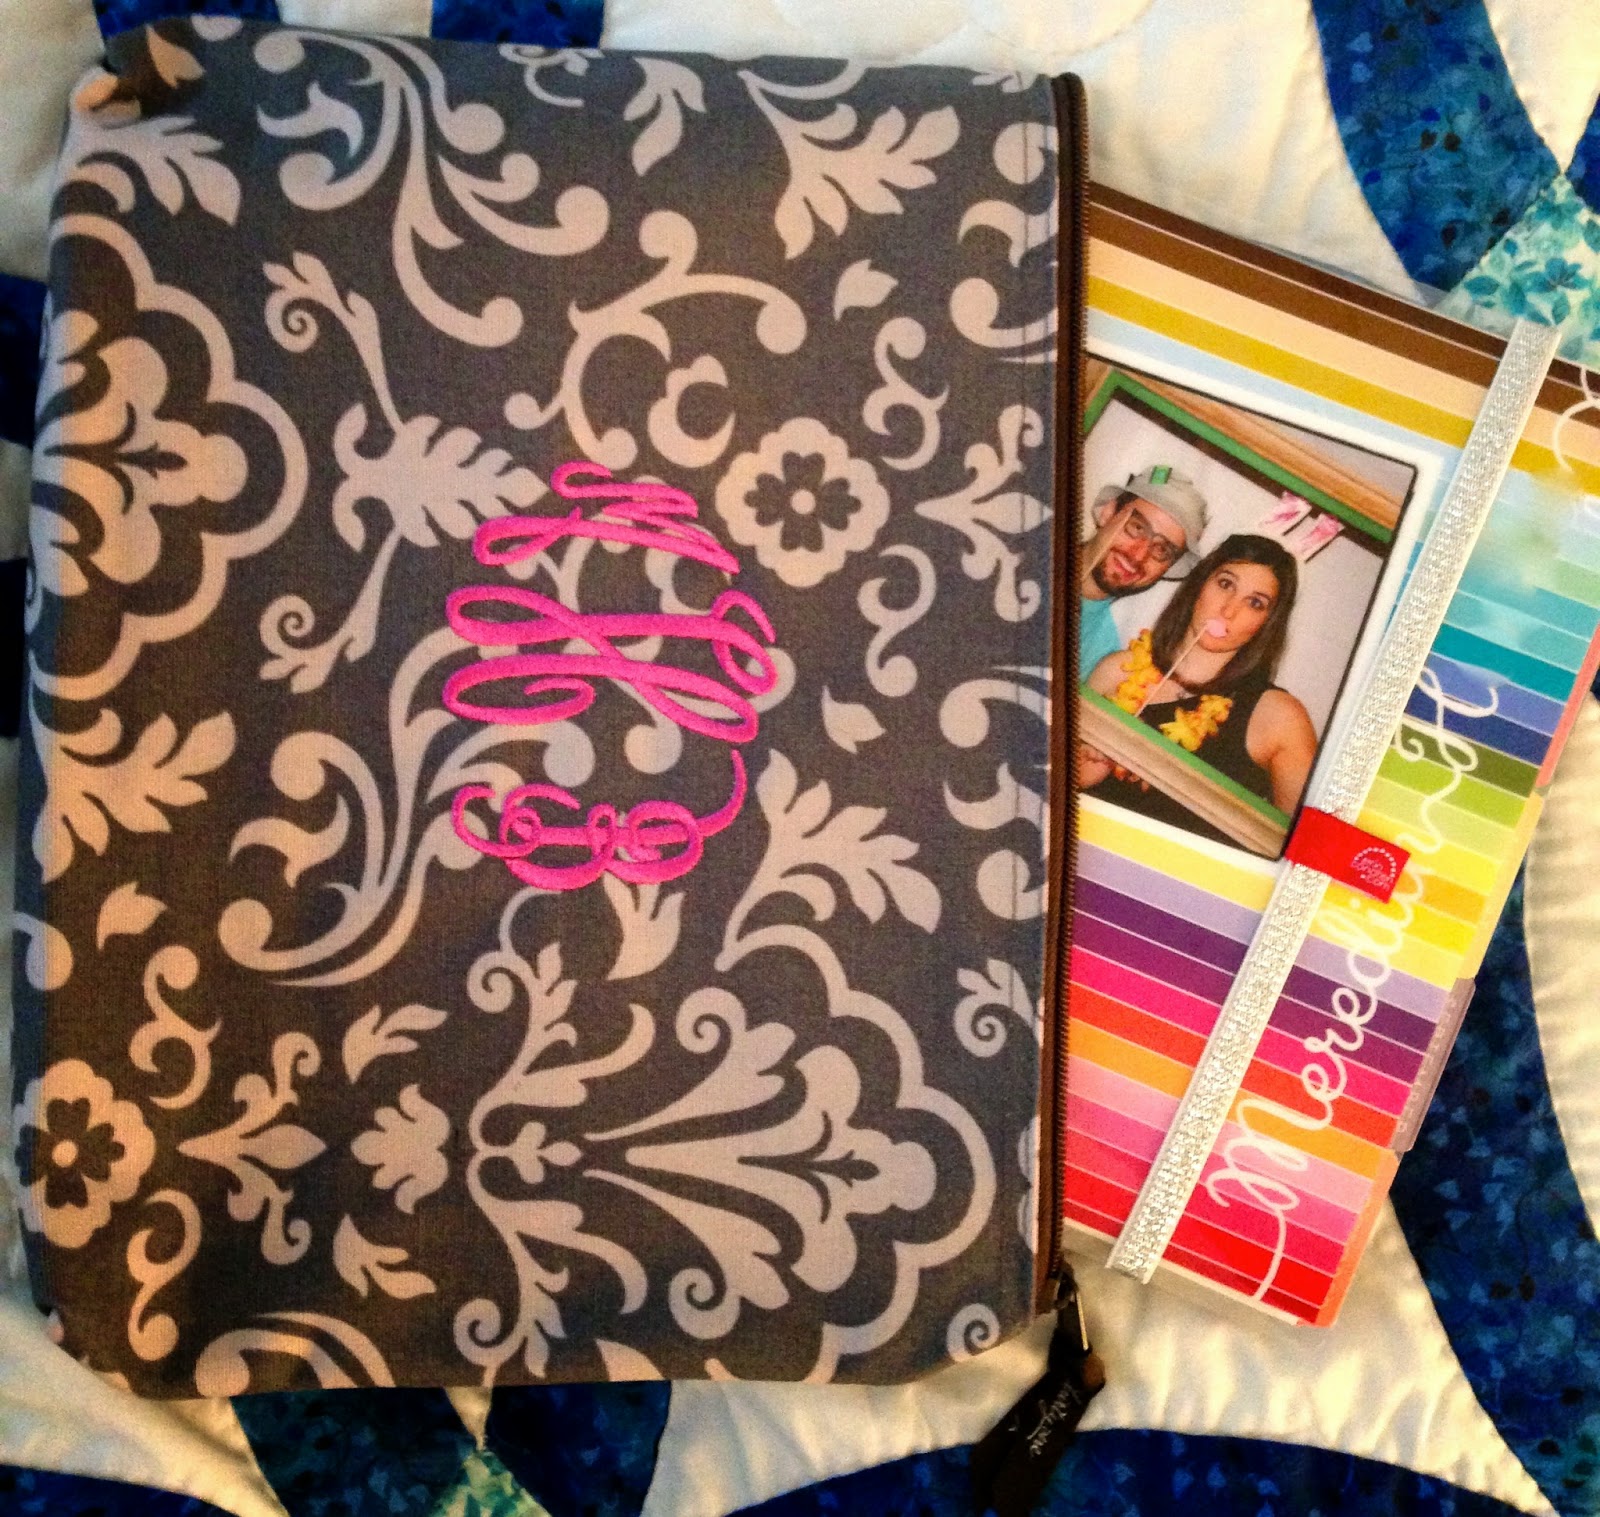
7. Cases: For some of you, slapping one of EC's adorable "Keep It Together" bands is perfect! For me, I get annoyed when the coils get caught in something else in my purse or work bag. Enter ThirtyOne product "Zipper Pouch" (No kidding - it's called that. Easy, huh?!). I love it. It's big enough to fit my ECLP and pens in! Maybe you just convert your planner to a Kikki K or Filofax and that's enough? Either way, it's totally your personal preference.
My ThirtyOne Zipper Pouch and ECLP.
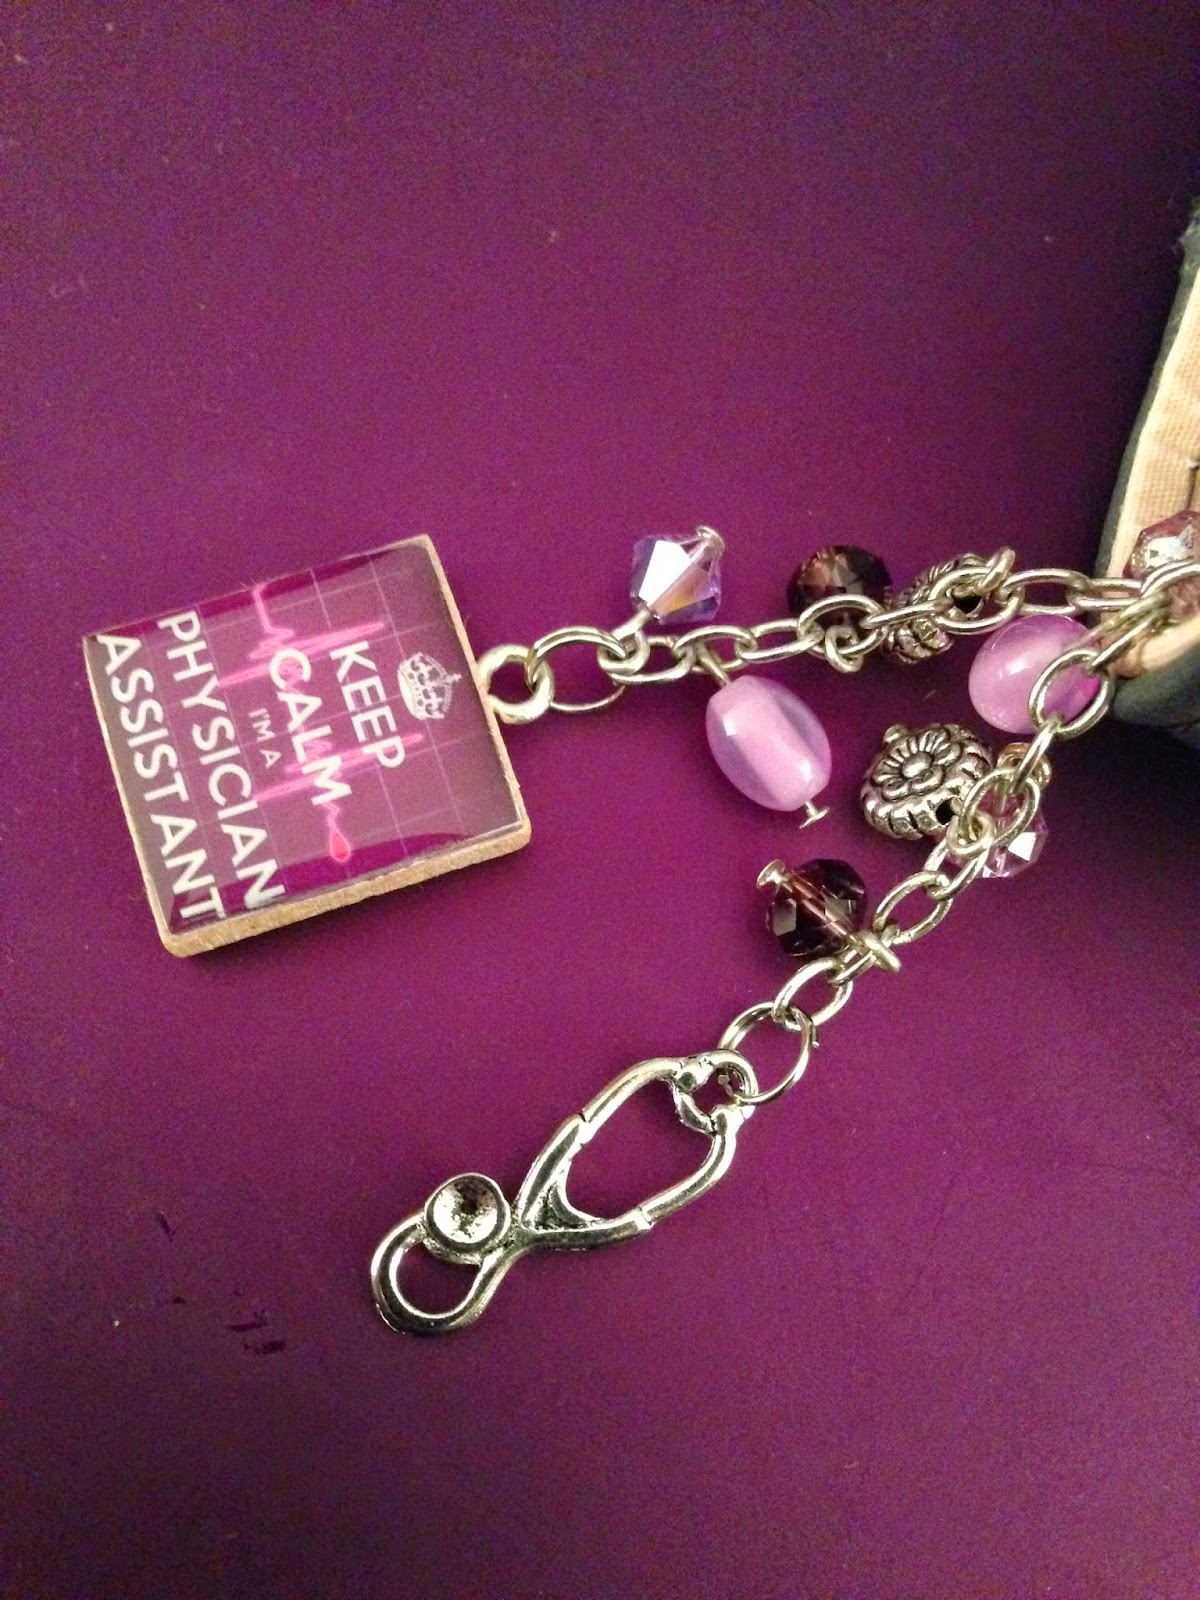
8. Planner Charms: Add some adorable flare and flaunt your favorite activity with a planner charm! Check out CraftersRetreat on etsy! Shelly makes adorable custom charms, and she'll even make one specific to your requests! She's a doll to work with! :)
My adorable custom charm from CraftersRetreat.
9. Covers: Erin Condren now makes it so easy to change out your cover on your ECLP. She even sells covers separately for $10.95. What better way to update your planner than switching out the cover?!

Do you have ideas that weren't mentioned?! Comment below! I know there is plenty of creativity out there with these adorable ECLPs, so share the wealth! :)

Stepping in to Stepmom-Dom: A Child-Like Disposition

World's Cutest Pilot.
Today is definitely one of those yucky, rainy Saturdays. We live in a town that literally lives on the lake nearby. Seriously. Even our church has a dock for members who want to boat to church when the weather is nice. So finding something to do on such a nasty day is difficult, especially when we have an energetic 4 year old boy on our hands. Enter INK, or Interactive Network for Kids. This is an incredible place with different "settings" for kids to pretend and play in: hospital, vet's office, fire trucks, barns, police cars, airplanes, lemonade stands, trains, grocery store...the list is endless. T had so much fun running around the different areas and playing with different items. He was all over the place at first, trying to decide what he wanted to do, but he quickly found where he wanted to be (and go next). We spent over 2 hours in there, with T running around (and us trying to keep up!) from place to place.

We wrapped up at INK (after 2+ hours of fun) around 12:45, and all three of us were starving. Enter something quick and easy on a rainy day - Chick-fil-a (or as T calls it, "Cow"). We were surprised that it wasn't more packed than it was during peak lunch hours, but we weren't complaining (and we figured it was due to the weather). We sat down to eat our meal, and as J and I were about to take our first bites, T pipes up: "Guys! We have to say the blessing first." This was a proud moment for J and I as we have been really working with T on saying the blessing before we eat at meals. So I followed up his statement with "OK. So who's going to say the blessing?" He points to me. Gulp. I have always been overly sensitive about not doing things in public that could be portrayed as forcing my religion on someone, whether it's as simple as praying or something as big as pushing flyers into people's hands. That's just not me. And now, here I was with the eyes of the most adorable 4 year old staring at me, waiting on me to say the blessing. Well, what's a girl to do?! You know what we did! We all folded our hands, bowed our heads, and I (yes, me!) said the blessing. It was brief and to the point, but nevertheless, I said it.

This got me thinking over lunch about things. How is it that as children, we are so carefree and mindless to what others think of us or our actions? To T, saying the blessing was what we are "supposed to do," whether at home or in public. What is it about today's society that makes us so aware and afraid of what others will think? It made me wish I could go back to that age, just to have that mindset of "I don't care what other people think I am going to wear my tutu to the grocery store!" It certainly was a nice reminder for me that we need to be ourselves fully without being afraid of what others will say or think. Because being me without fear is....nice! So thank you, T for reminding me to have a child-like disposition and opinion of the people around me. Love, Mer.

Friday, July 18, 2014

Steak Salad

I absolutely love a good salad. And there is certainly nothing better than a good, well-seasoned steak. Why not combine the two into one, glorious meal? To me, it's perfect for summer. You get your protein with the steak without feeling like you had an enormous, heavy meal. It's super simple to make, and really only requires a little bit of your time to make. Been wanting to check out that local farmer's market of yours?! Here's your excuse! Drive on over there and get yourself some fresh veggies for your salad. And of course, if you know anything about me by now, you know that I love a meal that you can tailor to your own tastes.

Ingredients:
Fresh veggies for your salad
1 top Sirloin, marinated if you would like (for 24+ hours)
Shredded Cheese
Salad Dressing

Directions:
1. Take your freshly marinated steak and toss that puppy on the grill! OR - slather on your favorite meat rub before you grill it instead of marinating!
2. While the steak is grilling, start working on your salad. Make sure you periodically check on the steak! You don't want a blackened steak salad! ;)
3. Once the steak is done, slice into thin strips or cube it. Add desired amount onto salad.
4. Top with some shredded cheese and your favorite salad dressing.
5. Enjoy!


Wednesday, July 16, 2014

Shrimp & Grits

Let's be honest. I'm Southern - yes, with a capital S. I was born and raised in Georgia. I have sweet tea coursing through my veins. And I can smile while silently looking down my nose at you with a "Bless your heart." So to say that shrimp and grits is a favorite meal of mine is an understatement! J treats me to a meal of shrimp and grits at least once per month, and more often if it's summertime and the shrimp is fresh!!!

Shrimp and grits is an easy, flexible dish. Have 2 for dinner? No problem. 8 people? Still a cinch! It is easy to make an amount specific to the number of mouths you are feeding. The best part?! It takes no more than 20 minutes to make this amazingly satisfying dish! It's also very popular, particularly here in the South! Recipes abound! Just check out Pinterest. But J makes an amazing, slightly hot (spicy hot) version that is to die for! So how do YOU get your paws on such a Southern tradition?! Look no further! J has given me access to his secrets.

Ingredients:
Shrimp (I generally guesstimate about 6 shrimp per person)
Grits (Don't frown at us - we use Instant Grits)
2 Tbsp Butter
1/4 tsp Garlic
Dash Hot Sauce
1/4 tsp Tony's Cajun Seasoning
Shredded Monterrey Jack cheese

Directions:
1. Melt butter in saucepan (large enough to hold all your shrimp) on medium heat. You may need to use a bit more butter for larger amounts of shrimp. Keep in mind we cook for 2.)
2. Add in garlic and Tony's seasoning, as well as a dash (or 5 if you are J) of hot sauce.
3. Once the butter and seasoning mix starts to sizzle a bit, toss in your shrimp! Cook until those puppies are pink! Stir occasionally.
4. While the shrimp are cooking (and sizzling - I love that sound!), start cooking your grits. We just follow the stove-top directions on the Instant Grits box (do not get the individual packets, get the huge box that'll last you a while). This is a bit more time consuming, and requires just a *bit* of babysitting, but I can attest that it is worth it.
5. Once the grits have reached the desired consistency, get a bag of shredded Monterrey Jack cheese. Add by the handful, stirring as you add cheese. Add as little or as much as you would like.

To Serve:
Once everything has finished cooking, I recommend you serve this in a bowl! Get your bowls out and plate as such:
1. Spoon (with a ladle - don't skimp!) the desired amount of grits into each bowl. We generally do 1.5-2 ladle-fulls per person.
2. Spoon 5-6 shrimp per person on top of the grits, making sure to get some of the spicy goodness still left in the pan drizzled on top of the shrimp.
3. Enjoy - carefully! This dish will be piping hot, so go slow (and don't burn yourself!).

Make a few extra, and you have a topper for your salad for lunch tomorrow! Yum! :)

Sunday, July 6, 2014

Stepping In to Stepmom-Dom: New Mom

We had a fairly busy weekend visiting J's family in Alabama for the 4th of July. We haven't been there in quite a few months, so it was nice to visit them and catch up (and let T see his grandparents). They live on a cattle farm, which provides for a lot of entertainment for T that he doesn't usually have while visiting us. Example: riding a golf cart (called "The Workhorse") to feed the cows.

Driving to dinner the first night we were there, T announced (out of the blue): "Mer, you're going to be my new mom soon."  Gulp. Gasp. Shock. Pride. Panic. Don't get me wrong, I have loved acting in a motherly role to T when he has been visiting J, but there's a lot of pressure that comes with the official title of "Mom." I certainly back J up in his parenting decisions, help in the discipline when J hasn't witnessed a misbehavior. However, a minor freak-out ensued after hearing the title of "Mom" attached to me. While T does look a bit like me (although he resembles his Daddy more), and I am quite often mistaken for his mom, I am not sure that I am ready for that title. I'm not perfect and being called Mom is a lot of pressure.

Being "New Mom" or "Mom at Dad's House," even without the title, gives me lots of opportunities to be with T! I mean, who doesn't want to have lots of quality time with this cutie?!
This cutie who insisted we take a selfie in the middle of dinner!
After the panic subsided, and J calmed me down (much later), I realized that whether or not I have the title of "Mom" in T's life, I act in such a role, whether or not I like it (and whether or not I have the official title). Being a mom (or Stepmom) doesn't require me to be perfect. It does, however, require trial and error, patience, time and love. I have plenty of those. And the best part is - I get to be "New Mom" with J as my co-pilot. That couldn't be any better, to me!