Showing posts with label Life Planner. Show all posts

Tuesday, May 12, 2015

My Team

First and foremost: Oh. My. Goodness. It is absolutely ridiculous how long it has been since I wrote a blog post! I truly apologize for that. Good news is: we have plenty to cover! Bad News Is: I have missed you all! Moving On...

It takes a village to raise a child. It takes a team to make a celebrity red-carpet-ready. Well, it takes
multiple planners to keep me on track! I am not kidding! Jump on instagram and search some tags like "plannernerd" or "plannerjunkie." You will see that I am not alone! I have three planners. Yes, three. However, they all serve a slightly different purpose. If you think that's a lot, (again) hop on instagram and see just how many women join me in utilizing more than 1 planner! So what all do I use these for? I am so glad you asked!

1. My FoxyDori, made by Kelly - one of the sweetest Etsy sellers you will ever meet. It's fuschia (she calls it DragonFruit. Who cares?! It's gorgeous!), with my initials in the bottom right corner....Perfection.
So, What's In It? My MayDesigns notebooks, all of which serve their own individual purpose. This planner is all about me: my schedule, personal goals, personal to-do list, etc.. And it goes everywhere with me.

  • An Agenda: This helps me keep track of the most important parts of my day (to do lists, errands, things to remember, etc.)
  • An Address Book: Sometimes, I have a card in my purse to mail, but I have forgotten to write (or finish writing) the address. This is where my on-the-go address book comes in handy!
  • A Meal Planner: This includes a weekly space to write out the meals for each day, and another space to write out my grocery list! So handy.
  • A Budget Book: I'm terrible about writing out expenses AFTER I get home. I usually end up shredding the receipts before I remember to write them down in my check register or my budget tracker. This allows me to keep up with expenses WHEN they happen!
  • A Notebook: This is just plain lined notebook paper. I use this to write down to-do lists, doodle, or even write important info given to me while I'm on the go.

2. My Erin Condren Life Planner. This planner is a little more broad in terms of what I write in it/plan in it. This is more of a "family" planner, but still is mostly focused on my personal daily to-do lists. I plan out any important events for J (my hubby) or T (my stepson) in here as well. Family member's birthdays, as well as their important events are noted in here as well. This planner frequently makes an appearance out in public with me, but doesn't necessarily travel everywhere I go.

  • Weekly Spreads Include: Birthdays, daily to-do lists, errands to run, doctors' appointments, work check lists, my daily work schedule, reminders, etc.
  • Monthly Spreads Include: Birthdays, Big events (i.e., anniversaries, graduations), vacations/trips, when my stepson visits, my husband's retreats. I also use my notes section on each month to track my PTO so that I make sure I don't go over!

3. My Inkwell Press Planner. This is truly a family planner. It lives on my bartop in my kitchen. This has everything going on in our family in one place: J's work schedule, my work schedule, T's visits, J's Honey-Do list, my goals for around the house each week, meal plans, work out goals, etc.. What I really love about this planner is the extra notes pages after each month and the goals page included each month. It's great for a business-minded woman (OR a woman on a mission to get out of debt!). While mine is not personalized on the cover, it does generally come with personalization. I ordered mine on sale when personalization was no longer offered.

  • Weekly Spreads Include: Both of our work schedules broken down by time each day, dinner plan, work out plan, pay days, honey-do list, errands to run, and weekly goals for around the house.
  • Monthly Spreads Include: Pay Days (we get paid on different days of the month), T's visits, big events, J's retreats, our vacations, my call weekends, etc. 

See?! It really does take a village to keep me on track!  Hopefully, this helps provide you with some inspiration on how to utilize multiple planners. My recommendation is to make your smallest planner your go-to on-the-go planner with your larger planners being more flexible to stay at home. If you like my magnetic clips, check out OliClip on etsy. Like the stickers you see?! Check out my instagram (@mrshenleyplans) for vendors or stay tuned for a new weekly blog feature (Coming Soon!): My Favorite Etsy Vendors.

Thanks for stopping by!

Sunday, December 14, 2014

Orgainzing Your Planner Stickers

I saw this idea initially on Instagram from someone in the planner community for Erin Condren lovers like myself. I couldn't resist jumping on the bandwagon as my current system of storing planner stickers is to pile them up in a tupperware container. SO not conducive to finding something quickly. I searched high and low online trying to find something that I liked (as I am super lazy and hate shopping/running errands), but had no success. I then ventured out to my local Target and OfficeMax as Staples wasn't an option in my neck of the woods. I have outlined below the products I used, along with where I found them. 


What You Will Need:
Avery 7x9 1" 3-ring binder
Avery 5 1/2x8 1/2 inch Sheet Protectors
Avery 5 1/2x8 1/2 inch business card holders


How to Organize:
1. Separate stickers by vendor. To me, I generally think "Oh I wish I could find these from this shop." So organizing by etsy seller was easiest for me. However, you may choose to organize your stickers by category, what you use them for, etc..
Some labelled & filled page protectors
2. I labeled each page protector with one of my favorite stores. I made sure to write them on the outside portion and made sure to stagger them so I could see the labels a bit easier. Once labelled, I dropped the respective stickers into their protector and popped it into my notebook!
Some Lillie Henry stickers in their page protector.
3. Once my page protectors were filled with the larger sheets of stickers, I moved on to filling the business card holders. I used these for stickers bought in-store (i.e., Target, Michaels, etc.), page flags from target, and some washi samples. If something was a little too long or tall, I trimmed the excess to help it fit a bits better.
My page flag-filled business card holder.
Some stickers and washi samples.
4. Once I had filled all of my business card holders, as well, I created a dash board for my sticky notes on the back part of the binder, using the binder itself. Some of my thicker sticky note pads didn't make "the cut," as they would have made the binder outrageously thick.
My dashboard in my sticker binder! Dreams do come true!
5. My completed project, chock full of planner goodies!!! 

The biggest key to making this work for you is to find and use a system that makes sense to you! Happy planning and organizing! :)

Want more of what you see?? Follow my on instagram: @mrshenleyplans

Friday, October 31, 2014

Making Your Erin Condren LP YOU!

Remember a few months ago, we talked about how to make your ECLP work best for you? Well, I think it's about time we talk about how to make it YOU (not just make it work for you!). I have recently become obsessed with some new stores on Etsy that allow to you change your ECLP and alter it so that it works best for you! I've tried to break things up by categories so that you can find exactly what you're looking for! (Don't see supplies you're looking for below? Check out my initial blog on planner accessories {link above}, too!)

Bookmarks:
1. Personalized Name Bookmark: Want an adorable personalized bookmark? Check out CraftyAliCat on etsy! I ordered mine originally for my A5 Filofax - it's the perfect size for the ECLP. Naturally, you'll need to add a coil clip to make it work in an ECLP (Or be able to create your own removable bookmark [like the covers!]). Ali (shop owner) is so easy to work with, and she truly honors special requests! I love purple, and I am obsessed with glitter. She honored both! How adorable?!

2. Magnetic Bookmarks: I talked about Oliclip in my last planner accessories blog, but I've since found out about the etsy shop craftedvan (check them out on Instagram, too!). They have a wide assortment of characters, foods, etc. I got myself a stethoscope (and a cupcake for a friend!). Love them!

Labels/Event Stickers:
1. Custom Labels: Want some adorable labels for when you have a doctor's appointment? Check out these labels from ObsessedWithCute on etsy!

2. Switching the Daily Labels: Don't like the "Morning/Day/Night" labels on the weekly spread? Check out AlexStudio on etsy for some custom labels to stick over those! Check them out here!

3. Flag Labels: Page flags have become quite popular across the Facebook planner groups I am in. Want some custom flag labels or stickers? Check out some shops on etsy! Don't see what you want? Message the shop owners. Here are some To Do stickers available at HelloAshleyAnn.
  • Page flags are also available at Target in the Dollar Spot. Look carefully! Sometimes they get buried. Not all Targets carry the Dollar Spot stationary either, so you may have to check out a few in your local area!
  • Planneresque on etsy also sells some adorable check list page flag stickers! 
Decoration Stickers/Accents:
1. Kawaii Style: There's just something so cute and endearing about the kawaii-style stickers that are floating around! I can't get enough - seriously.

  • Obsessed with Cute: I love her Bible stickers and purchased some recently. I'm waiting for them to be shipped, but I'm already doing a little happy dance just knowing that there will be some stickers from her shop on their way to me soon!
  • WishiWashiLove: Adorable stickers, sticky notes and other planner supplies! I mean, how cute are these bowls and jars? Seriously!

2. Fun Stickers: I am obsessed with adorable stickers that add different flare to my planner! My recent purchase have included stores such as Stickerswashiandmorelilliehenry, joeydesignplanner pretties by K, and SouthernHaute. All these stores have adorable stickers that add character to my planner in different ways!
My cute mermaid stickers and hot air balloon stickers
from JoeyDesign!
3. In the Store: Many local stores also have supplies that you might be looking for! Check out your local Target, Michael's, Jo Ann's, or AC Moore for craft supplies! If you're lucky, your local Dollar store will have some stickers or washi tape that you can use, as well! I haven't been so lucky!

Washi Tape: I've fallen off of the washi train slightly, to be honest, in my recent obsession of stickers. BUT in the spirit of all things you can use to customize your planner, I have to share my favorite sources for washi tape! ACherryOnTop, Pikwahchan, and SweetSuppliesStore.

Have some other sources for your planner supplies?! Share in the comments!

Monday, October 27, 2014

Designing Your Own LP Cover

Like the LP covers, but not in love with them? Color choices not to your liking? I was coveting a collage cover with the rainbow squares and brown text changed to shades of blues and purples. Alas, I received an email from EC shortly after placing my order that what I had requested was no longer a change that could be made. Imagine my disappointment. But I moved on - quickly. I have a scrapbooking program on my computer, which I don't use to scrapbook much anymore (but use it for Christmas cards, invitations, etc.). I decided to measure the size of the EC cover, create my own project that was the same size and start designing!
This is my design, courtesy of Creative Memories
scrapbooking software. PS -How adorable is my stepson?
Once I was happy with my layout, I saved it as a jpeg file. I chose the "Picture This - Full Frame" cover option. I uploaded my jpeg document to the EC website. For some reason, it charges you $5. This is an error/glitch on the EC website. Contacting the EC Customer Service reps resulted in a $5 refund, no problem. I uploaded my design without issue. If you would prefer to incorporate your name into your design, etc. just let the EC team know that you don't want their name/quote space filled by specifying "No text." I made sure that my design allowed for the name they add on, as well as a quote from our family ceremony from when J and I got married (and included Little T).
My finished product. It's my favorite cover yet!
Don't want to go through EC? I've seen several people design their own cover (front & back) and take it to Staples for laminating/hole punching. If you do decide to go at it alone, you may want to reach out to others in your Facebook EC community on how to do that. You will definitely want a thicker laminate (like 10 mL) that will allow for daily use (or abuse in my case). You may have to make your own slits to make the cover removable, but that would be the easy part!

Don't have CM scrapbooking software? Don't worry! There are plenty of free apps online, such as pixlr, that allow you to create a document to your size specifications. This is an endless possibility DIY project! Have fun, go crazy, and most of all - enjoy! :)

Monday, July 28, 2014

Setting Up Your Week in Your Erin Condren Life Planner

After my post last week about making your ECLP perfect for you, I received many requests to create/write a follow up post on how I set up my weekly layouts. Now, please understand that while this is a perfect system for me, it took me time to get my system set up like I like it! So if it doesn't work for you on the first try, give it some time and experiment with it! However, I will definitely provide you with a step-by-step of how I set up my weekly layouts.

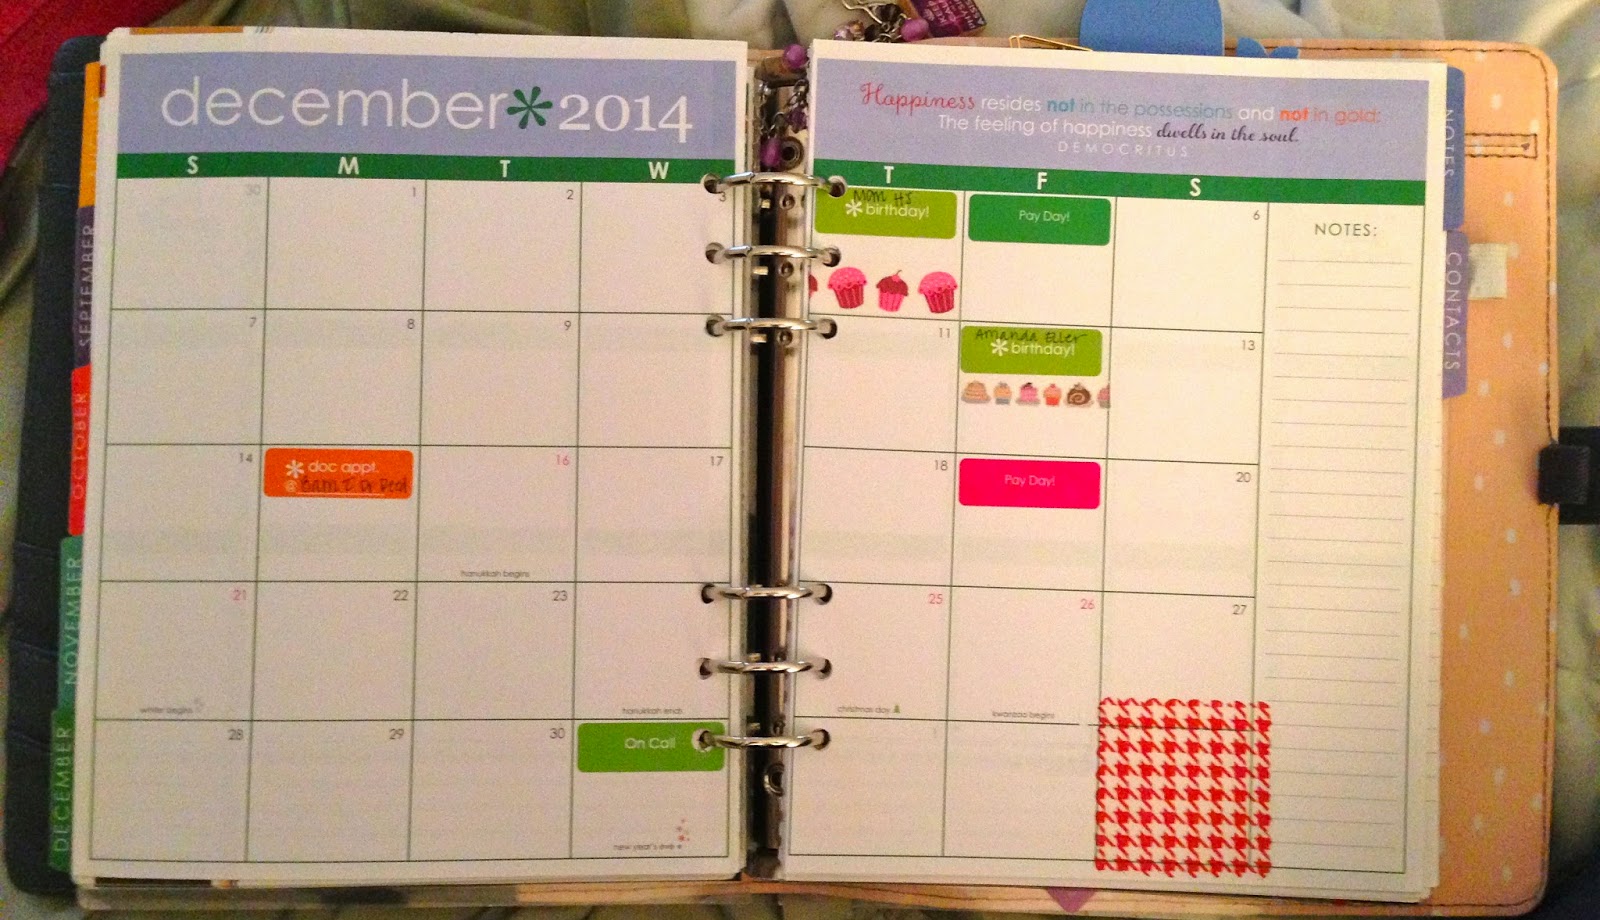
1. I generally put recurring dates in my planner in the monthly layouts as soon as I get the planner. These "recurring dates" include (but are not limited to): birthdays, anniversaries, pay days, etc. Other important dates I include in my weekly view are: weddings, days off work, Saturday work days, weekends my stepson visits, J's retreats/conferences for work, my conferences. I try to keep my monthly layouts a simple as possible so that I don't go cross-eyed trying to figure out what date something is happening on when I transfer it to the weekly views. It's not a perfect method, and some things do get missed. However, I have gotten used to my system and very few items are missed or skipped (actually, none recently!).

2. I start out by putting important dates for that week on a sticky note. I add to it as I get closer to the week, as my work schedule is given to me, or as events/trips/etc. are brought to my attention. I received these cute little iPhone sticky notes as a gift, but I believe someone said she was able to find them at Walmart.
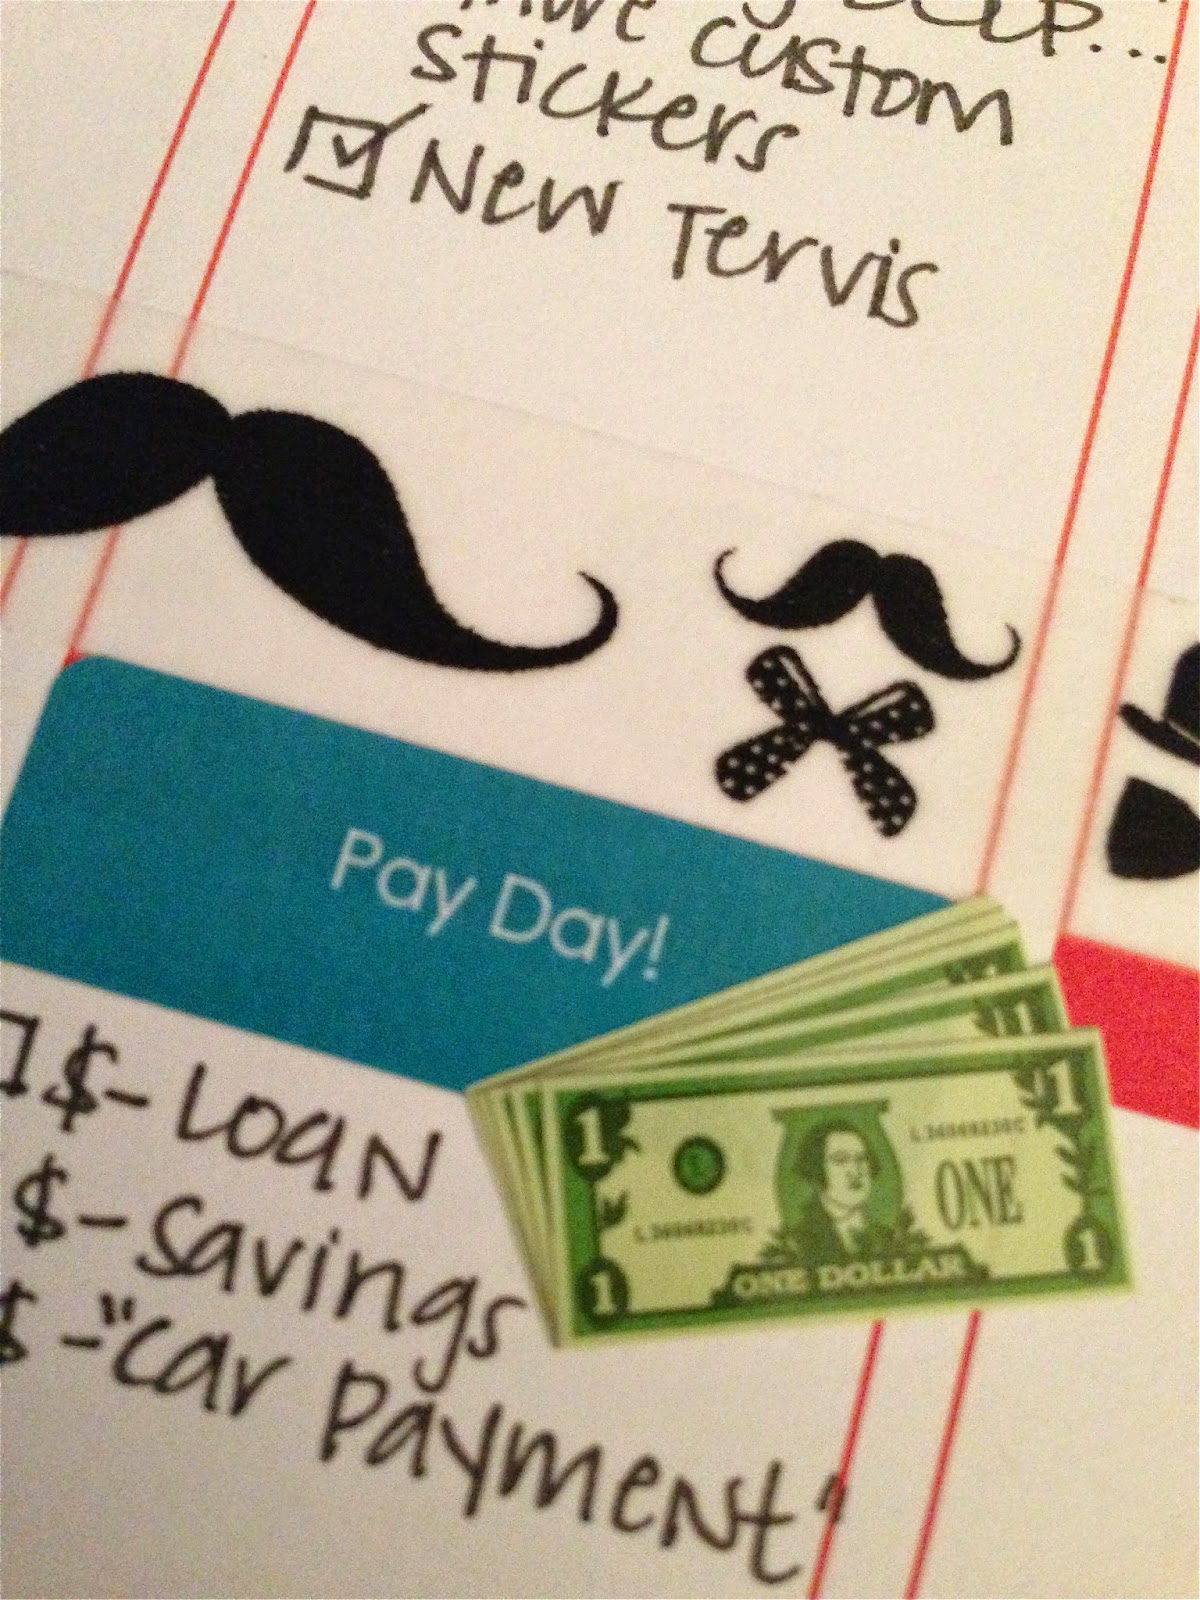
3. I then start by adding stickers for work days off, Saturday work days, birthdays, etc. I generally put these at the top of the column for that day (yes, it does cover the "morning" label). You can see below where I have already added in my "Day Off Work" and "Saturday Work Day" stickers at the top of the applicable day. I generally place my Pay Day stickers over the night section on Pay Day to allow myself room for a checklist of where money needs to go: bills, loan payment, savings, etc.
SIDEBAR: Several people have asked me "How do you determine what you use a sticker for and what you just write in?" I've come up with a "sort-of system," meaning that I sort-of have a system and I sort of do whatever I feel like. I've ordered custom stickers from EC for things that occur regularly for me: my stepson's visits, Bible study, Delivery Days, Errands to Run, Conferences, J on Retreats. Obviously, when those events occur, I already have stickers for said occasion, and I can just utilized those. Now, for events like weddings, parties, showers, etc., I use EC's pre-printed stickers. Important events/things I don't want to miss or forget, I add in on a sticker, so that it stands out more from other things on my to do list (ex: applying/getting a marriage license). Also, for things that I want to do/make sure I don't forget that I have a fun applicable washi tape, I use stickers and my coordinating washi tape (Ex: mani/pedi and Finalizing my honeymoon Itinerary!). Most of the more everyday life kind of things, I just write in with little check boxes beside them - we'll get there, I promise!


4. Add in events that will occur over several days. For me, this is marked off with washi tape and a sticker/label. This includes when J travels for conferences or retreats, when we are out of town, or when we have my stepson for several days. Generally, it looks something like this:
5. I then add in my work schedule, using washi tape to cover the "morning" and "day" labels to write down where I'll be each morning and afternoon for work, since it varies daily, weekly. Once that is done, I figure out what stickers/washi tape I have that correspond to what I need to do that week. If I have corresponding washi, I use a label sticker. If I have a sticker for it, I hand write it in. Other, more day-to-day to-do lists are just hand written in. I then decorate with fun stickers: fruits, whales, hearts, etc. 
The best advice I can give you is to have fun with it! Play around and figure out what system works best for you. Just because it makes my life easier doesn't mean that it will work best for you! Enjoy decorating and figuring out your own system! :)

Saturday, July 19, 2014

Making Your Erin Condren Life Planner Work For You

My original beauty. I *might* have purchased 2
additional covers. Shhhh!
Let's face it: sometimes there's not a perfect product on the market, but there's one that comes *this* close to perfection. So how to you purchase said "this-close-to-perfection" product and make it your own?! Well, if it's an Erin Condren Life Planner (ECLP), look no further! I'm obsessed with all products Erin Condren. The list of items/products I have purchased her is too long (and possibly embarrassing?) to list. Let's just say it's a slight problem. When I purchased my first LP 18 months ago, I was fairly "boring" with how I utilized it - black pen and some check boxes, nothing more. I didn't realize all the possibilities that you can create for yourself when it come to this amazing planner! I thought that there was a slim chance that someone else was feeling like I was - they had the perfect product and felt like they weren't utilizing it to its full capacity. So here is how I have made my ECLP perfect for me!

Let's Get Started!

1. Custom Stickers: EC herself provides you with an option to create custom stickers on her website. Want to mark Pay Day? How about Anniversaries? Look no further than your source for an ECLP! There are PLENTY of outside sources for custom stickers if you don't like the price tag of the EC custom stickers. Here's a list of my favorite sources for custom stickers (Click on Site Name to be taken to their page!): Sizemore Designs, Love Affair With Paper, and KrissyAnneDesigns! Your options are endless, but these are few of my favorite sites!
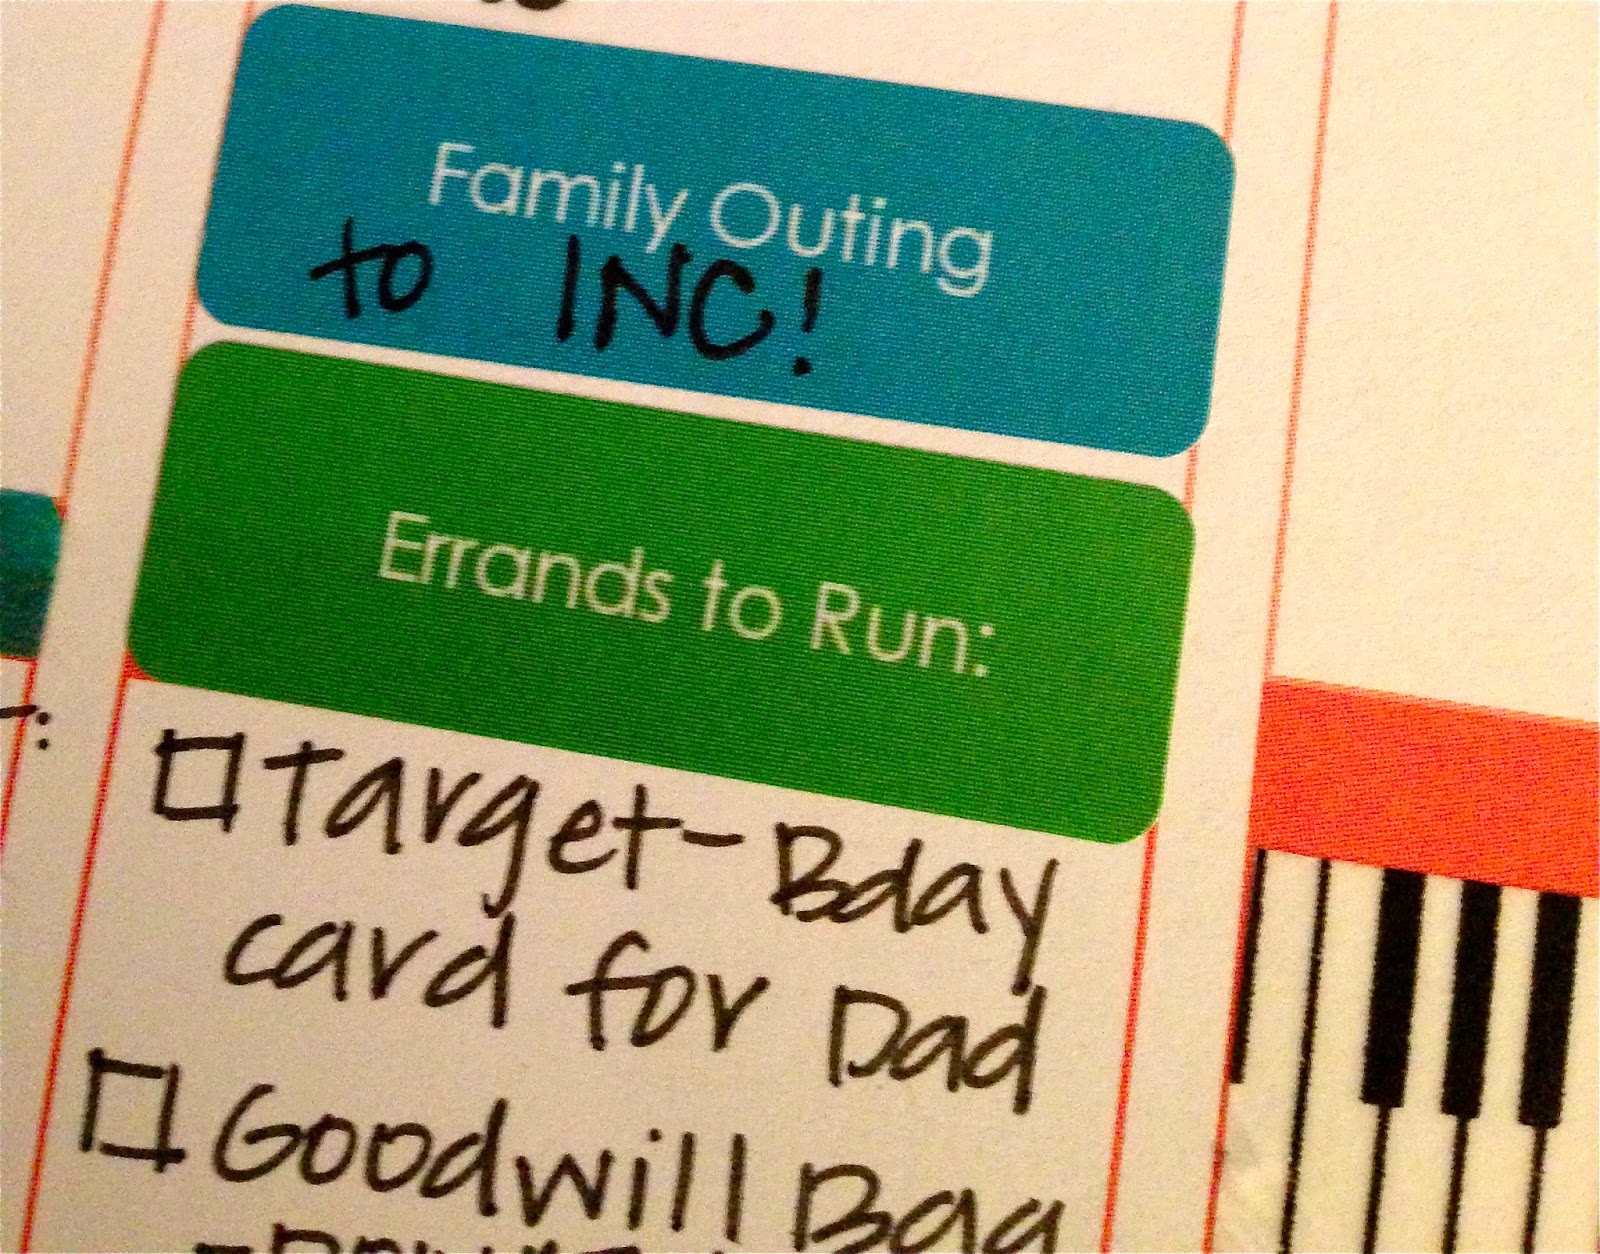
"Family Outing" and "Errands to Run" stickers from Erin Condren
2. Page Markers: EC has an adorable clear page marker that comes with the planner. I'm not a fan. That doesn't mean YOU won't be. I have a preference for other (adorable) means of marking my pages. Those include (but are not limited to):
  • Adorable coffee mug, animal, and weather kawaii paper clips, as found at KawaiiPaperie on etsy.
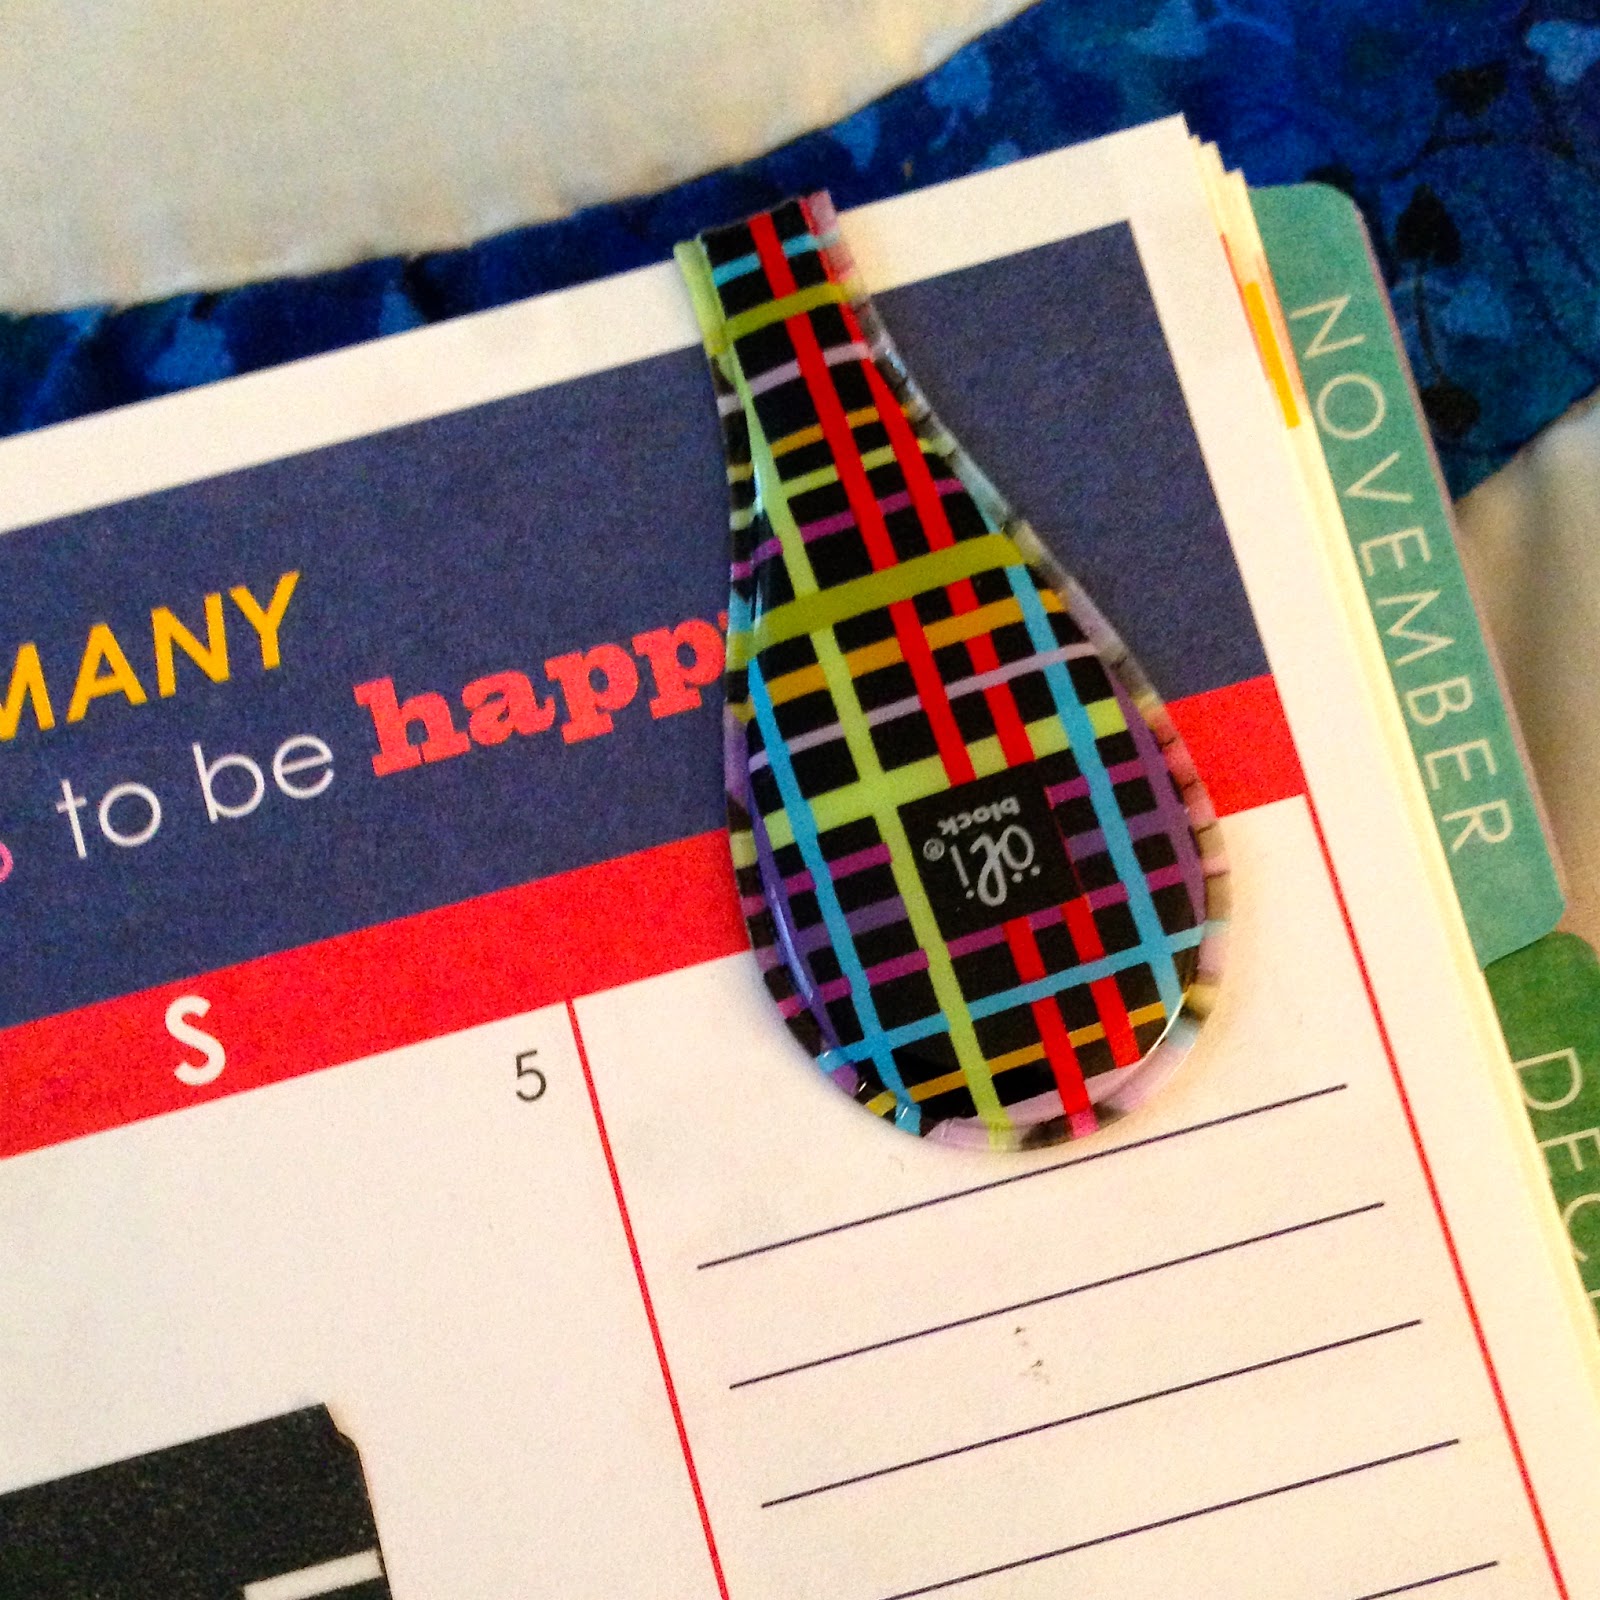
  • OliClips: Generally these gems are found at The Container Store, but there has recently been a shortage. Rumor on the street is that they will be available again on etsy soon, as well as in-stores again soon. Can't wait that long? Check out the facebook group "OliUClip by OliBlock."
One of the many cute patterns available on the OliClip
  • Want something cute, but simple? Check out these ribboned paper clips at MadeYouLookNovelities on etsy! 
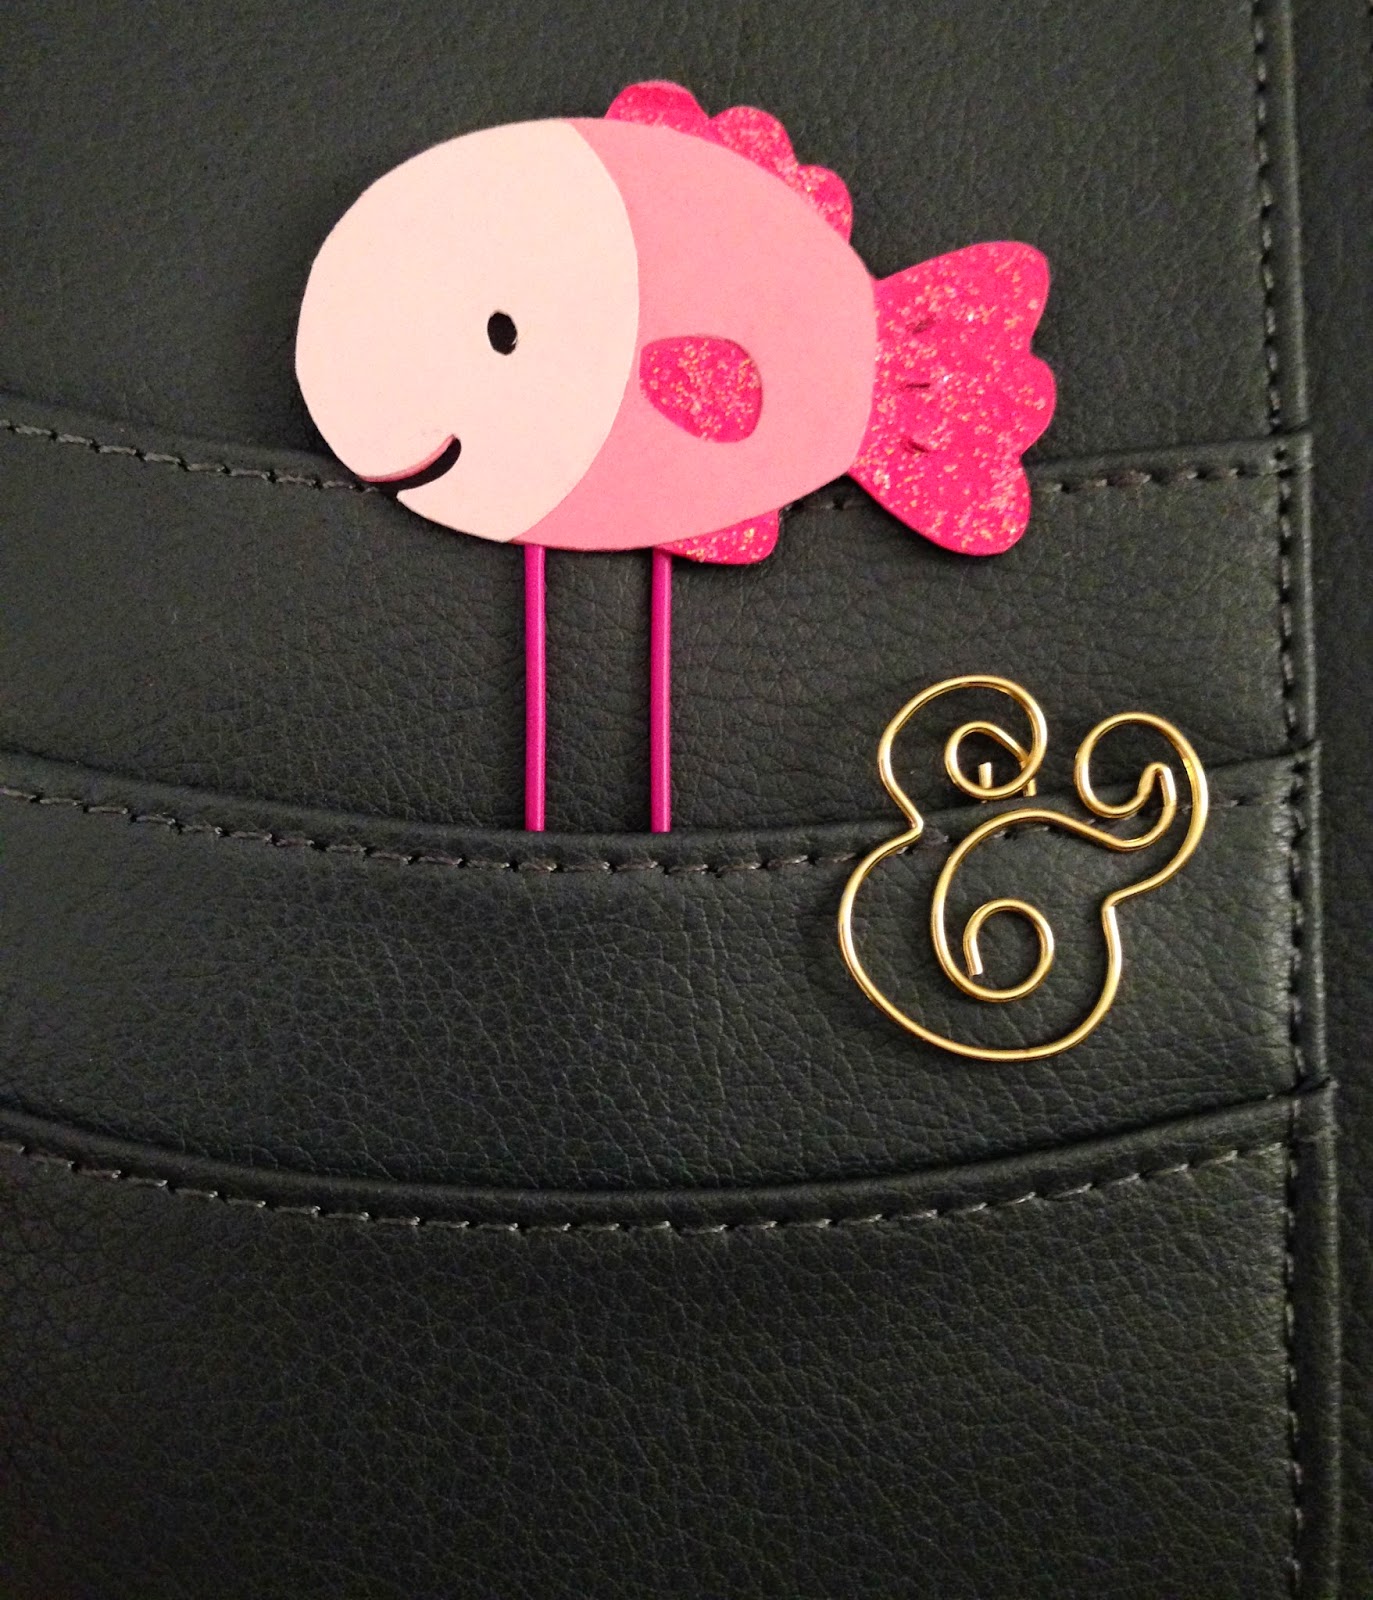
  • Kate Spade: Kate Spade makes some absolutely adorable paper clips! Bow shapes, ampersand, exclamation point...adorable! Find them on amazon or if you want just one, check out MyQueenBeeDesigns on etsy.
Fish from KawaiiPaperie and ampersand from
MyQueenBeeDesigns, both found on etsy.
3. Washi Tape: Watch out - it will become an obsession. Don't say I didn't warn you! It's starts with "Oh just these few rolls and I'll be set." Then it turns into "Oh, I need 15 shoeboxes to store my collection." You can use it to mark events that occur on more than one day (i.e. vacation, road trips, retreats, etc.), decorate your daily view, mark out a time you will be doing something (i.e. DIY project, napping, driving, studying, etc.). Oh - you want my favorite places to buy this new soon-to-be collection you will own?! Of course! Check out ACherryOnTop, Pikwahchan, Washi Tape Maniac, Mind the Wrap, and LightLife.

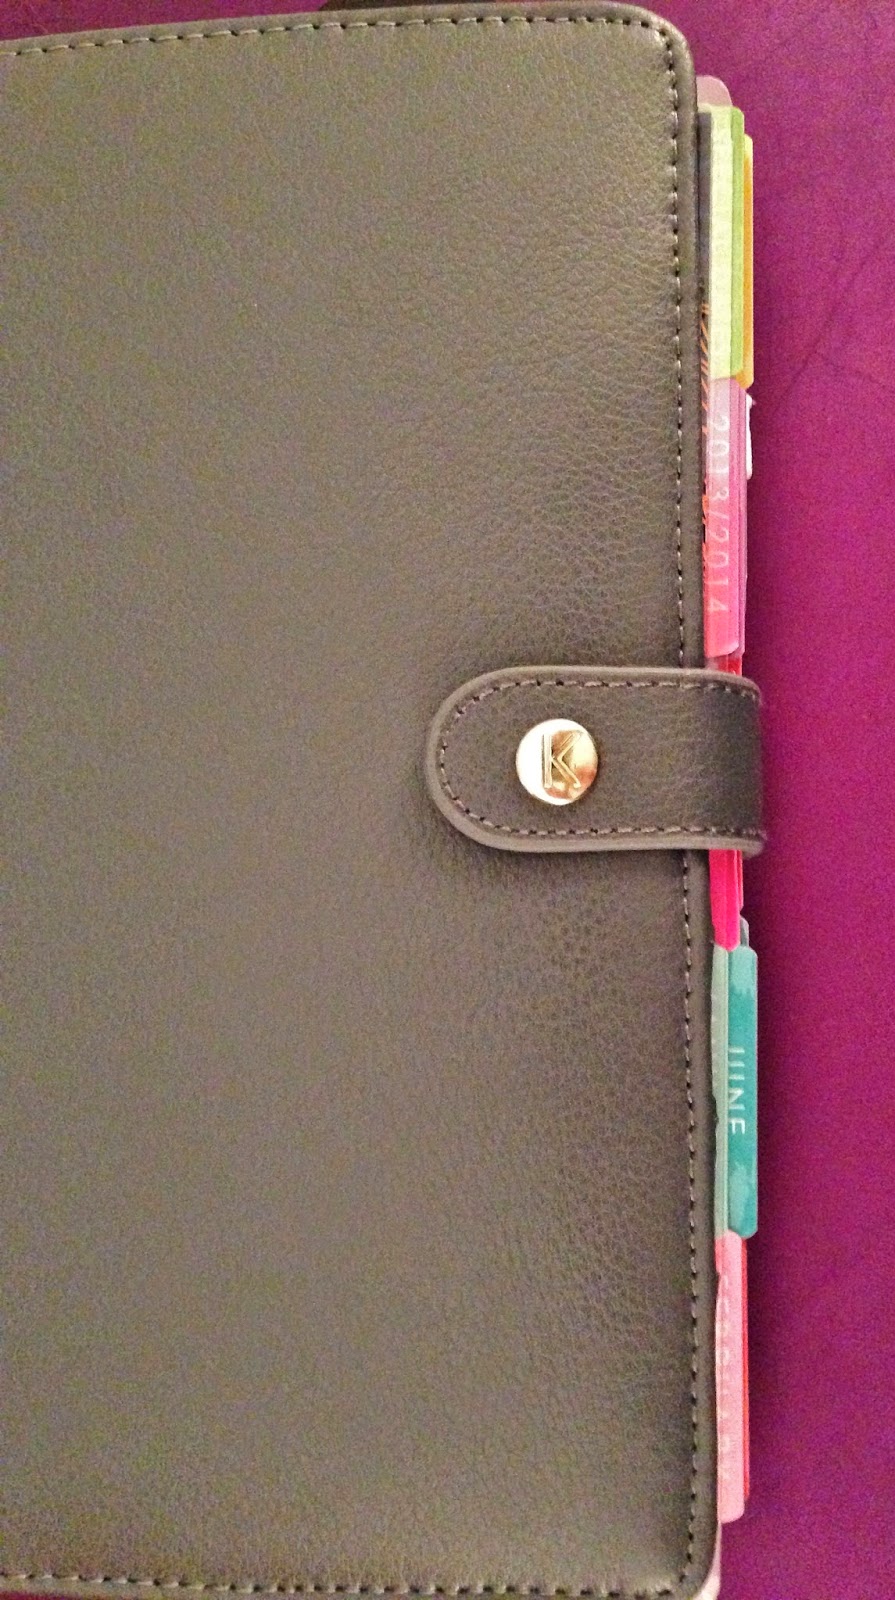
4. The Binding: I am obsessed with the spiral binding for the ECLP. But maybe that doesn't work for you. Check out Kikki K or Filfofax (A5 size). There's tons of tutorials on youtube on how to put your uncoil your planner, trim the edges off and punch it to fit into an A5 Filofax, place it in a Leather Personal Kikki K Planner, or use the Arc system. It doesn't matter what you choose to do - there are so many others who have done the same thing that you are bound to find a tutorial!
Example of my ECLP in a Kikki K
The tabs on my ECLP in a Kikki K.
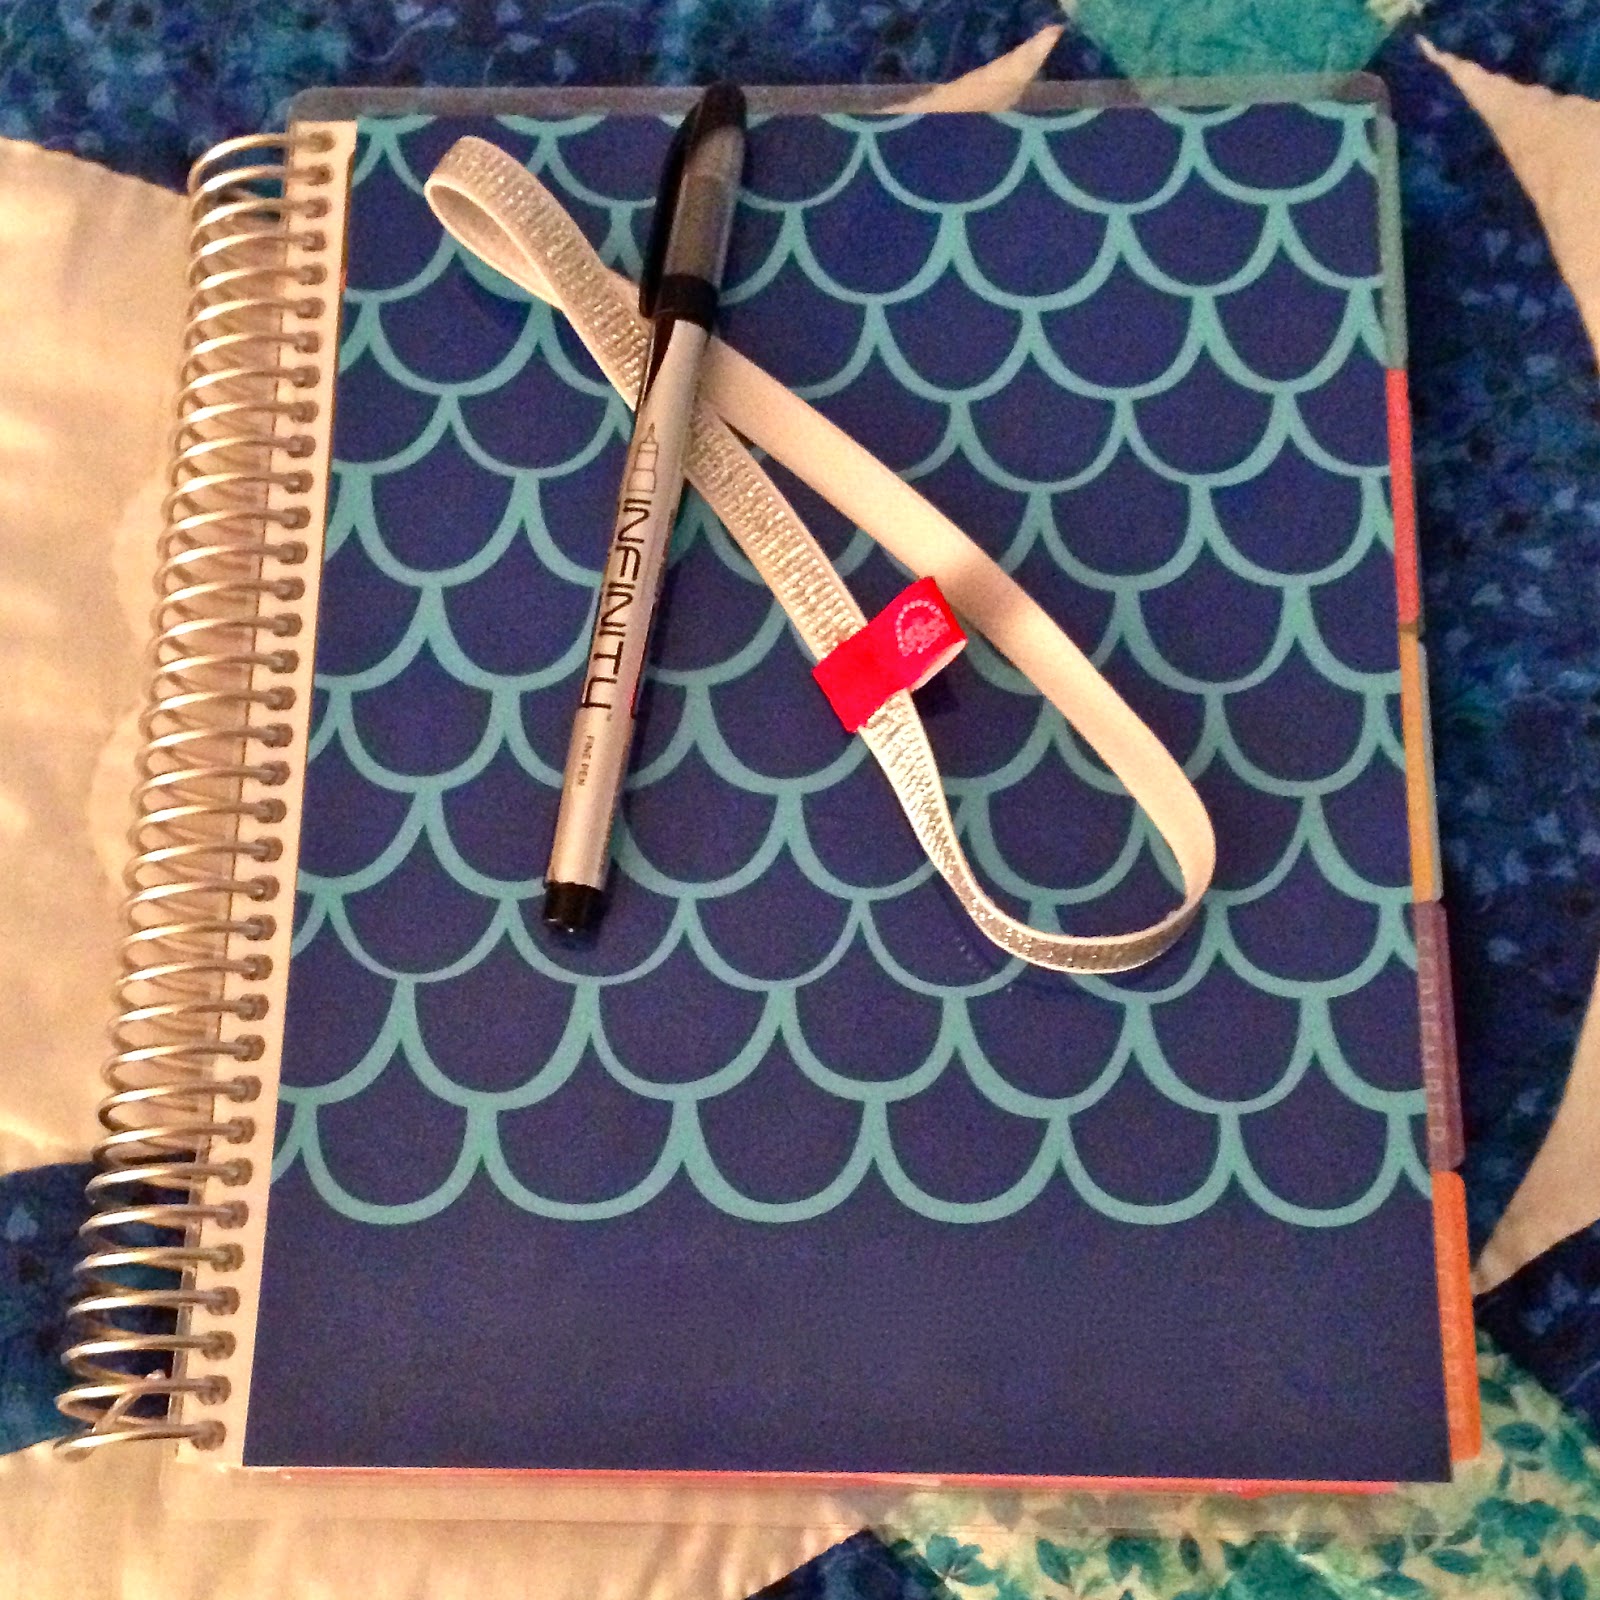
5. Colorful Pens: I love Papermate Flairs. They are colorful, but don't bleed through the page like some pens do. I also love the Infinity pens, as well. They are also great for the ECLP and don't bleed through the page.

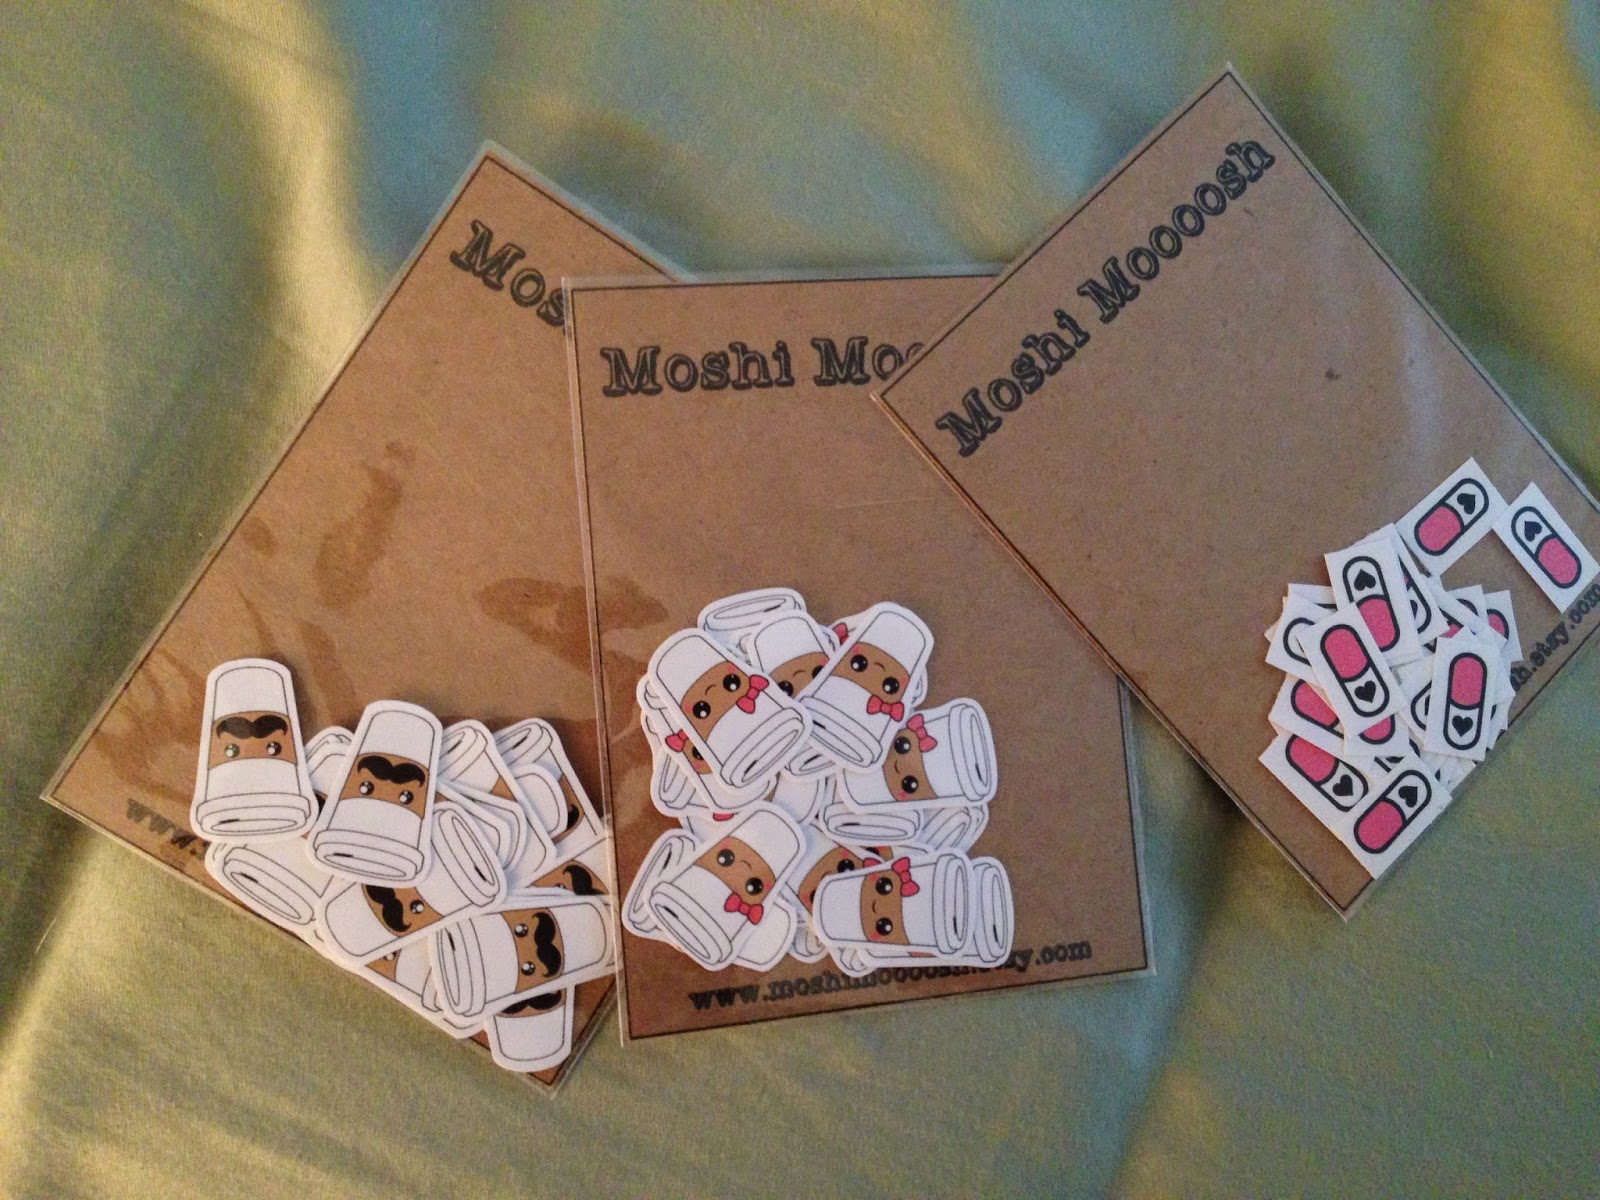
6. Decorative Stickers: Not so sure about washi tape? Check out the scrapbook stickers at your local craft store to add some flair! I would not recommend any stickers that are 3D, but some adorable seasonal stickers, holiday stickers, even cutesy fruit (or whales or hearts or....you get it) can add some adorable pops of color and fun without taking up too much room! My sweet friend Marci has a store with some adorable stickers to mark trash day, coffee time, and she'll even do custom orders. Check out her store! Or I love the stickers you can find in Moshi Moooosh.  Want some little miniature stickers? Check out KawaiiStickers4You on etsy.
My recent purchase from Moshi Moooosh.
Dollar Stickers from Mrs. Grossman's website!
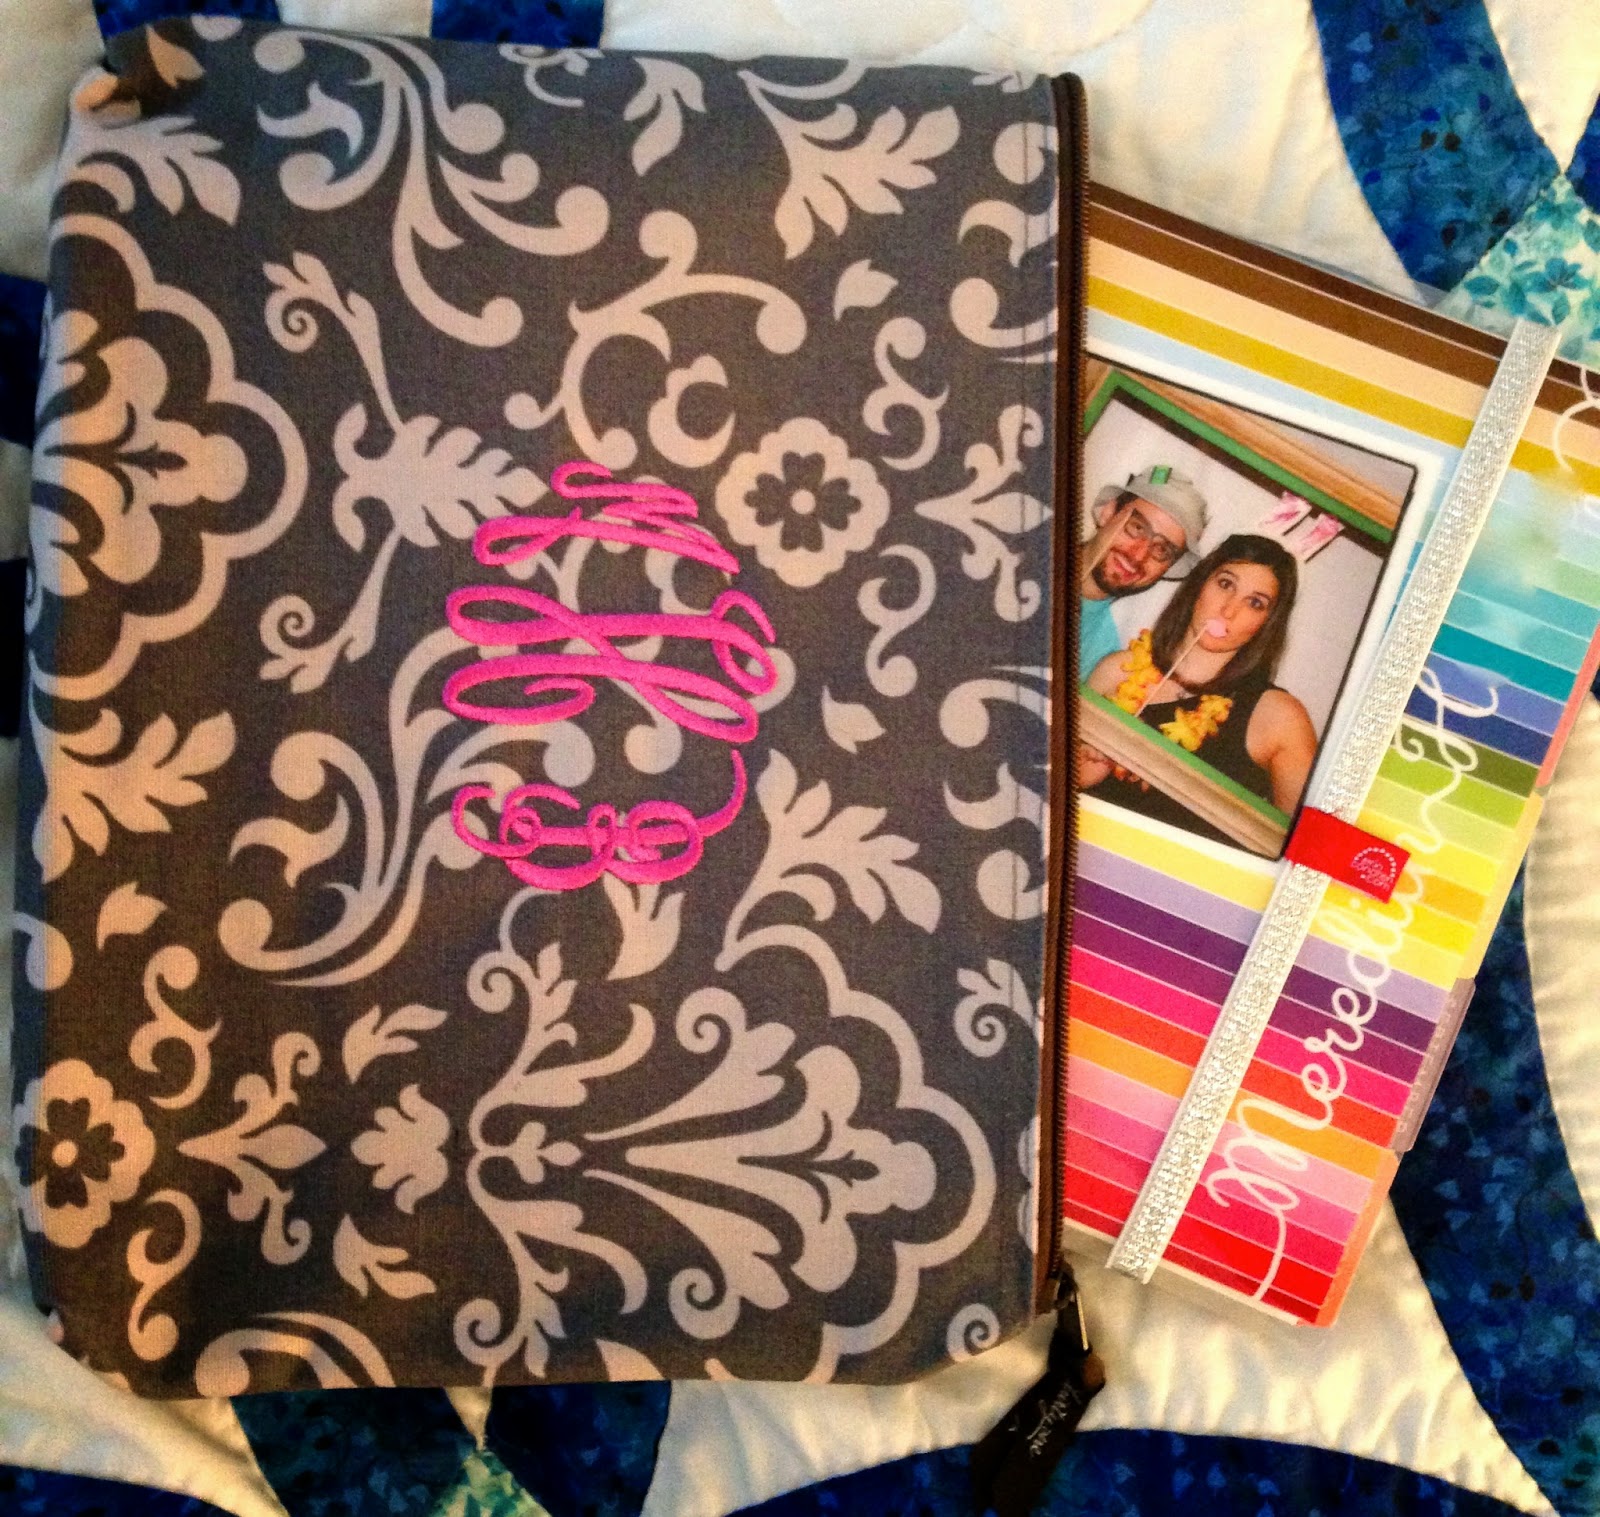
7. Cases: For some of you, slapping one of EC's adorable "Keep It Together" bands is perfect! For me, I get annoyed when the coils get caught in something else in my purse or work bag. Enter ThirtyOne product "Zipper Pouch" (No kidding - it's called that. Easy, huh?!). I love it. It's big enough to fit my ECLP and pens in! Maybe you just convert your planner to a Kikki K or Filofax and that's enough? Either way, it's totally your personal preference.
My ThirtyOne Zipper Pouch and ECLP.
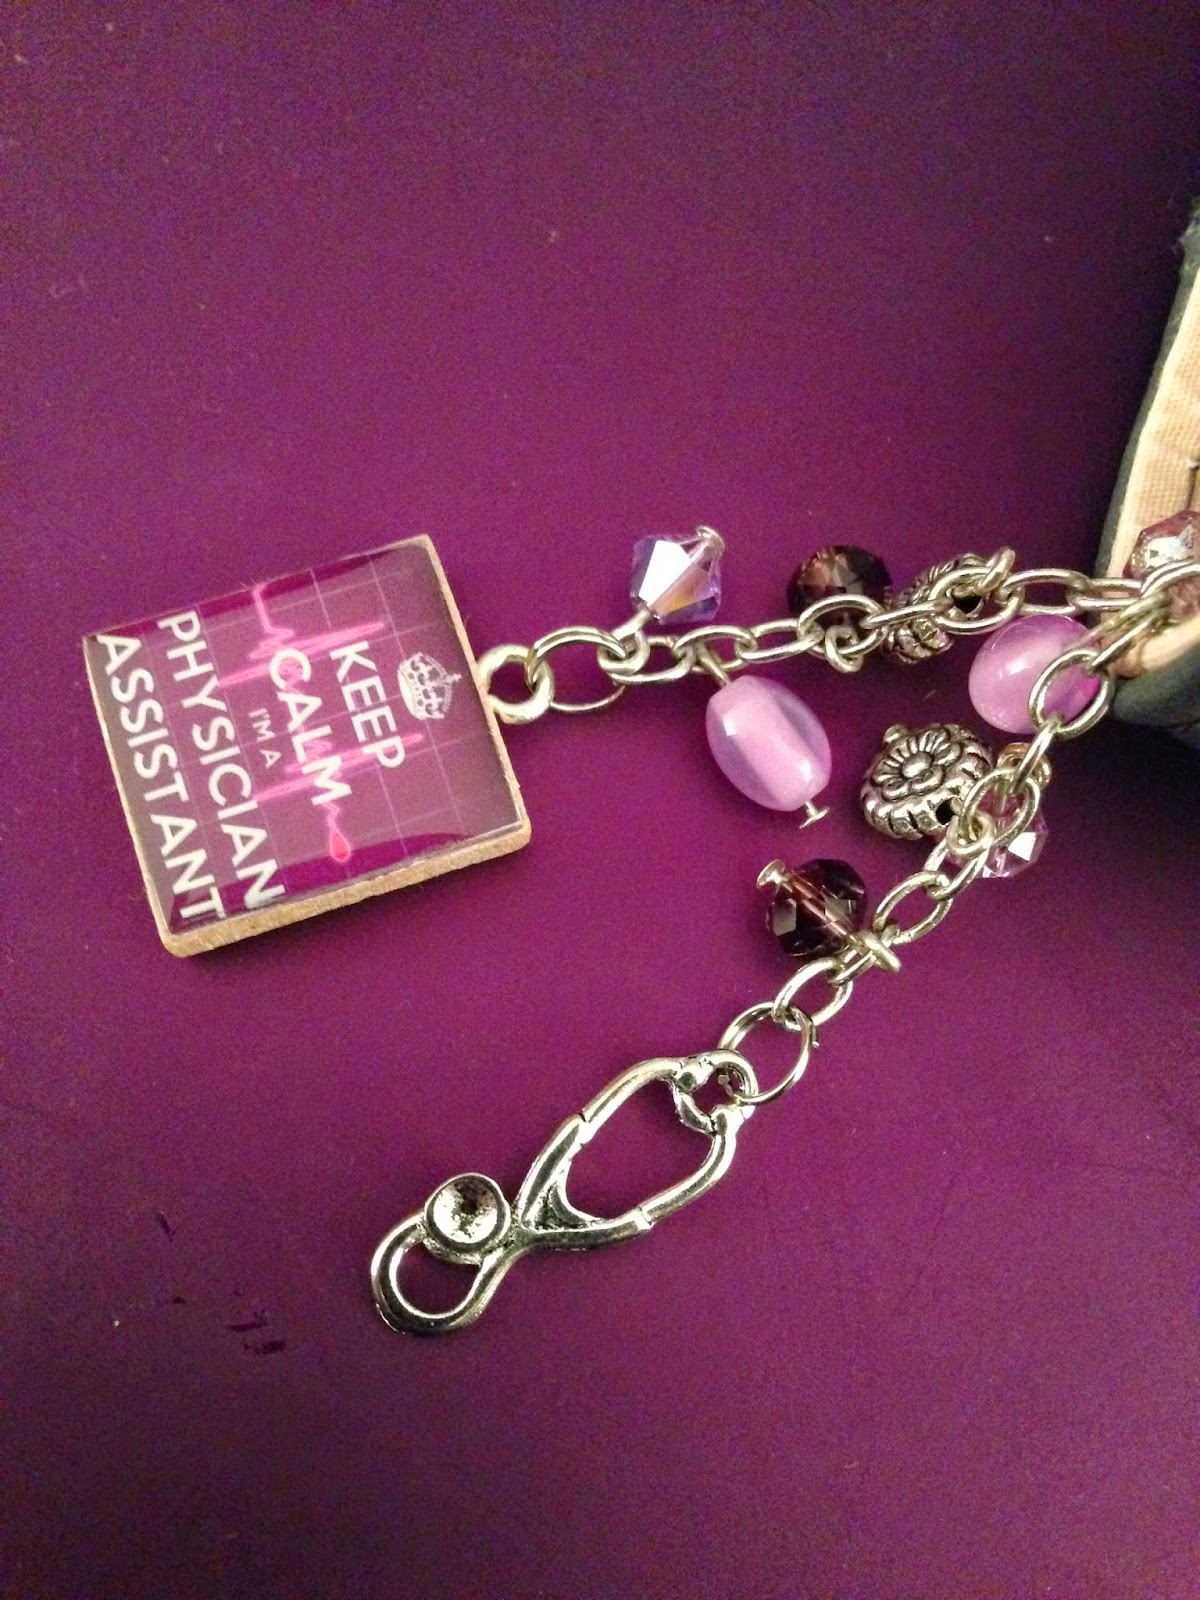
8. Planner Charms: Add some adorable flare and flaunt your favorite activity with a planner charm! Check out CraftersRetreat on etsy! Shelly makes adorable custom charms, and she'll even make one specific to your requests! She's a doll to work with! :)
My adorable custom charm from CraftersRetreat.
9. Covers: Erin Condren now makes it so easy to change out your cover on your ECLP. She even sells covers separately for $10.95. What better way to update your planner than switching out the cover?!

Do you have ideas that weren't mentioned?! Comment below! I know there is plenty of creativity out there with these adorable ECLPs, so share the wealth! :)