Showing posts with label organize. Show all posts

Tuesday, May 12, 2015

My Team

First and foremost: Oh. My. Goodness. It is absolutely ridiculous how long it has been since I wrote a blog post! I truly apologize for that. Good news is: we have plenty to cover! Bad News Is: I have missed you all! Moving On...

It takes a village to raise a child. It takes a team to make a celebrity red-carpet-ready. Well, it takes
multiple planners to keep me on track! I am not kidding! Jump on instagram and search some tags like "plannernerd" or "plannerjunkie." You will see that I am not alone! I have three planners. Yes, three. However, they all serve a slightly different purpose. If you think that's a lot, (again) hop on instagram and see just how many women join me in utilizing more than 1 planner! So what all do I use these for? I am so glad you asked!

1. My FoxyDori, made by Kelly - one of the sweetest Etsy sellers you will ever meet. It's fuschia (she calls it DragonFruit. Who cares?! It's gorgeous!), with my initials in the bottom right corner....Perfection.
So, What's In It? My MayDesigns notebooks, all of which serve their own individual purpose. This planner is all about me: my schedule, personal goals, personal to-do list, etc.. And it goes everywhere with me.

  • An Agenda: This helps me keep track of the most important parts of my day (to do lists, errands, things to remember, etc.)
  • An Address Book: Sometimes, I have a card in my purse to mail, but I have forgotten to write (or finish writing) the address. This is where my on-the-go address book comes in handy!
  • A Meal Planner: This includes a weekly space to write out the meals for each day, and another space to write out my grocery list! So handy.
  • A Budget Book: I'm terrible about writing out expenses AFTER I get home. I usually end up shredding the receipts before I remember to write them down in my check register or my budget tracker. This allows me to keep up with expenses WHEN they happen!
  • A Notebook: This is just plain lined notebook paper. I use this to write down to-do lists, doodle, or even write important info given to me while I'm on the go.

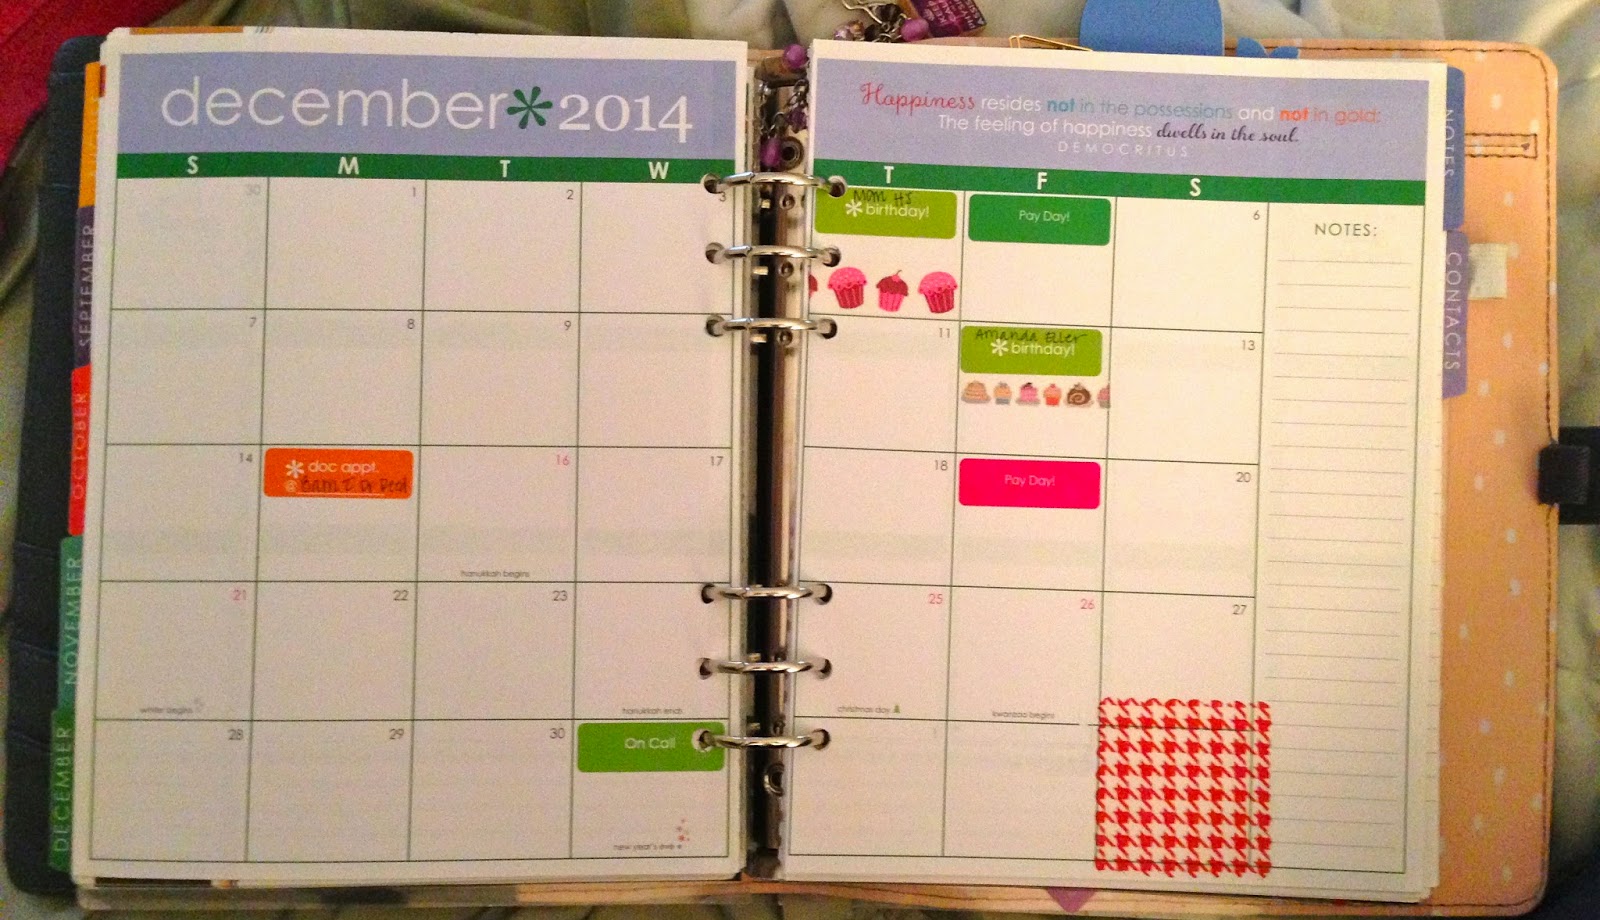
2. My Erin Condren Life Planner. This planner is a little more broad in terms of what I write in it/plan in it. This is more of a "family" planner, but still is mostly focused on my personal daily to-do lists. I plan out any important events for J (my hubby) or T (my stepson) in here as well. Family member's birthdays, as well as their important events are noted in here as well. This planner frequently makes an appearance out in public with me, but doesn't necessarily travel everywhere I go.

  • Weekly Spreads Include: Birthdays, daily to-do lists, errands to run, doctors' appointments, work check lists, my daily work schedule, reminders, etc.
  • Monthly Spreads Include: Birthdays, Big events (i.e., anniversaries, graduations), vacations/trips, when my stepson visits, my husband's retreats. I also use my notes section on each month to track my PTO so that I make sure I don't go over!

3. My Inkwell Press Planner. This is truly a family planner. It lives on my bartop in my kitchen. This has everything going on in our family in one place: J's work schedule, my work schedule, T's visits, J's Honey-Do list, my goals for around the house each week, meal plans, work out goals, etc.. What I really love about this planner is the extra notes pages after each month and the goals page included each month. It's great for a business-minded woman (OR a woman on a mission to get out of debt!). While mine is not personalized on the cover, it does generally come with personalization. I ordered mine on sale when personalization was no longer offered.

  • Weekly Spreads Include: Both of our work schedules broken down by time each day, dinner plan, work out plan, pay days, honey-do list, errands to run, and weekly goals for around the house.
  • Monthly Spreads Include: Pay Days (we get paid on different days of the month), T's visits, big events, J's retreats, our vacations, my call weekends, etc. 

See?! It really does take a village to keep me on track!  Hopefully, this helps provide you with some inspiration on how to utilize multiple planners. My recommendation is to make your smallest planner your go-to on-the-go planner with your larger planners being more flexible to stay at home. If you like my magnetic clips, check out OliClip on etsy. Like the stickers you see?! Check out my instagram (@mrshenleyplans) for vendors or stay tuned for a new weekly blog feature (Coming Soon!): My Favorite Etsy Vendors.

Thanks for stopping by!

Sunday, December 14, 2014

Orgainzing Your Planner Stickers

I saw this idea initially on Instagram from someone in the planner community for Erin Condren lovers like myself. I couldn't resist jumping on the bandwagon as my current system of storing planner stickers is to pile them up in a tupperware container. SO not conducive to finding something quickly. I searched high and low online trying to find something that I liked (as I am super lazy and hate shopping/running errands), but had no success. I then ventured out to my local Target and OfficeMax as Staples wasn't an option in my neck of the woods. I have outlined below the products I used, along with where I found them. 


What You Will Need:
Avery 7x9 1" 3-ring binder
Avery 5 1/2x8 1/2 inch Sheet Protectors
Avery 5 1/2x8 1/2 inch business card holders


How to Organize:
1. Separate stickers by vendor. To me, I generally think "Oh I wish I could find these from this shop." So organizing by etsy seller was easiest for me. However, you may choose to organize your stickers by category, what you use them for, etc..
Some labelled & filled page protectors
2. I labeled each page protector with one of my favorite stores. I made sure to write them on the outside portion and made sure to stagger them so I could see the labels a bit easier. Once labelled, I dropped the respective stickers into their protector and popped it into my notebook!
Some Lillie Henry stickers in their page protector.
3. Once my page protectors were filled with the larger sheets of stickers, I moved on to filling the business card holders. I used these for stickers bought in-store (i.e., Target, Michaels, etc.), page flags from target, and some washi samples. If something was a little too long or tall, I trimmed the excess to help it fit a bits better.
My page flag-filled business card holder.
Some stickers and washi samples.
4. Once I had filled all of my business card holders, as well, I created a dash board for my sticky notes on the back part of the binder, using the binder itself. Some of my thicker sticky note pads didn't make "the cut," as they would have made the binder outrageously thick.
My dashboard in my sticker binder! Dreams do come true!
5. My completed project, chock full of planner goodies!!! 

The biggest key to making this work for you is to find and use a system that makes sense to you! Happy planning and organizing! :)

Want more of what you see?? Follow my on instagram: @mrshenleyplans

Sunday, October 5, 2014

My New Favorite iPad App

I love to cook - when I have time. While most of you know from previous blog posts that J does the majority of the cooking, that doesn't mean that I don't enjoy scavenging for some amazing-sounding recipes! We really do enjoy cooking together (remember our second date?). Recently, my mom introduced me to this amazing iPad app for the kitchen: RecipeBook. When she initially purchased it, the app cost $2.99. Now it's $3.99. I don't generally make a habit of buying iPad apps. I personally think that it is a waste of money, but I did purchase this app. I am so happy that I did! Whenever I find a recipe that sounds great, I transfer it into this app. From there, I can email it to J (who has the same app). He can then transfer it into the app on his iPad and use it to make dinner! Super simple!

So, to demonstrate, I've included a little mini tutorial to show you a little bit of what this app is all about! I found this amazing-sounding recipe on Pinterest: Roasted Cauliflower & Gruyere Soup. I opened up the actual webpage that this recipe was found on and copied the link.

I then opened up my RecipeBook app and selected "Import Recipe from Online" under the menu options.

From there, you can import the recipe in a snap! The directions on the app are actually really well-written and easy to understand. The best part is, the app will create a grocery list on demand! Pretty awesome, huh?!

I hope you enjoy this app! Let me know if you want to swap some recipes! :)

Saturday, August 9, 2014

Putting Your Erin Condren Life Planner to Work: Meal Planning

We have this issue in our house - a lot. It's 6 pm, J and I are both starving, and yet we have no food thawed out, the left overs are bad, and no plan for dinner. So we make it work by going out to eat - a huge killer for our already tight budget. We have implemented a system at our house to make grocery shopping easier, decrease the meals we eat out, and make the most out of the food we do buy. If you take your lunch to work, you can even take this a step further by figuring out how you are going to dole your leftovers out over the week for lunch.

1. I have taken this idea from a sweet girl I know from a Facebook group for Erin Condren fanatics. I created a page of quick meal ideas (my "meal reference") that I refer to when I get stuck.  I have organized these by categories: main dishes, crockpot recipes, sides, and recipes to try (for when I stumble across that amazing-sounding recipe on Pinterest and want to actually remember which dish I pinned).  If you have a picky kid, make a list separate for them and add to it when you find a new food he or she likes. The possibilities of your menu reference are endless! I even created on specifically for parties, dividing it up into the following categories: appetizers, sides, salads, finger foods, dips, and main dishes.
2. Using my cravings (no I'm not pregnant), J's requests, and my Pinterest inspirations, I create a list of meals - one for each day. I run this list by J to make sure that he is ok with everything (after all, he is the cook!). I write this down on a sticky note (and try to assign one meal to each day of the week, mixing up the protein of the main dish so we don't have chicken 3 nights in a row, etc.).

3. Once I get to the point where I am ready to decorate my week (see how I do that here!), I write down each meal on a sticker and stick it at the bottom of the page on the lined notes section.

4. I then transfer the meal plan to our menu board on the fridge. I ordered this off of a discount website (jane.com).  The original company was Lovey Dovey Creations. This way, if I am at work with my planner, J knows what to thaw out, cook, prepare, etc.. We often use the left overs for lunch the next day if we can. Sometimes, we simply plan to make less of a meal if we are trying to cut down on the amount of leftovers we have (like if we are leaving for a trip later that week).

I hope this has inspired you to get to meal-planning! I plan weekly so we make weekly trips to the grocery store. However, I have made monthly meal plans before (it just got a bit tedious for me). The great thing about this system is you can use all (or none, or some) of what I do. Let me know how it works for you!

Saturday, July 19, 2014

Making Your Erin Condren Life Planner Work For You

My original beauty. I *might* have purchased 2
additional covers. Shhhh!
Let's face it: sometimes there's not a perfect product on the market, but there's one that comes *this* close to perfection. So how to you purchase said "this-close-to-perfection" product and make it your own?! Well, if it's an Erin Condren Life Planner (ECLP), look no further! I'm obsessed with all products Erin Condren. The list of items/products I have purchased her is too long (and possibly embarrassing?) to list. Let's just say it's a slight problem. When I purchased my first LP 18 months ago, I was fairly "boring" with how I utilized it - black pen and some check boxes, nothing more. I didn't realize all the possibilities that you can create for yourself when it come to this amazing planner! I thought that there was a slim chance that someone else was feeling like I was - they had the perfect product and felt like they weren't utilizing it to its full capacity. So here is how I have made my ECLP perfect for me!

Let's Get Started!

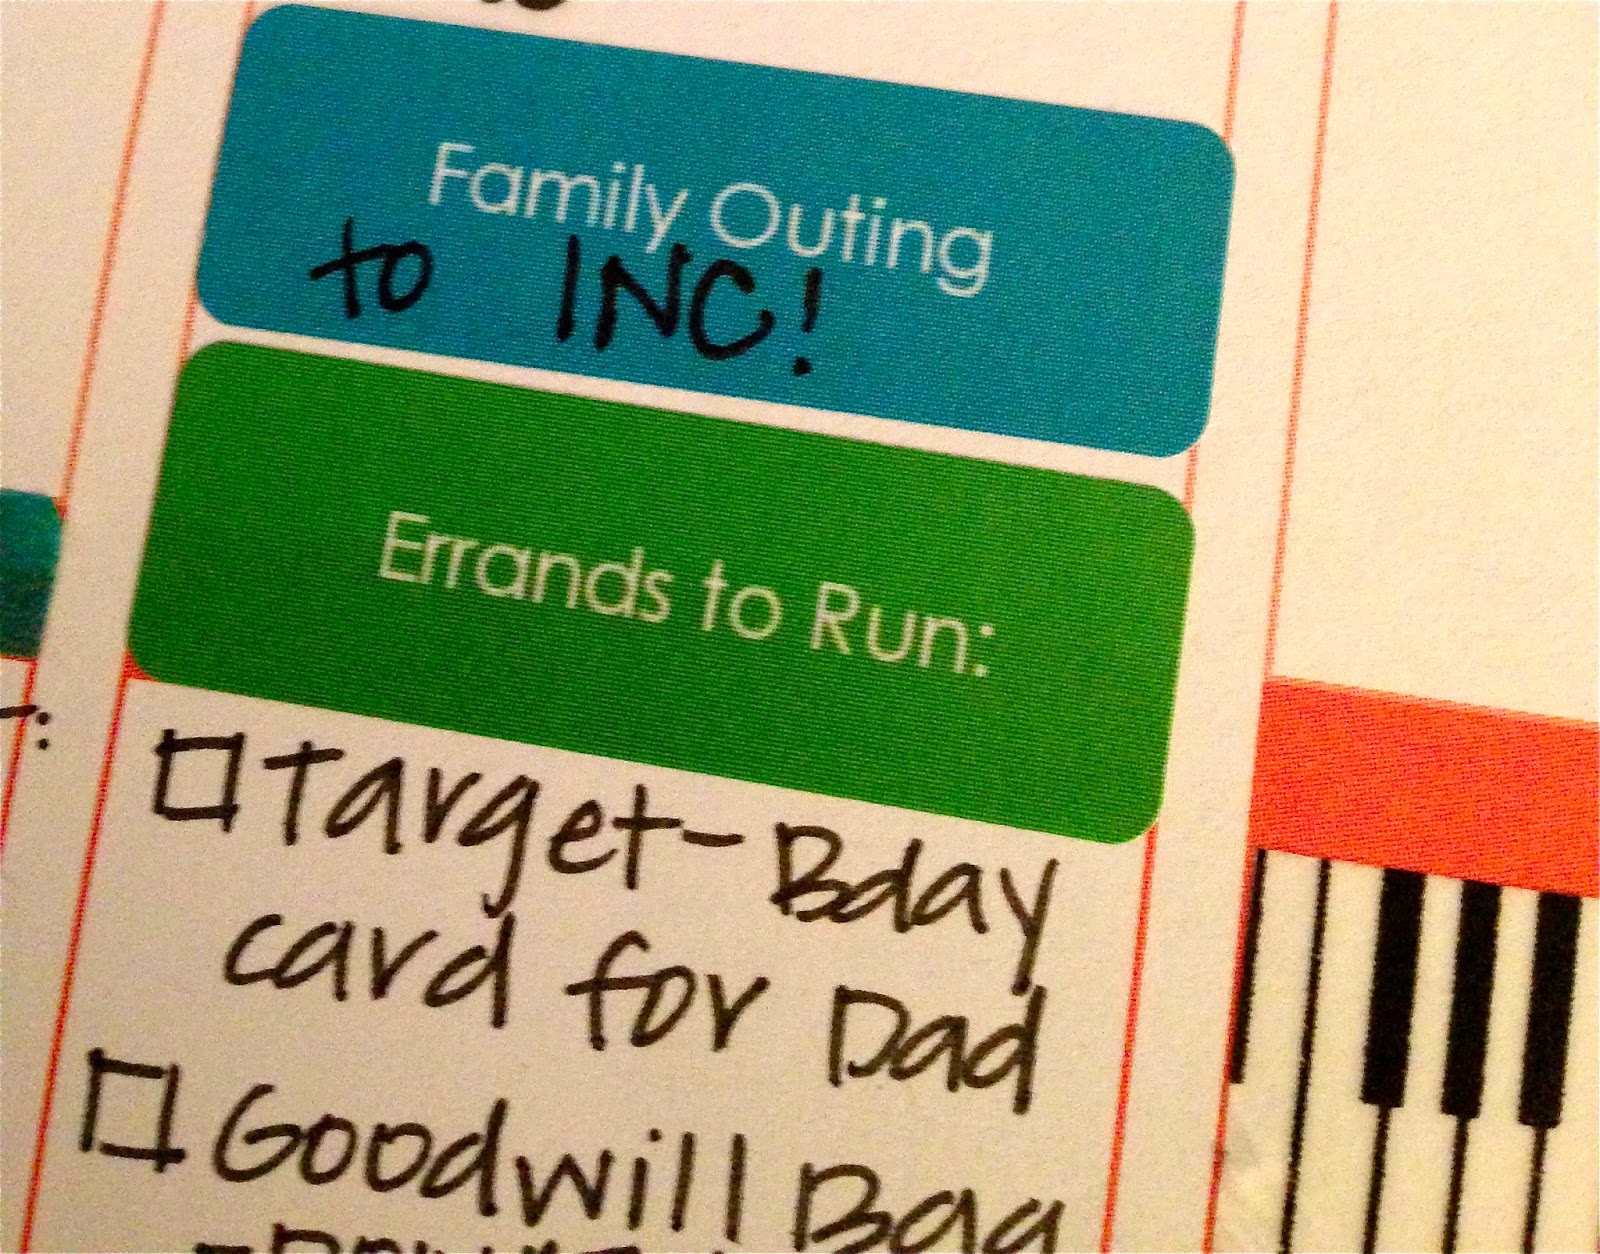
1. Custom Stickers: EC herself provides you with an option to create custom stickers on her website. Want to mark Pay Day? How about Anniversaries? Look no further than your source for an ECLP! There are PLENTY of outside sources for custom stickers if you don't like the price tag of the EC custom stickers. Here's a list of my favorite sources for custom stickers (Click on Site Name to be taken to their page!): Sizemore Designs, Love Affair With Paper, and KrissyAnneDesigns! Your options are endless, but these are few of my favorite sites!
"Family Outing" and "Errands to Run" stickers from Erin Condren
2. Page Markers: EC has an adorable clear page marker that comes with the planner. I'm not a fan. That doesn't mean YOU won't be. I have a preference for other (adorable) means of marking my pages. Those include (but are not limited to):
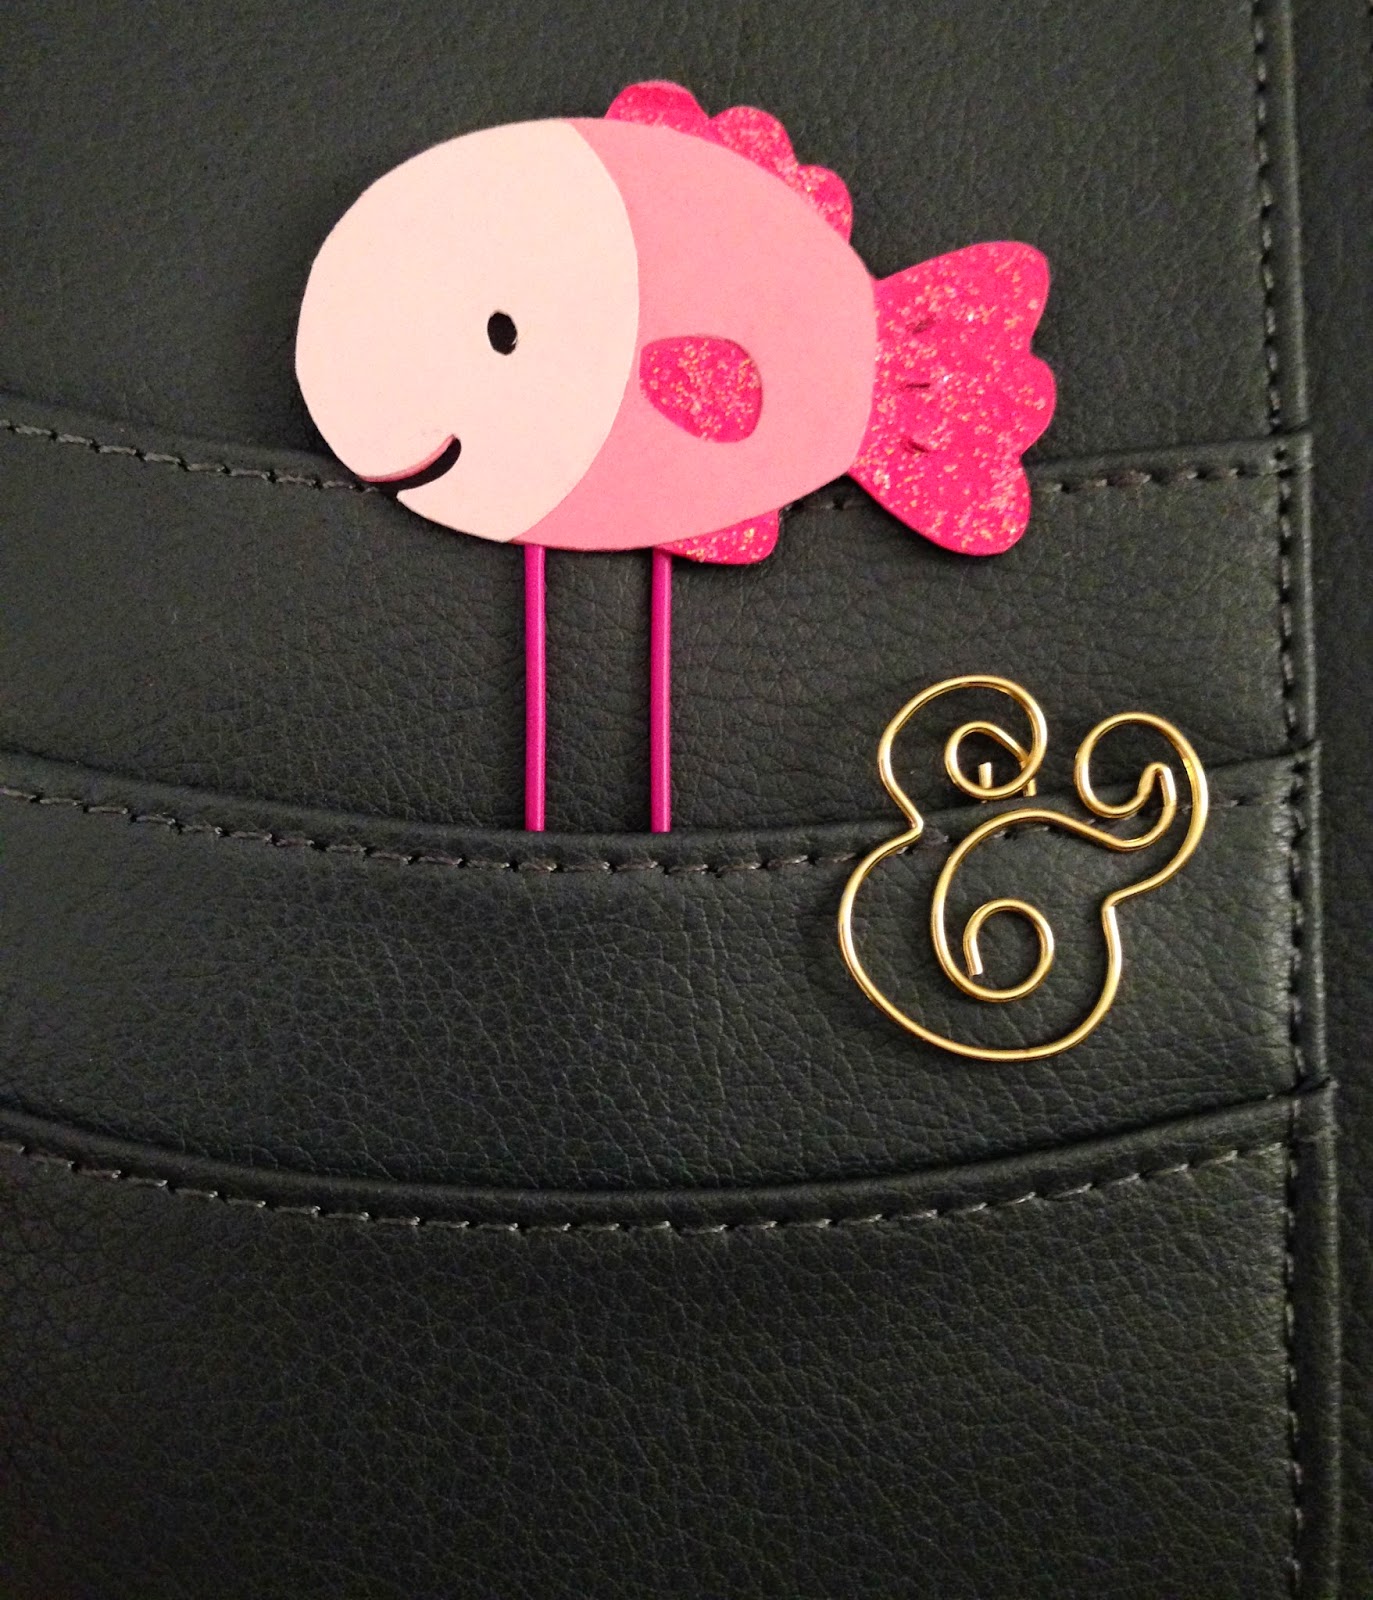
  • Adorable coffee mug, animal, and weather kawaii paper clips, as found at KawaiiPaperie on etsy.
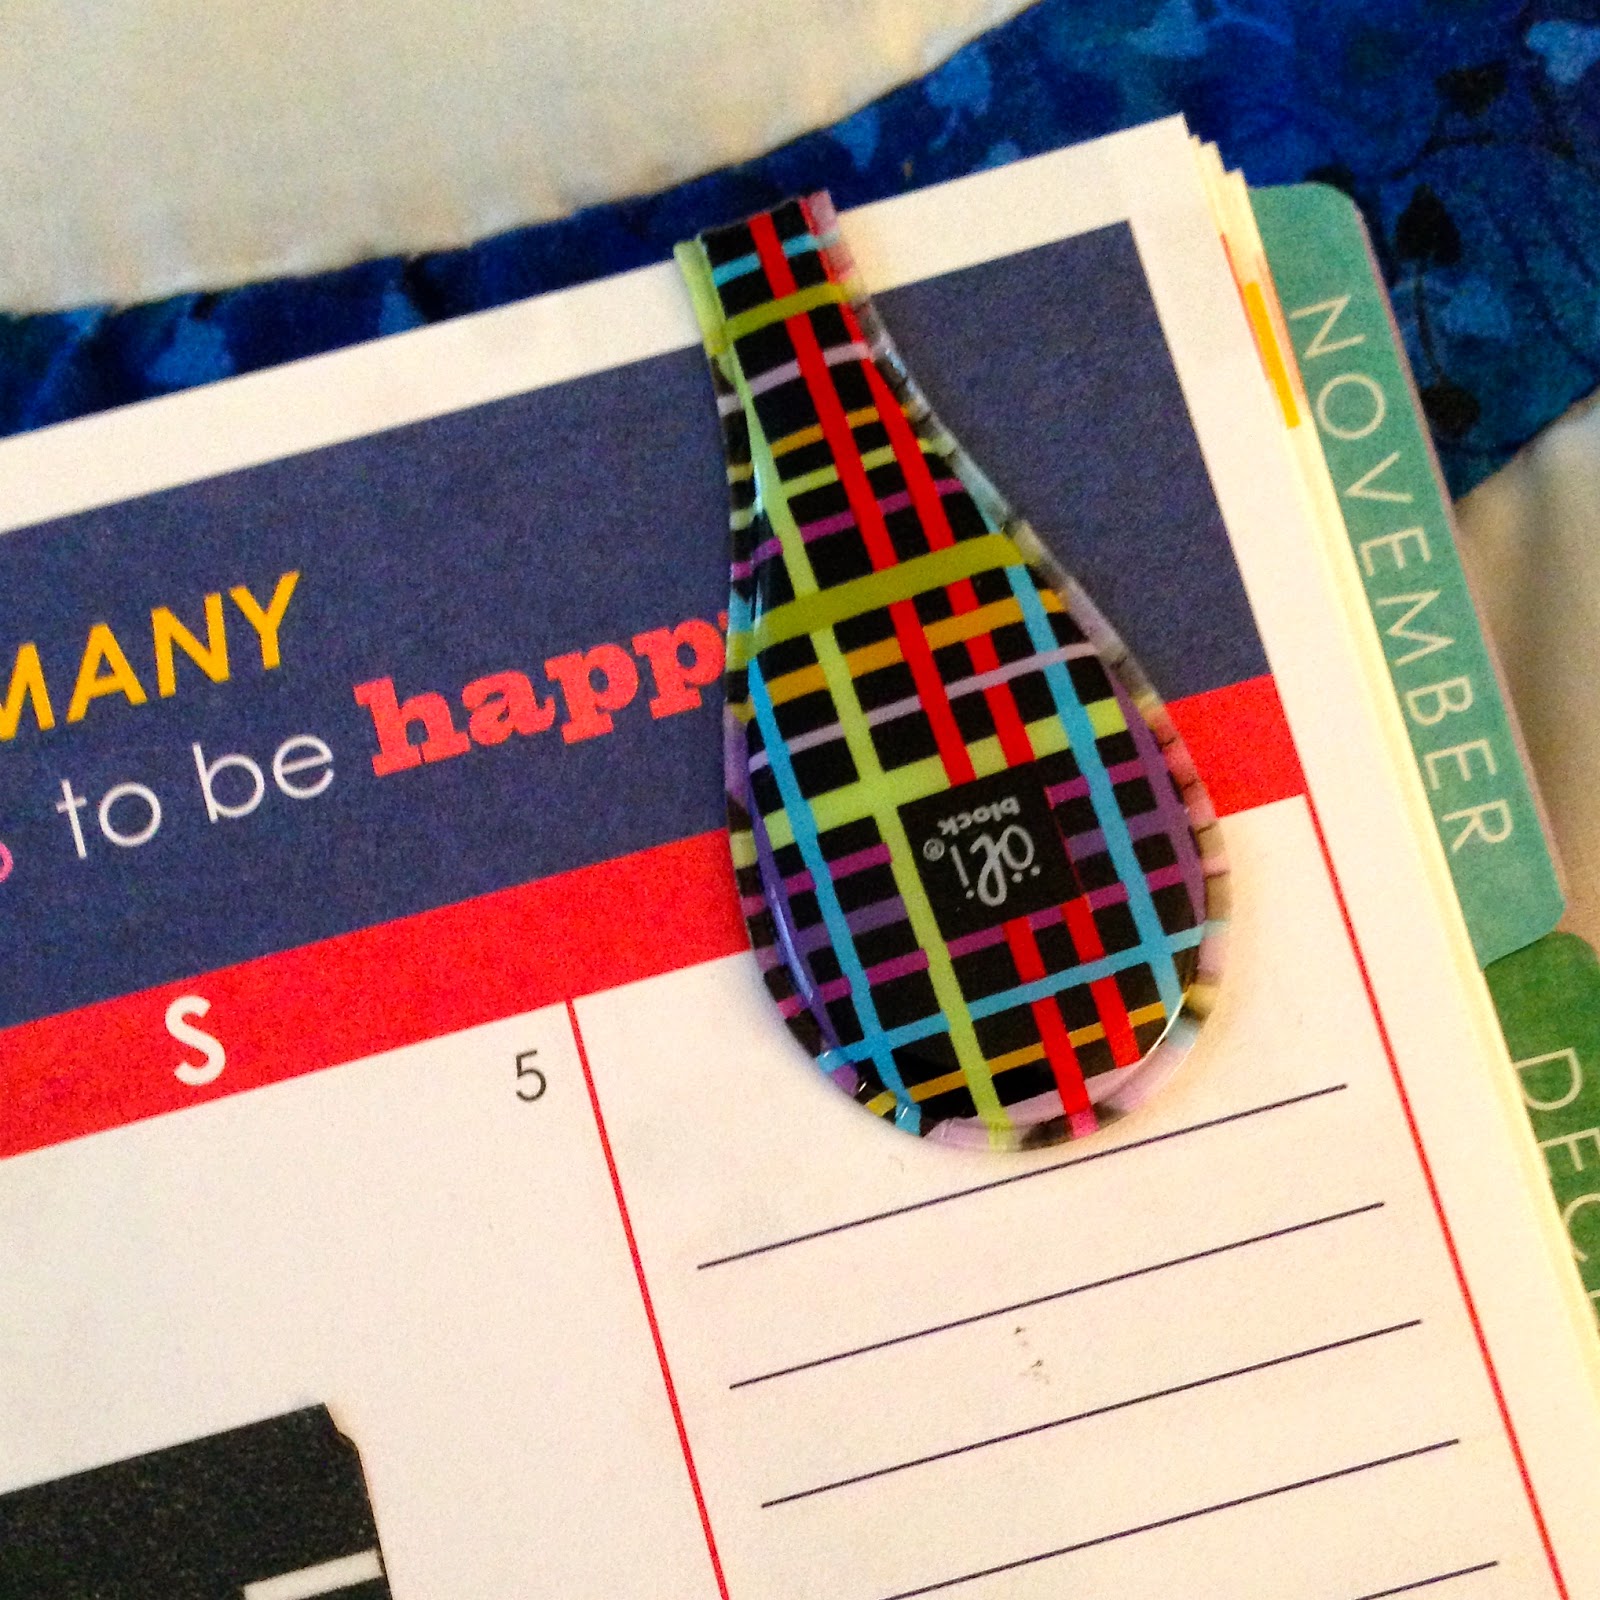
  • OliClips: Generally these gems are found at The Container Store, but there has recently been a shortage. Rumor on the street is that they will be available again on etsy soon, as well as in-stores again soon. Can't wait that long? Check out the facebook group "OliUClip by OliBlock."
One of the many cute patterns available on the OliClip
  • Want something cute, but simple? Check out these ribboned paper clips at MadeYouLookNovelities on etsy! 
  • Kate Spade: Kate Spade makes some absolutely adorable paper clips! Bow shapes, ampersand, exclamation point...adorable! Find them on amazon or if you want just one, check out MyQueenBeeDesigns on etsy.
Fish from KawaiiPaperie and ampersand from
MyQueenBeeDesigns, both found on etsy.
3. Washi Tape: Watch out - it will become an obsession. Don't say I didn't warn you! It's starts with "Oh just these few rolls and I'll be set." Then it turns into "Oh, I need 15 shoeboxes to store my collection." You can use it to mark events that occur on more than one day (i.e. vacation, road trips, retreats, etc.), decorate your daily view, mark out a time you will be doing something (i.e. DIY project, napping, driving, studying, etc.). Oh - you want my favorite places to buy this new soon-to-be collection you will own?! Of course! Check out ACherryOnTop, Pikwahchan, Washi Tape Maniac, Mind the Wrap, and LightLife.

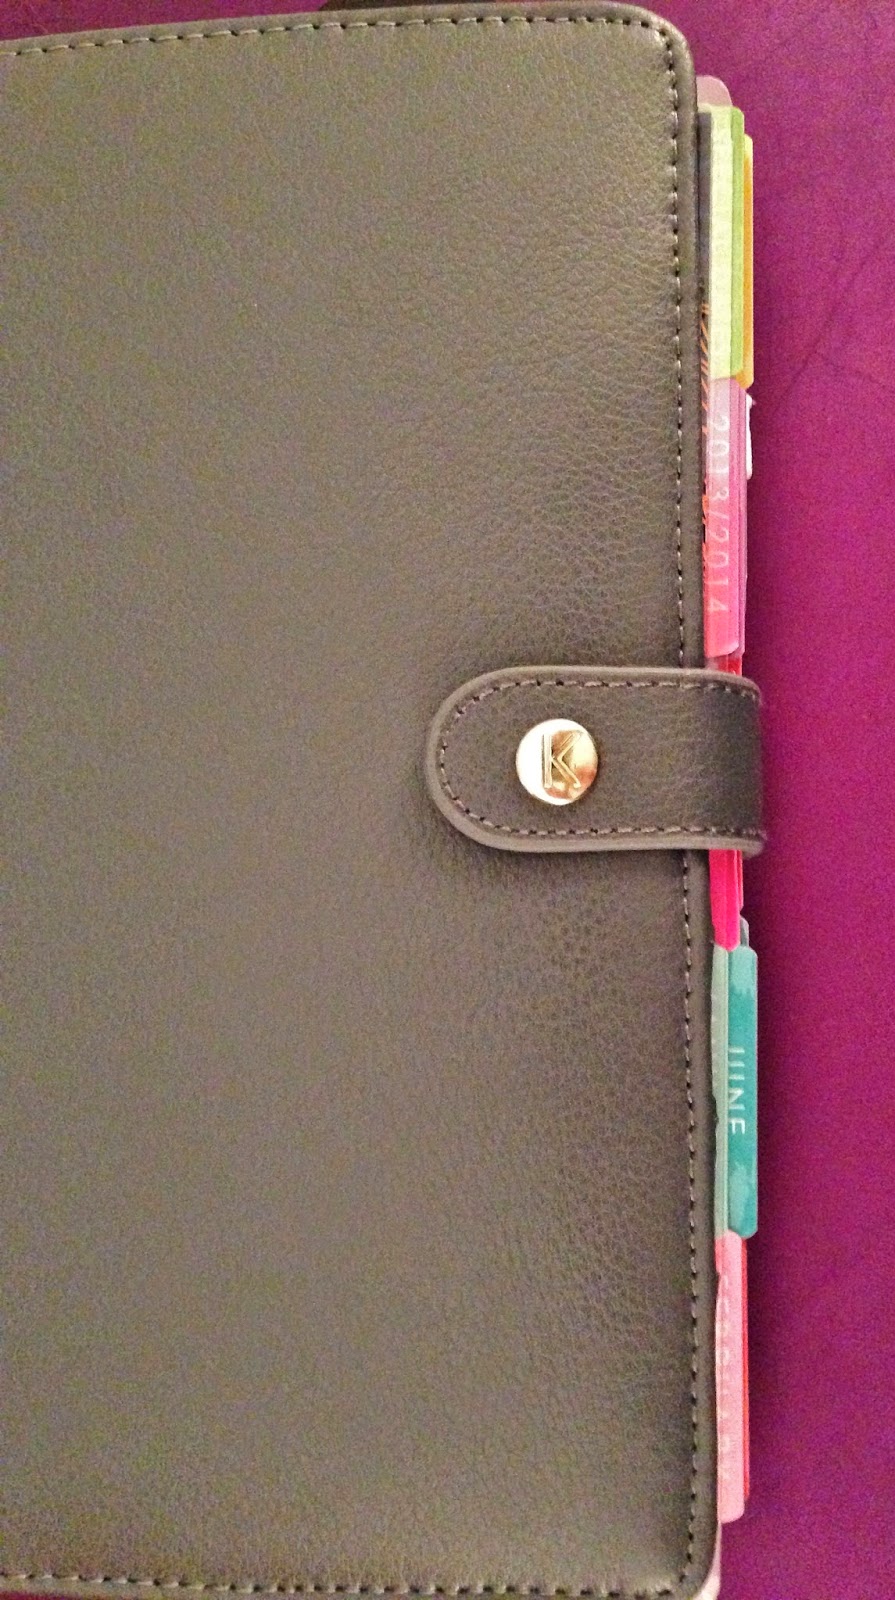
4. The Binding: I am obsessed with the spiral binding for the ECLP. But maybe that doesn't work for you. Check out Kikki K or Filfofax (A5 size). There's tons of tutorials on youtube on how to put your uncoil your planner, trim the edges off and punch it to fit into an A5 Filofax, place it in a Leather Personal Kikki K Planner, or use the Arc system. It doesn't matter what you choose to do - there are so many others who have done the same thing that you are bound to find a tutorial!
Example of my ECLP in a Kikki K
The tabs on my ECLP in a Kikki K.
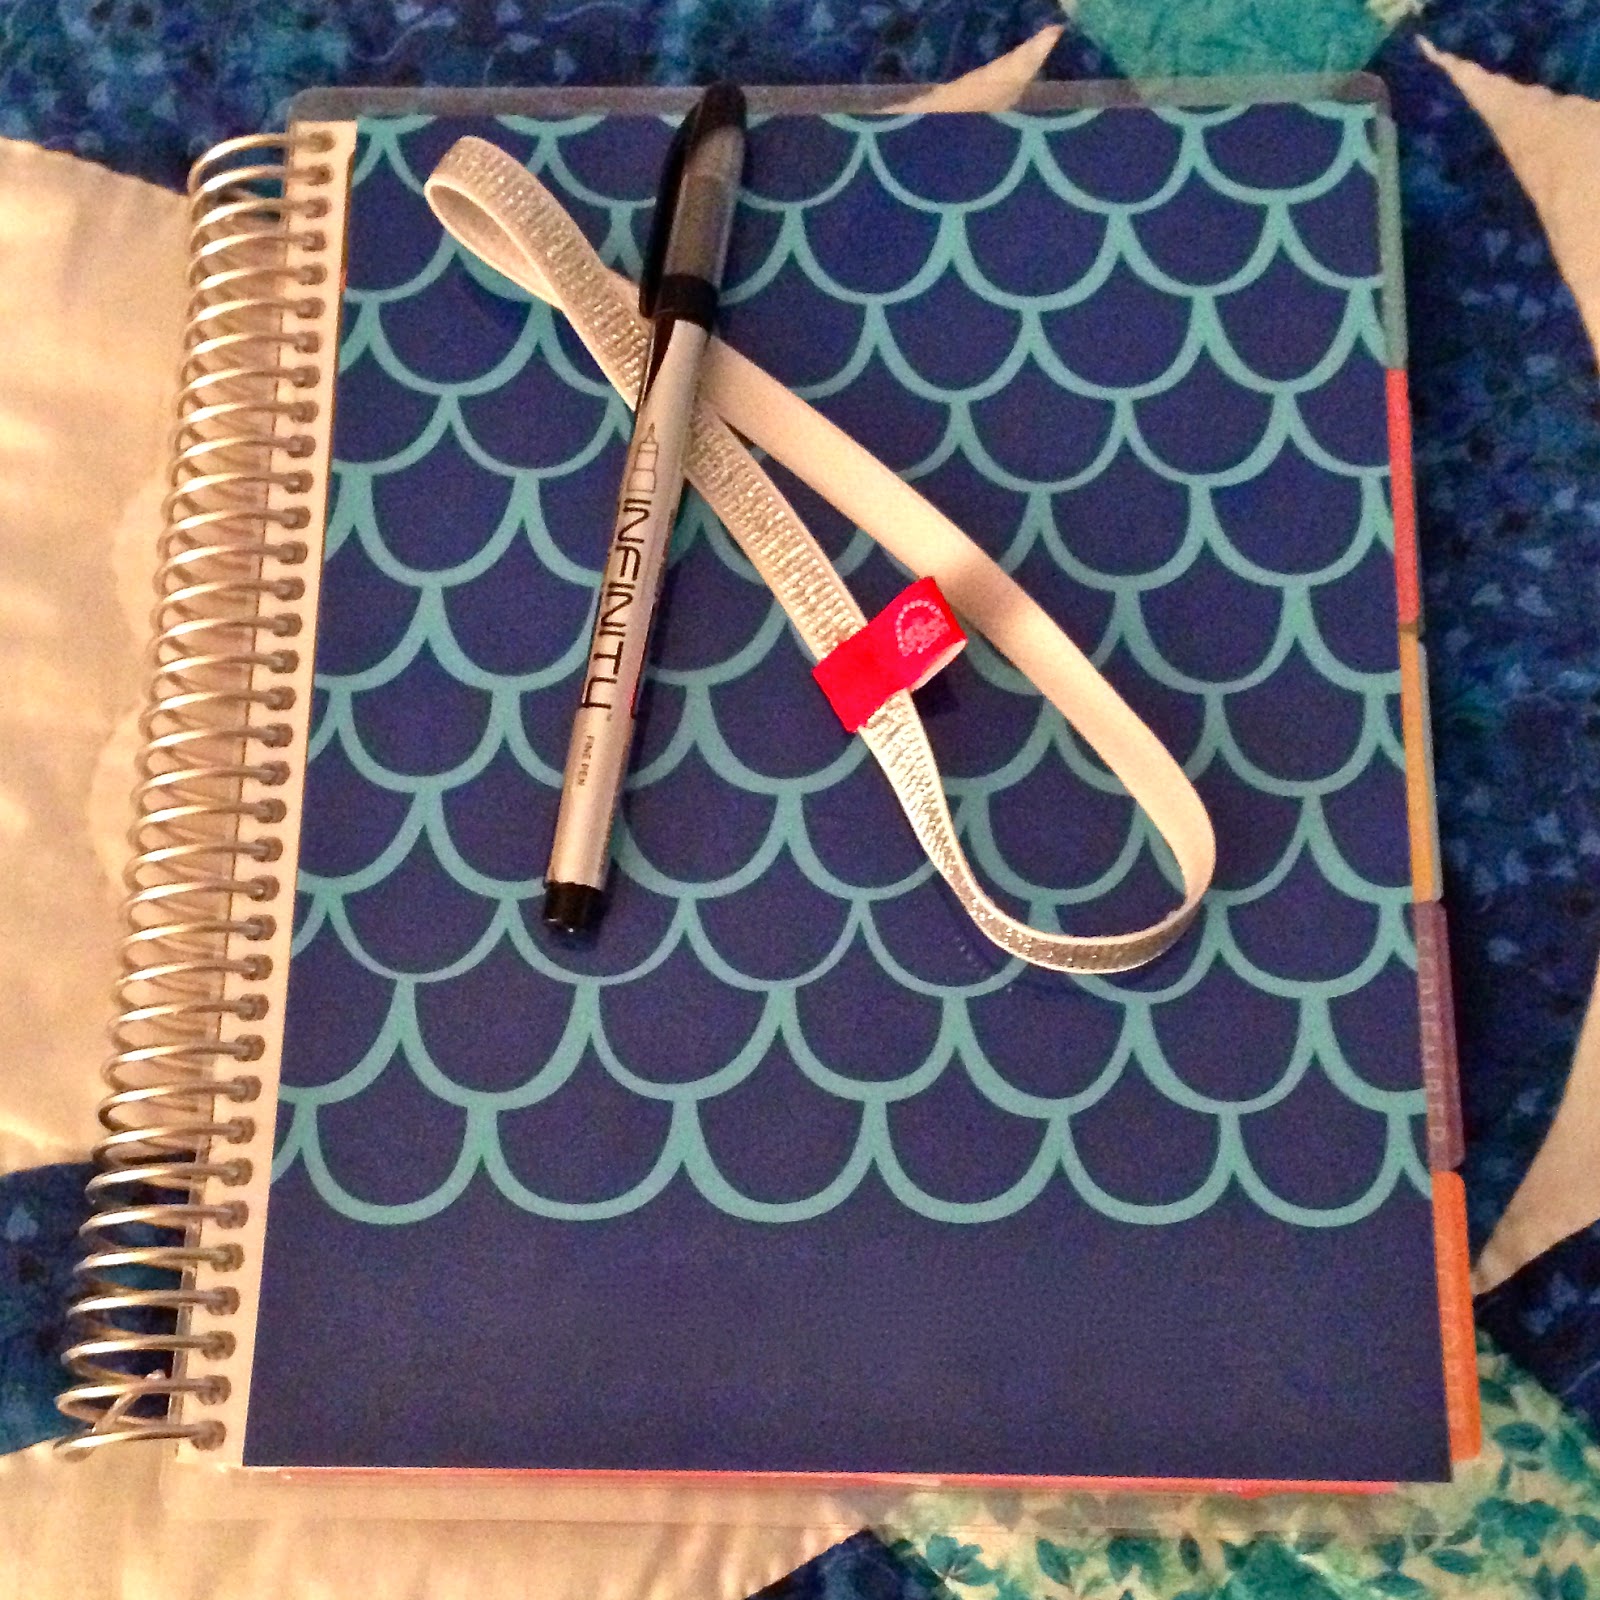
5. Colorful Pens: I love Papermate Flairs. They are colorful, but don't bleed through the page like some pens do. I also love the Infinity pens, as well. They are also great for the ECLP and don't bleed through the page.

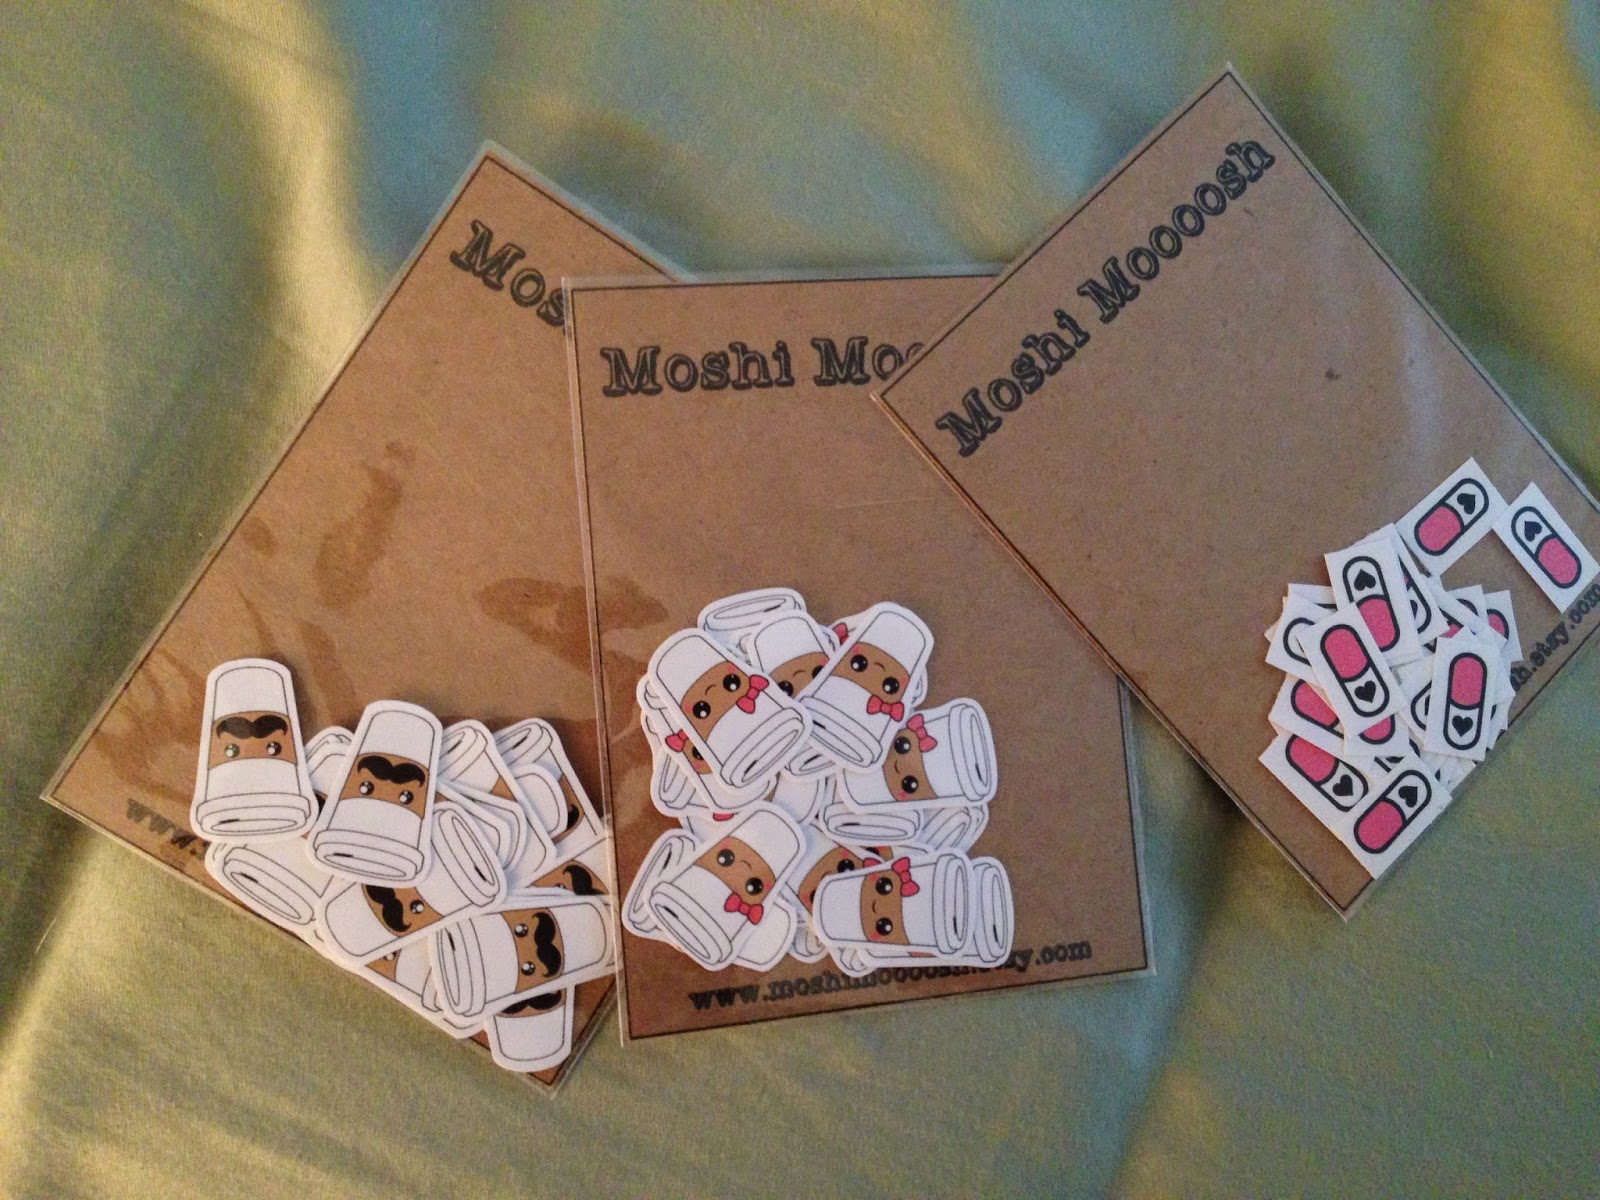
6. Decorative Stickers: Not so sure about washi tape? Check out the scrapbook stickers at your local craft store to add some flair! I would not recommend any stickers that are 3D, but some adorable seasonal stickers, holiday stickers, even cutesy fruit (or whales or hearts or....you get it) can add some adorable pops of color and fun without taking up too much room! My sweet friend Marci has a store with some adorable stickers to mark trash day, coffee time, and she'll even do custom orders. Check out her store! Or I love the stickers you can find in Moshi Moooosh.  Want some little miniature stickers? Check out KawaiiStickers4You on etsy.
My recent purchase from Moshi Moooosh.
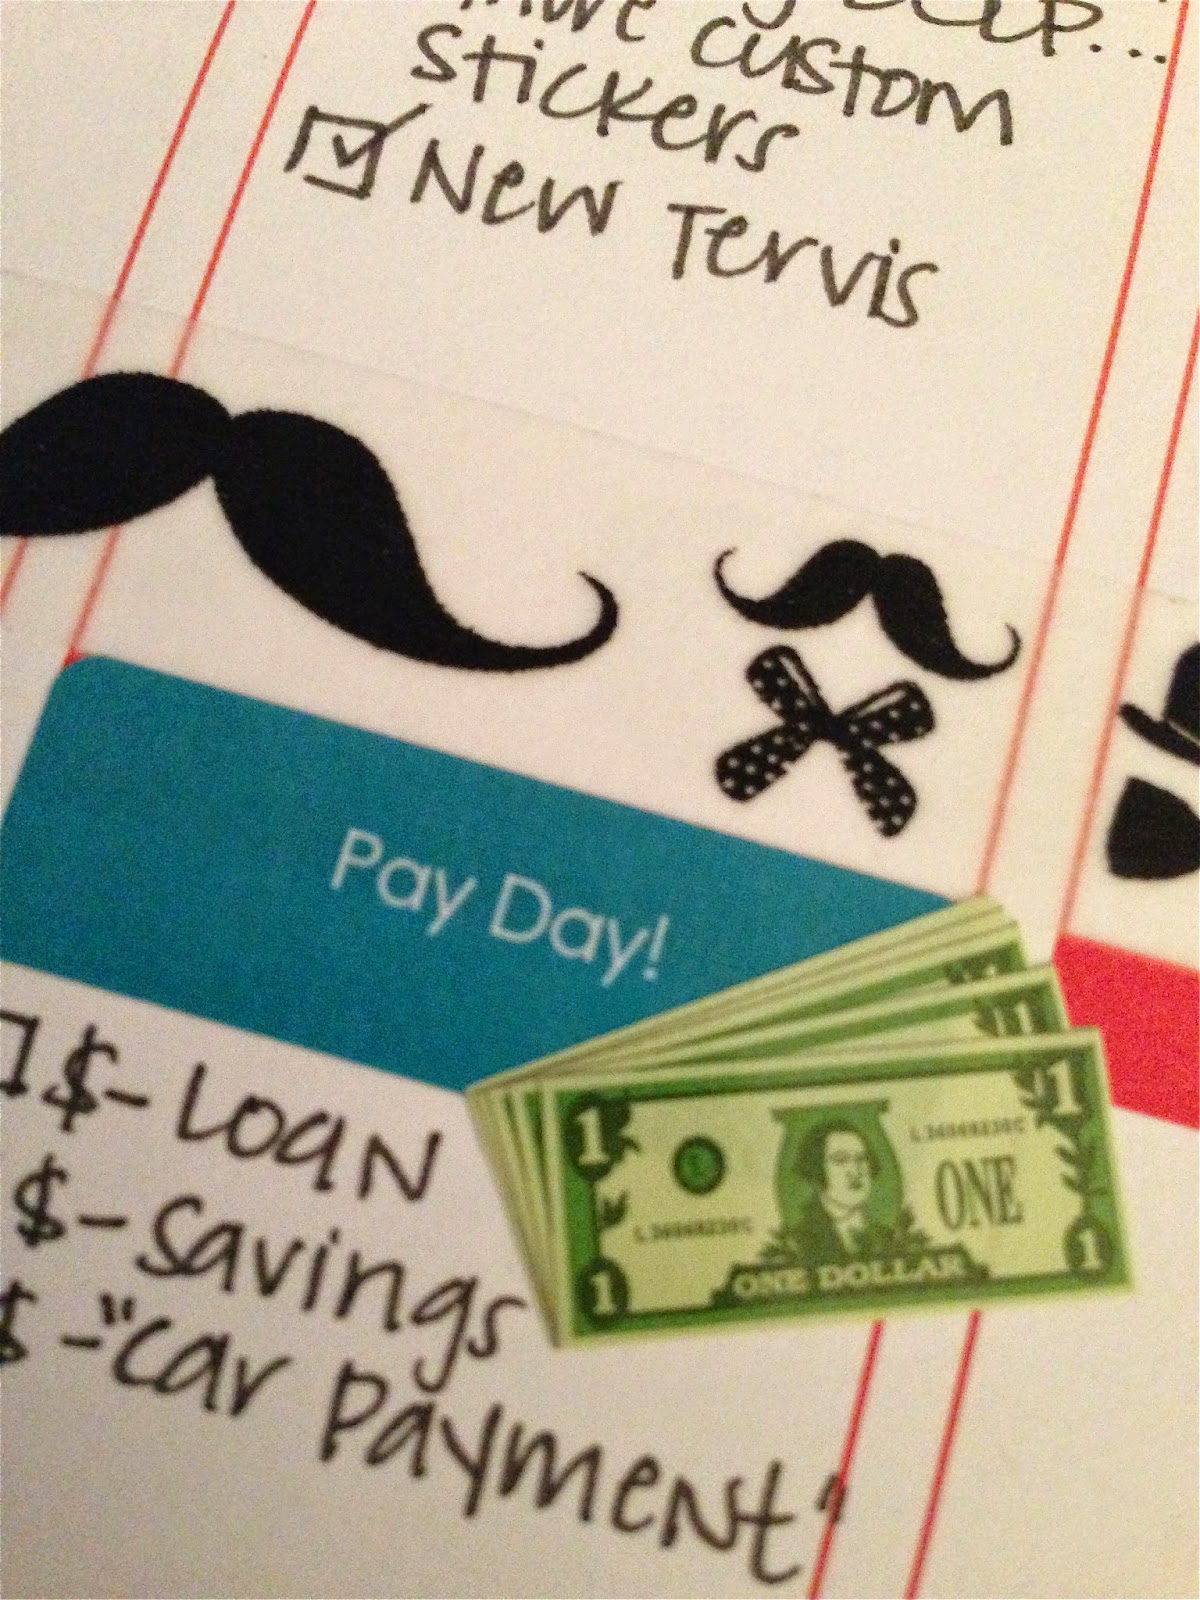
Dollar Stickers from Mrs. Grossman's website!
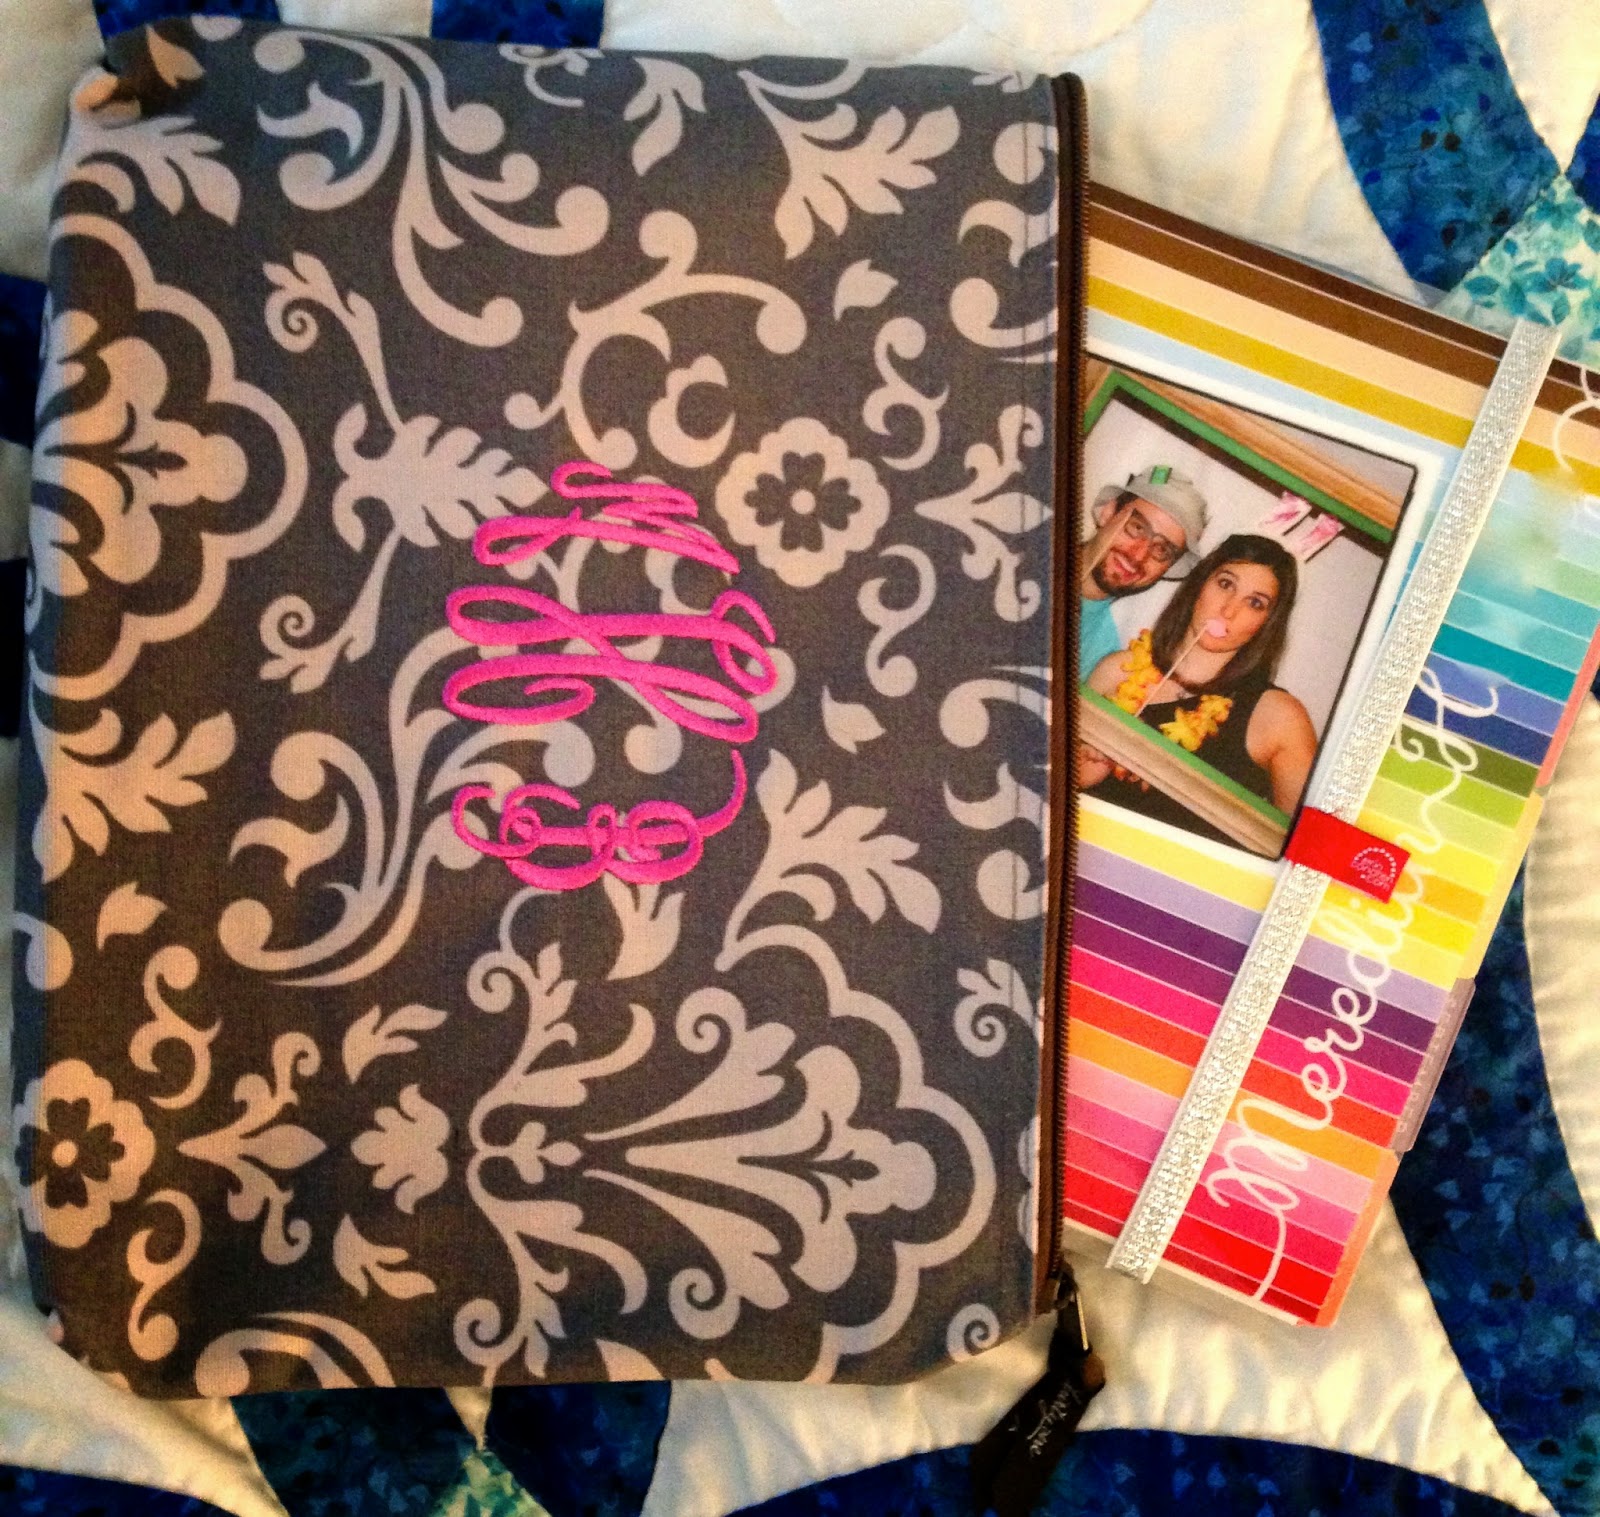
7. Cases: For some of you, slapping one of EC's adorable "Keep It Together" bands is perfect! For me, I get annoyed when the coils get caught in something else in my purse or work bag. Enter ThirtyOne product "Zipper Pouch" (No kidding - it's called that. Easy, huh?!). I love it. It's big enough to fit my ECLP and pens in! Maybe you just convert your planner to a Kikki K or Filofax and that's enough? Either way, it's totally your personal preference.
My ThirtyOne Zipper Pouch and ECLP.
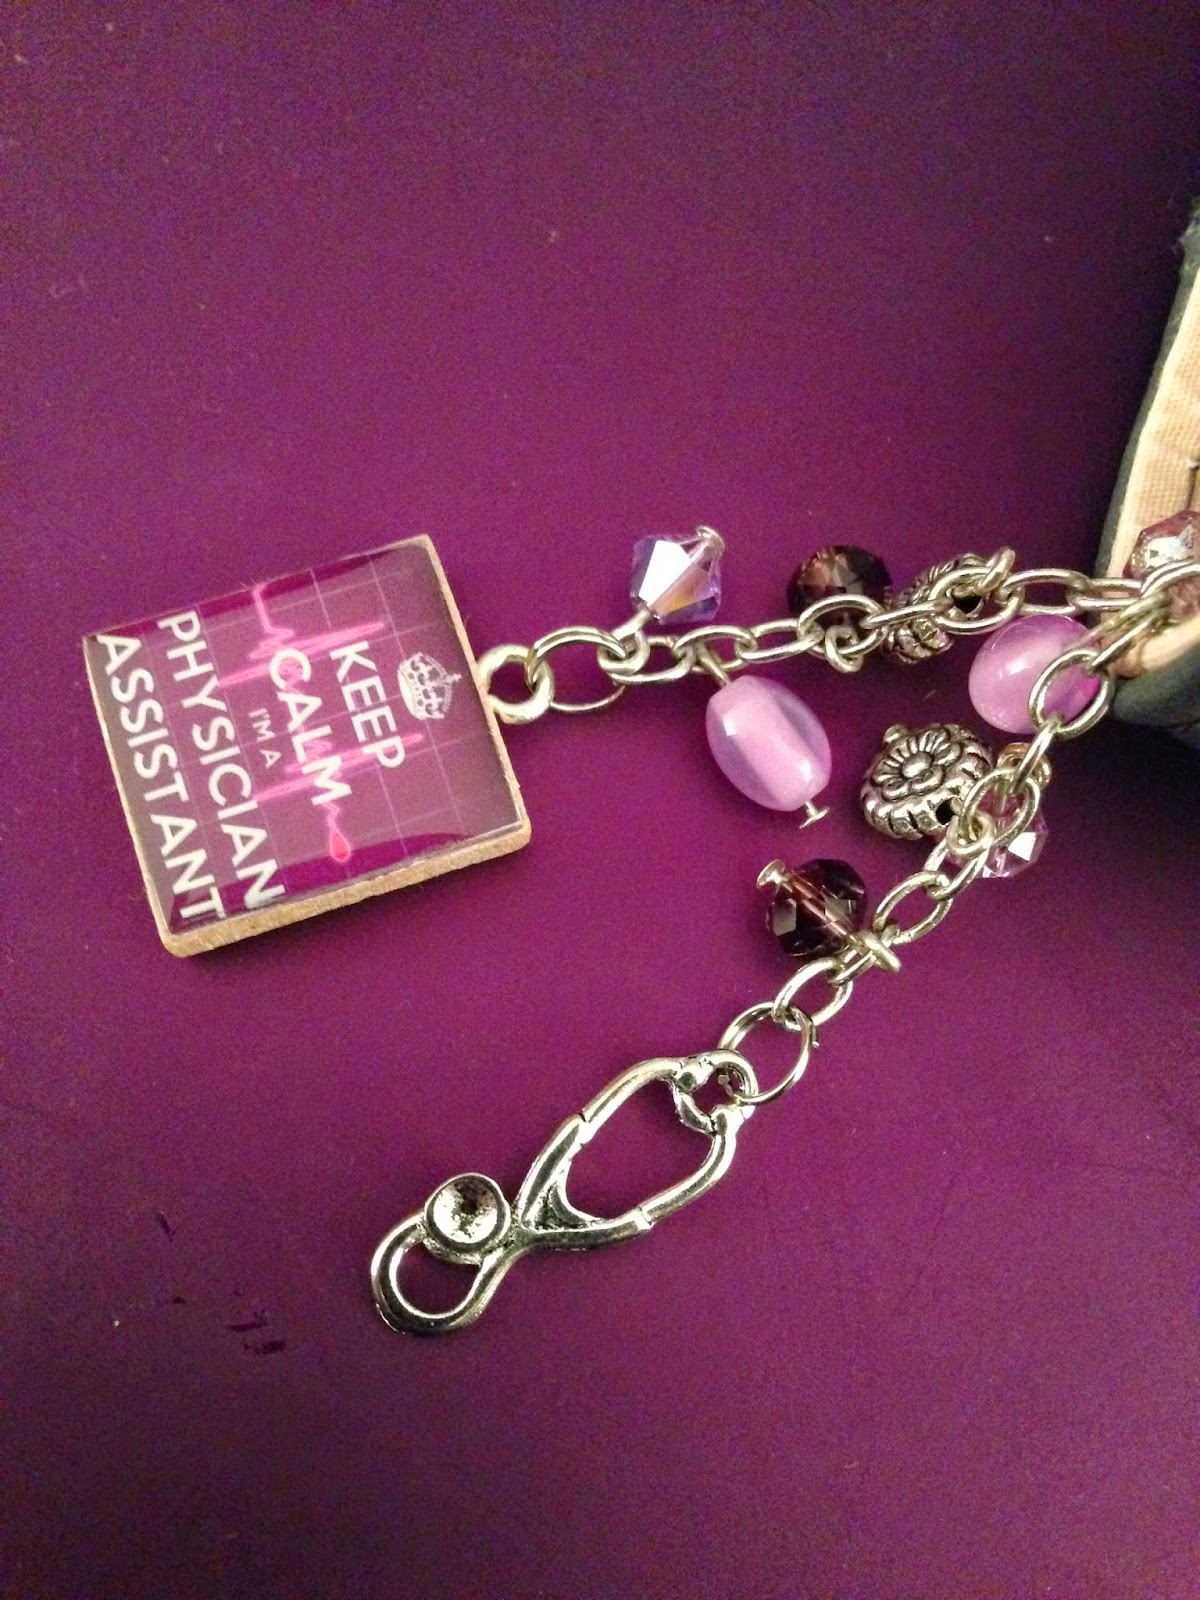
8. Planner Charms: Add some adorable flare and flaunt your favorite activity with a planner charm! Check out CraftersRetreat on etsy! Shelly makes adorable custom charms, and she'll even make one specific to your requests! She's a doll to work with! :)
My adorable custom charm from CraftersRetreat.
9. Covers: Erin Condren now makes it so easy to change out your cover on your ECLP. She even sells covers separately for $10.95. What better way to update your planner than switching out the cover?!

Do you have ideas that weren't mentioned?! Comment below! I know there is plenty of creativity out there with these adorable ECLPs, so share the wealth! :)

Wednesday, June 25, 2014

A "Pinteresting" Life: Making Space

T's room in its most recent state is an atrosity, monstrosity, eye-sore...you get it. I am almost embarrassed to even post a picture, but I feel a before and after is a must in this case.  I cringe every time I walk by. It's disorganized, constantly cluttered, and there's very little floor room for him to play in, which means my living room floor is constantly cluttered with matchbox cars and legos (which do NOT feel good when stepped on).


Cue Pinterest. I found an adorable picture on Pinterest not too long ago and got inspired. As you can see from T's before picture he has the staples to making this set up work, particularly the bed (kind of a staple) and the cube shelves. Now, I know the title of the blog this photo was taken from was "Decorating Ideas for a 3-year-old Girl's Room," BUT I am only using it for layout inspiration. And this layout is kind of the bomb.
My Inspiration: http://www.tinyoranges.com/2012/11
/07/decorating-ideas-for-a-3-year-old-girls-room/
So I started by decluttering the room. Literally, I emptied out all the toys into the very tiny space that is our upstairs hallway. I would highly recommend warning your spouse if you do this. I didn't think to mention anything to J, and he about killed himself trying to navigate the mess that was me tossing toys into the hall. Whoops. Once that was done, I moved the biggest piece of furniture first. In this case, that was the bed...and I totally should've asked for some help. And maybe made the bed up first (minus the pillows). With some struggling, I got the bed into the corner of the room and made back up.  I then moved the tiny bedside table out of the way and replaced it with the 3x2 cube shelves.

Once I got the spacing like I wanted it, I put the table lamp onto the shelves to get it out of the hallway and out of the way! I then shifted the 3x3 cube shelving unit so that it was centered under the "You are my Sunshine" canvas. This has a particularly special meaning to us as it was the first song that J would sing to sing T to sleep. 

Once the shelves were set up, I sorted through the toys and formed 3 piles: organize, give away, throw away. Throw away toys were generally happy meal toys from various fast food restaurants that T never plays with. I then took the toys in the "Organize" pile and started to organize them into bins. The toys that had smaller pieces were placed in a little Thirty-One bag to keep them from being lost in the organizing chaos. Matchbox cars were tossed into an old-school metal lunch box with T's name on it (Bought from Sarah + Abraham).

After getting the furniture situated like I wanted it, I was able to add in the toys and books that J and I agreed we would keep for T. After the toys were put away, we were able to lay down an adorable rug that was given to T by J's mom, which is a little town where T can drive all his cars around! Adorable! And plenty of room for little T to play with his "Basketball Arcade" now, too!

J and I are so happy with how little T's room turned out once it was re-arranged! There is plenty of room for him to play on his town rug or open up the tee-pee tent my mom made him for Christmas - without the need to clutter my living room floor with toys, tents, and rugs. I love how we didn't have to change out or buy new furniture to make plenty of room for T to play! It's so uplifting that we were able to make space (well, more space) for T without having to spend any money. Here's a quick comparison of the before and after set-up (Sorry some of the pictures are a little dark!).
Before (*Cringe!*) 
After (YAY!).

Thursday, June 12, 2014

What's In Your Bag?, Episode 2

Torri and I met through a group of ladies obsessed with organizing, planners, and purses.  As a sales rep for Jewell, she always has so many neat products that allow her to keep her purses SO organized! The products she utilizes and sells are so neat! Torri has chosen to show us several different Jewell products that she uses on a regular basis to keep it together!

Just one favorite bag?! How can a girl pick just one favorite? Well, of course, I have multiple favorites that I carry depending on what I am doing that particular day (going to work, shopping, or a date with the hubby!). All of my favorite handbags hold BOTH of my Gillios, too! Luckily, I have found a brand that allows me to change handbags so easily and keep them organized!  Jewell handbags and accessories have changed my life and my purse! You can imagine my excitement when both of my Gillio planners fit into one bag!! 

Speaking of Gillio's, I don't know how I ever survived without them! I carry two planners in my bag(s): a Medium Compagna and a Pocket Mia Cara! I use my Compagna for my month and daily views.  A note section is there for anything I need to jot down and refer to quickly.  I also have grocery list printouts that I use, so I can start my list as I think of things!  I have a section for "to-do" lists and section for contacts.

I have finally found Planner Peace with Piaric inserts (you can find her on Facebook!). The quality of the paper is fabulous, but what I like most is that I get the best of all planner worlds. I have a place to write down the flow for each day and sections broken into priority, routine, to do, coming up & notes.  My very favorite part of my two Gillio's is the amazing back pocket that I can fit fold full size sheets of paper in half! For me, that was a huge selling point and justification on spending that much money on a Gillio - or two! 

I use my Pocket Mia Cara for managing my checking accounts. I own 2 businesses so between those accounts and my personal accounts, it can be a bit overwhelming.  I use "account register" pages from the PolkaDotPosiePrint on etsy and cut them down to fit in my pocket! Primarily, that is what I use my Pocket Mia Cara for.  It was much better than carrying around 5 checkbook registers - and much cuter, too!

Below you will see pictures of my favorite bags. Happy Day! For the sake of boring you, I've narrowed down my favorites to 4 bags.
Style Icon 


Foolproof Fashionista


Diamond District


Style Setter


Now let me share with you what Jewell is. My Jewell Handbags allow me to customize the inside of my purses to fit my needs and lifestyle (with the patent-pending pockets and fashion organizers).  I love that my handbag gives back to women! 10% of every purchase goes to non-profit groups that empower women and girls.  I love that my handbag provides me the opportunity to own my own boutique business where I can achieve my "Why" in life.  Wow! Can you believe a handbag can do all that?! Now you see why I can't just pick one handbag, right? And you guessed it! I clearly can't pick just one Gillio either! 

If you like what you see and/or want to organize your life and handbag, I would love to help you make it happen! Check out my website: all of my information is found there. I would love to help you in any way that I can!  www.myjewellstyle.com/TorriJ


Happy organizing and planning!