Showing posts with label making it work. Show all posts

Tuesday, November 4, 2014

Cleaning Your Home On a Busy Schedule

I hate clutter. Let's establish that first. I like a fairly clean home, but I rarely have a whole lot of time to put into cleaning. My big cleaning days are Sundays, but what about the rest of the week? I have little more than 15-30 minutes to spare each day. I tried the FlyLady system - it's great. BUT my home isn't big enough to spend 15 minutes in the same room each day for 1 week. I would run out of things to do or clean up! So I've formed my own system (and my own "cleaning commandments"), which I have outlined below to share with you! I used the FlyLady model as inspiration for my BusyWife schedule/commandments. Follow with me OR make your own!

BusyWife Commandments:
1. Always wash/rinse your dishes (and/or place all dishes from the meal in the dishwasher) after every meal. And wipe down the counters after dinner every night. And wipe off the kitchen table after dinner every night (It will literally take you no longer than 5 minutes).

2. Sort mail immediately: trash what's junk, read and trash "quick reads" (ex: church fliers, coupons, invitations - make sure to RSVP!), save and file important mail (i.e., bills, bank statements, etc.)

3. Put your shoes up immediately after taking them off. Yes, seriously. I don't care if you plan on wearing them again in 15 minutes. Chances are you won't, and if you truly do, then you know exactly where they are!

4. File important papers immediately. None of this "Oh I'll get to it in a minute." Do it. Now.

5. Plan 1 day per week to perform deep cleaning activities (i.e., dust, mop, clorox, etc.).

6. Purge at least twice per year. Clothes, toys, pantry items, kitchen supplies. We all have those clothes we never wear, toys the kids haven't looked at in months, spices that are expired, hot cocoa that's been sitting in the pantry for 3 years (untouched), coffee mugs we never use any more, lunch boxes that were bought with good intentions. You get it - be brutally honest with yourself and purge it!

7. Always make your bed every morning. Always - it will instantly make the room seem cleaner and more organized! Plus, things don't get lost in the sheets when you climb into bed.

8. Put away your clean laundry as soon as it is folded/dried/ready. No one (including you) wants to look at it on the couch or in the laundry basket for a week.

Cleaning:
Inspired by FlyLady, I have divided my home into zones. Each zone gets my attention for 15-20 minutes one day per week. Sundays are my "Deep Clean Day," so I have 6 zones. To me, the lower floor is more important because that's what guests see. That's why those areas are towards the top of my list. That way, these zones/areas are cleaned earlier in the week, and I don't have to stress if I have dinner guests Friday night! Below is my list of zones and the simple tasks I perform in each zone for 15-20 minutes.

Zone 1 - Front Entrance/Living Room: Clean off coffee table and end table. Sweep floor. Purge magazines (anything older than 6 months is recycled - hubby knows this and clips any articles/recipes he wants to keep). Put any shoes away (hubby loves to leave his shoes laying around). Fluff sofa cushions, fold throw blankets, straighten throw pillows, roll up computer/extension cords so that no one trips.
Zone 2 - Kitchen/Dining Room/Half Bathroom: Sweep floor, wipe down counters, clean stove top, wipe kitchen table down (use a little elbow grease!), clean mirror in bathroom, wipe down sink(s), purge fridge.
Zone 3 - Stairs/Upstairs Hallway: Hang up any coats laying on the stairs. Take stack on stairs to appropriate rooms (we have a knack for placing items that need to go upstairs on the stairs and just walking around said items for 1 week), vacuum hallway, straighten pictures in stairwell, clean up toys/miscellaneous items in the upstairs hallway.
Zone 4 - Upstairs Bathroom: Wipe down counter, dust off shelves, clorox spray in toilet, sweep floor, clean up hair off shower wall/floor, unclog drain (if needed), clorox soak for shower curtain (if needed), wipe down mirror, put random toiletry items/medication bottles into designated areas.
Zone 5 - Little T's Room: Put away toys, change sheets, put up books, throw away Happy Meal toys, vacuum floor.
Zone 6 - Master Bedroom: put away clothes on the floor, clean off/organize bedside tables, clean off dresser, put jewelry away, change sheets, vacuum floor.

Sunday: Deep Cleaning Day
Downstairs: Dust & wipe down all tables/shelves off. Mop floor. Clean windows, sliding glass doors. Dust picture frames on wall and tables. Sort through miscellaneous items that have collected on various pieces of furniture and keep what's important. Toss what's junk.
Upstairs: Mop bathroom floor, wipe down windows in all rooms, dust bedroom furniture, dust blinds in all rooms, clean shower/bathtub and toilet.

Making Any System Work For You: 
Ultimately, it boils down to what works best for you, your family, and your schedule. Get your kids involved, too (particularly if they are younger - they want to be a "big help."). If they understand from the beginning that this is something they need to contribute to, then they will be less disgruntled later when you ask for help! Rules apply to everyone (making beds, putting up shoes), and there will be less griping 3 hours later when you ask kids (or hubby) to pick up their shoes. 

Let things go. There are some things you aren't going to be able to change in your family. My dad is constantly leaving his tie on my mom's desk in the kitchen. She's truly given up (after 30+ years of marriage, I would, too!) on this issue and happily carries his tie up to the closet every night. Some things are negotiable, so be a little more flexible on those issues!

Tuesday, September 16, 2014

How I Planned My Wedding On a Budget: The Break Down

When I started planning my wedding, I took a look at the Pinterest board. (Yes, if you're a man, every woman has the "obligatory wedding Pinterest board." Moving on.) Using my Pinterest board, I was able to do several things: (1) Prioritize, (2) Determine WHAT I wanted in my wedding, (3) Read how other couples planned their wedding on a budget. All that out of Pinterest - and men say it's a worthless app. ;)

(1) By prioritizing what was important to me, I could prioritize where my money went. A DJ wasn't hugely important to me, so an iPod and outdoor speaker worked perfectly (and cost me no money). Flowers were more important to me, as I felt flowers could set the tone a little better for the wedding (colors, theme, etc.). That's where part of my main focus was.

(2) Determining what you want in your wedding is also important. How do you convey to your vendors what you want if you don't know what you want? Consider it an act of kindness for everyone involved. It means that when you meet with your vendors, your time with them is more productive, cutting down on the time they spend talking and increasing the time they spending DOING.

(3) Research it! No one said you had to plan on a budget on your own! Throw away those bridal magazines (unless your budget is $20K) and start searching - online, google, Pinterest, etc. Use other people and their successes as your inspiration! You are NOT alone in planning this wedding on a budget, and there are some GREAT resources out there for you to utilize!

So you've got your Pinterest board FULL of ideas, themes, decor, THE DRESS ideas, floral arrangements, centerpieces, etc. Now what do you do? You've prioritized what's important (Nod your head yes - if you're shaking your head, go back up to the top and start again). We did not break down our budget PER category, we had a total budget in mind. You may prefer to specifically itemize the cost of each category, but we are "free spirits" as Dave Ramsey says.

Wedding Attire:
Photo Credits: Ashleigh Mallard Photography
FIRST (and to me, most important), I found my dress. $500 off the rack. Yes, you read that right. Many bridal stores have huge clearance sales in July and August as they try to clear out inventory from the past year to make room for the new fall styles coming in. Many stores also offer a discount if you purchase the dress off the rack. Ask if you can pay with cash/check (and if so, will they offer a discount), or if you pay in full if they will give you a discount. What's the worst they can say? No. So ask - they might say yes! I bought my dress in July (a year before my wedding) off the rack for $500. It was strapless and I wanted straps for the ceremony (cost me $15 at the bridal store). I had to have it hemmed, and some minor alterations (plus the straps added) for $125. You don't have to use the bridal shop's alterations lady. Sometimes it is safer as they alter gowns all the time. However, I knew a lady that I used for tons of alterations (pants, formal dresses, etc.), and I knew that she would do a great job for a reasonable cost. Ask around! You aren't the only one who's getting married, and you might be able to find someone less expensive than the bridal store!. So, total cost of my dress (dress, straps, alterations): $640. We bought J's suit as it was actually less expensive than renting (and he gets to keep it!). We found a great sale going on at Men's Warehouse. Normally, I wouldn't recommend them as they are fairly expensive, but we got a great deal! J's Suit (tie and shirt!): $250.
Total Wedding Attire for Bride & Groom: $890

Vendors:
Florist: My first piece of advice when it comes to finding the perfect vendor: shop around. I knew for the most part what I wanted for my flowers. I initially called the florist from my first wedding, but he was unavailable. He recommended the florist that had done his wedding (La Petit Fleur). I was a little bummed, but once I met her, I was so happy I had chosen to use her. She was flexible in her pricing, willing to work on a tight budget, and talked me through some ways to cut down on cost. Be honest with your vendors. If they know you're on a tight budget, they won't do an outrageous set up for centerpieces, your bouquets, etc. (That way you can avoid a $4K quote!). I told Corrine what I was looking for, that I was on a tight budget, and asked what she recommended. Many times if you use flowers in season, it will cut down on imports/costs/etc. I wanted Peacock feathers (which cut down on some flowers in the arrangments) and purple/teal Dendrobium Orchids. I wanted to use hydrangeas, which are a little more expensive. BUT Corrine pointed out to me that while they cost a little more, you get more flowers for the dollar. She worked extensively with me to make sure that I got exactly what I wanted on a budget I could afford.
She did: 2 bouquets (mine was a cascade), 4 corsages, 7 boutonnieres, and a throw away bouquet for a total of $500.

Food: For my cake, I wanted one cake (not 2: classic Bridal & Groom cakes). But I wanted to have half the cake iced in white with a lace-like design and the other half to be chocolate with ganache drizzled down the layers. I also needed a gluten-free cake, which really limited my options, as 4 members of my family (including me) are gluten intolerant. However, we were able to find a vendor that was willing to do a gluten free cake within our budget. Total Cost of Cake: $225.

For our dinner, we utilized J's dad (remember in Blog 1 we talked about using family or friends as a resource). He owns a Barbecue restaurant, which is exactly what we wanted for our reception dinner. He was willing to do this for us, at cost (meaning we only reimbursed him what it cost for the food - he made no profit). Total Cost to feed 65 people: $200.

Photography: When looking for photographers, I immediately asked friends for their recommendations. Ashleigh Mallard Photography. I knew Ashleigh as we group up going to church together, and J knew Ashleigh as she had photographed his son's newborn pictures. I contacted her and was upfront about our limited budget. She was willing to cut her wedding package cost IMMENSELY. While it may have temporarily cost her a little money, she has gained loyal customers in us. She didn't skimp on anything with us, despite we did pay her less than she normally would have been paid. We have 2 family photography sessions coming up in the next 2-3 months - with Ashleigh! Total Cost of FULL DAY Photography: $1000.
Unfortunately, this led to photographers that had a base price (for their wedding packages) of around $2500-3000. Not in my price range. So I started researching photographers that I knew personally. While I was a little afraid of mixing business and personal relationships, I figured I would be able to communicate what I was looking for (and be heard) and that I would be able to set up a payment plan (even if it extended a little past the wedding) that would be acceptable. J & I finally discussed it and agreed on using

Hair & Make-Up: I am terrible at doing my own hair. It's just a simple fact of life. I have 3 main hairstyles for work that simply don't cut it for my wedding. While I was willing (and able) to travel to an outside location for hair and make-up, having my hair & make-up done on location took a load of stress off my mind. We utilized Trio Makeup & Hair Designs. I had utilized this group for my first wedding and loved the results. So when I contacted them 4 years later for this wedding, I asked if they gave repeat customers a discount. Fortunately, they were willing to honor their pricing from 2010, when my first wedding took place. That was actually a HUGE discount. For my mom's make-up, my hair & make-up, and my sister's hair & make-up, it cost us a total of $400. While that is more costly than you may be willing to pay, it was a load of my back that they were willing to travel to me on the day of the wedding.

Venues:
Ceremony: The church I grew up in (and was till a member of at the time), provided the facilities for a nominal fee for members. While we did pay for a nursery for children under 5, we still saved a substantial amount of money by utilizing a facility that provided us the same services as other locations with nominal cost. We simply had to cover custodial fees ($150), wedding coordinator fee ($250), sound/microphone fees ($100), candle fees ($60), and nursery cost ($150). While that seems like a lot of nickel-and-diming (and it certainly seemed like it at the time!), it was still less than renting a facility outside of our church. All the fees added up to a ceremony venue cost of: $710. Some churches we looked at started their sanctuary rental fee at $1000!!!

Reception Venue: We decided (after much discussion between J & I, as well as my parents) to utilize my parents' home as our reception venue. While we still had to rent tables and chairs, but it cut down significantly on the rental fee for the facility! While we still paid $1000 for rental fees for tables, chairs, tablecloths, etc., we didn't have to pay for the facility (and we could keep the party going as late as we wanted!).

Total Cost for My Wedding: $4925. (Paid over the course of 13 months)

Monday, September 1, 2014

How I Planned My Wedding On a Budget (And Got Everything I Wanted)

Photos Courtesy of Ashleigh Mallard Photography
Weddings aren't cheap anymore. Whatever happened to the good ole days of having a ceremony with some cake and punch in the Church's gathering hall afterwards? Gone. Now, it's not a reception without an open bar (no judgement - there was an open bar at my first wedding). So when round 2 started (cue boxing bell rings), I knew I was planning a wedding on my own dime. And open bar was NOT the first thing on my mind. So what's a girl to do with a budget of $5000 and LOTS on her wishlist?!

1. Start a Pinterest board. No, seriously. The first few months after J and I got engaged, I started a Pinterest board. It let me see what I was drawn to, looking for, not even paying attention to etc.. It helped me see where my priorities were before I even realized it!

2. Involve your family and friends! Got an aunt who's a whiz at flower arrangements? See if she's willing to help you (for a small price of course!) for the cost of the flowers/vases/etc. Maybe even a little on top to compensate for her time. Your mom has an amazing jewelry collection? See if she'll let you raid it for your special day. Your sister's the bomb at making burlap wreaths and bows? Include her! You get the picture. I'm sure that you are surrounded by talent, so ask if those people are willing to put their talent to use for you!

3. Find hidden resources. The church that J and I got married in has an option for members to purchase flowers for the altar on Sundays. 1 arrangement is $35 (vs. the florist's arrangements at $200 a pop!), so we bought both of the arrangements (only 2 are available). We requested some extra peacock feathers/orchids to match our bouquets/corsages/boutonnieres (and additional $30/vase) for altar arrangements totaling at $130 (for both arrangements!). While we couldn't take the arrangements home with us, as they had to remain in the church for the Sunday morning services, it was a nice price break!
One of our altar arrangements.
4. Shop around. Who says you have to use the first vendor you find? Shop around! If you don't take the time to look and see what is available for what price, you might miss out on a huge budget saver!

5. Give yourself plenty of time. J and I got engaged 13 months before we got married. Why? Well, 2 reasons. (1) So that we could get married the same week as our parents and my grandparents, but (2) so that we could spread out the cost of our wedding without living above our means. We paid a few vendors in smaller amounts for several months, paid them off, then moved on to other vendors! It took more time, BUT it gave us plenty of time to pay every one without struggling to eat, pay the bills, etc.

Next up on the agenda for planning your wedding on a budget: prioritizing, opportune times to book/shop, and finding vendors that work within YOUR means!

Friday, August 1, 2014

5 Crockpot Recipes You Can't Live Without

Summer is winding down, and school supplies are lining the shelves at the local stores. It's about to become the busiest time of year: school, after-school activities, sports, more traffic... You get it. Life is about to get busier while the days get shorter (literally, but I love my extra hour of sleep when we "fall back" an hour!). How on earth are you supposed to get all this done and put dinner on the table in a timely fashion?! Enter, my best friend during the season of winter: the crockpot.  Crockpot recipes often contain "cream of something" soup. Not ideal, and certainly not healthy. I have made an effort to try and cut back on the amount of processed foods in our diet. I can't say that I've been 100% successful (particularly in the crock pot arena), but I certainly have made headway in cutting back! (Pats self on back). Generally I do this by avoiding crockpot recipes, but I do have a few I keep in my regular repertoire. What I've done is compile a list of my absolute favorite crockpot recipes that stay in my regular dinner rotation (complete with ingredients and directions).

1. Slow Cooker Loaded Potato Soup (**Disclaimer: this isn't healthy, but it's AMAZING!)
5 pounds Russet potatoes, washed but not peeled. Diced into 1/2 inch cubes
10 cloves of garlic, minced (If you use jarred, it's 5 teaspoons)
64 ounces (8 cups) chicken stock or broth
16 oz cream cheese, softened (we chose low-fat)
4-5 strips of bacon, cooked and chopped
Cheese!
Optional: Ham, cubed

1. Add potatoes, garlic, and chicken stock to slow cooker. (You can add 1 tablespoon salt. I just leave it off and allow people to salt their own soup - everyone has different tastes/preferences)
2. Cook on high for 6 hours or low for 10 hours.
3. Add softened cream cheese and puree into potatoes with an immersion blender until the cream cheese is well incorporated and about half the soup is blended. There should be a creamy appearance, with some small chunks of potatoes throughout.
4. **Optional step. Add ham and stir well. Cook for another 10-15 minutes.
5. Top with cheese, bacon, chives, etc. Enjoy!

2. Weight Watchers Slow Cooker Potato & Bacon Chowder (4 Weight Watchers Points!)
Original Photo courtesy of Pinterest
2 cups potatoes, cut into small cubes
4 oz. Canadian-style bacon, cut into 1/4-inch pieces
1 large carrot, diced
3 medium garlic cloves, minced (jarred garlic, use 1/2 teaspoon)
4 cups fat-free chicken broth
1/2 uncooked barley
1 bay leaf
1/4 tsp dried thyme, crushed
1/4 tsp black pepper
1 cup fat-free half and half

1. In slow cooker, combine potatoes, carrots, garlic, broth, barley, bay leaf, thyme, pepper, and bacon. Cover & cook on low for 4-6 hours.
2. Stir in half-and-half. Heat through, uncovered, stirring occasionally, about 10 minutes.

3. Slow Cooker Chicken & Dumplings
2 large boneless, skinless chicken breasts, each cut in half
Salt & Black pepper
1 teaspoon garlic powder
Pinch of dried thyme (optional)
4 chicken bouillon cubes
1 can cream of chicken soup
Water
1 can Grands biscuits (8 ct.)

1. Add the cream of chicken soup to the slow cooker. Pour in 4 cans worth of water.  Drop in the
Original Photo Courtesy of Pinterest
bouillon cubes and add the garlic powder and thyme. Using a fork or a small whisk, mix everything together in the slow cooker.
2. Season chicken with salt and pepper, and drop in to the slow cooker.
3. Cook on low for 5-6 hours.  Then break up the chicken a bit. I generally just do this right in the slow cooker. We like to shred the chicken so it's in fairly small, thin pieces.
4. Cut each biscuit in to 8-10 pieces. You can use scissors or a knife for this step. Add the pieces into the slow cooker.  Stir in, making sure that you cover all sides of each biscuit piece with the liquid mixture.
5. Cover, and cook for 2 more hours. Check on the soup every so often, just to ensure that the biscuit pieces don't stick to the inside of the crockpot or brown on the top too much. Just press the biscuits down, don't stir the mixture.
6. Give the mixture a good stir just prior to serving.

4. Slow Cooker Salsa Chicken

4 boneless, skinless chicken breasts
1 cup salsa (I used mild simply because T hates anything super hot. This is where you can have some fun!)
1 can condensed cream of chicken soup (my least favorite thing about this recipe, but hey - at least it's only one can!
1 packet taco seasoning
1/2 cup sour cream
6 tortillas (J & T like the extra fluffy, and I'm all over here like "I'll have a corn one, please.")

1. Place the chicken in the bottom of the crock pot (The beauty of this - we dumped in the chicken still completely frozen). 
2. Sprinkle taco seasoning on chicken breasts. 
3. In a separate bowl, combine soup and salsa.  Pour over chicken.  
4. Cook on high for 4 hours.  
5. Shred chicken (I use the 2 fork method) and stir in sour cream. Serve on tortillas.

5. Beef Stroganoff  
1-2 lbs cube steak, cut into one-inch strips
2 cans condensed golden mushroom soup
1 Tbsp Worcestershire sauce
1-14 oz can beef broth
8 oz. mushrooms, cleaned and diced
4 ounces cream cheese, warmed to room temperature
1/2 cup sour cream

1. In the crockpot, combine the meat, soup, Worcerstershire sauce, broth, and mushrooms. Cook on low 5-6 hours.
2. Stir in cream cheese and sour cream, about 1/2 hour before serving. Make sure to stir the mixture every ten minutes to break up the cream cheese.
3. Cook egg noodles according to package directions. Stir in to the crockpot mixture for approximately a half hour.
4. Add cornstarch and/or water to change the thickness of the sauce to your liking.
5. Serve (I generally prefer bowls and large soup spoons!) and enjoy!

Saturday, July 19, 2014

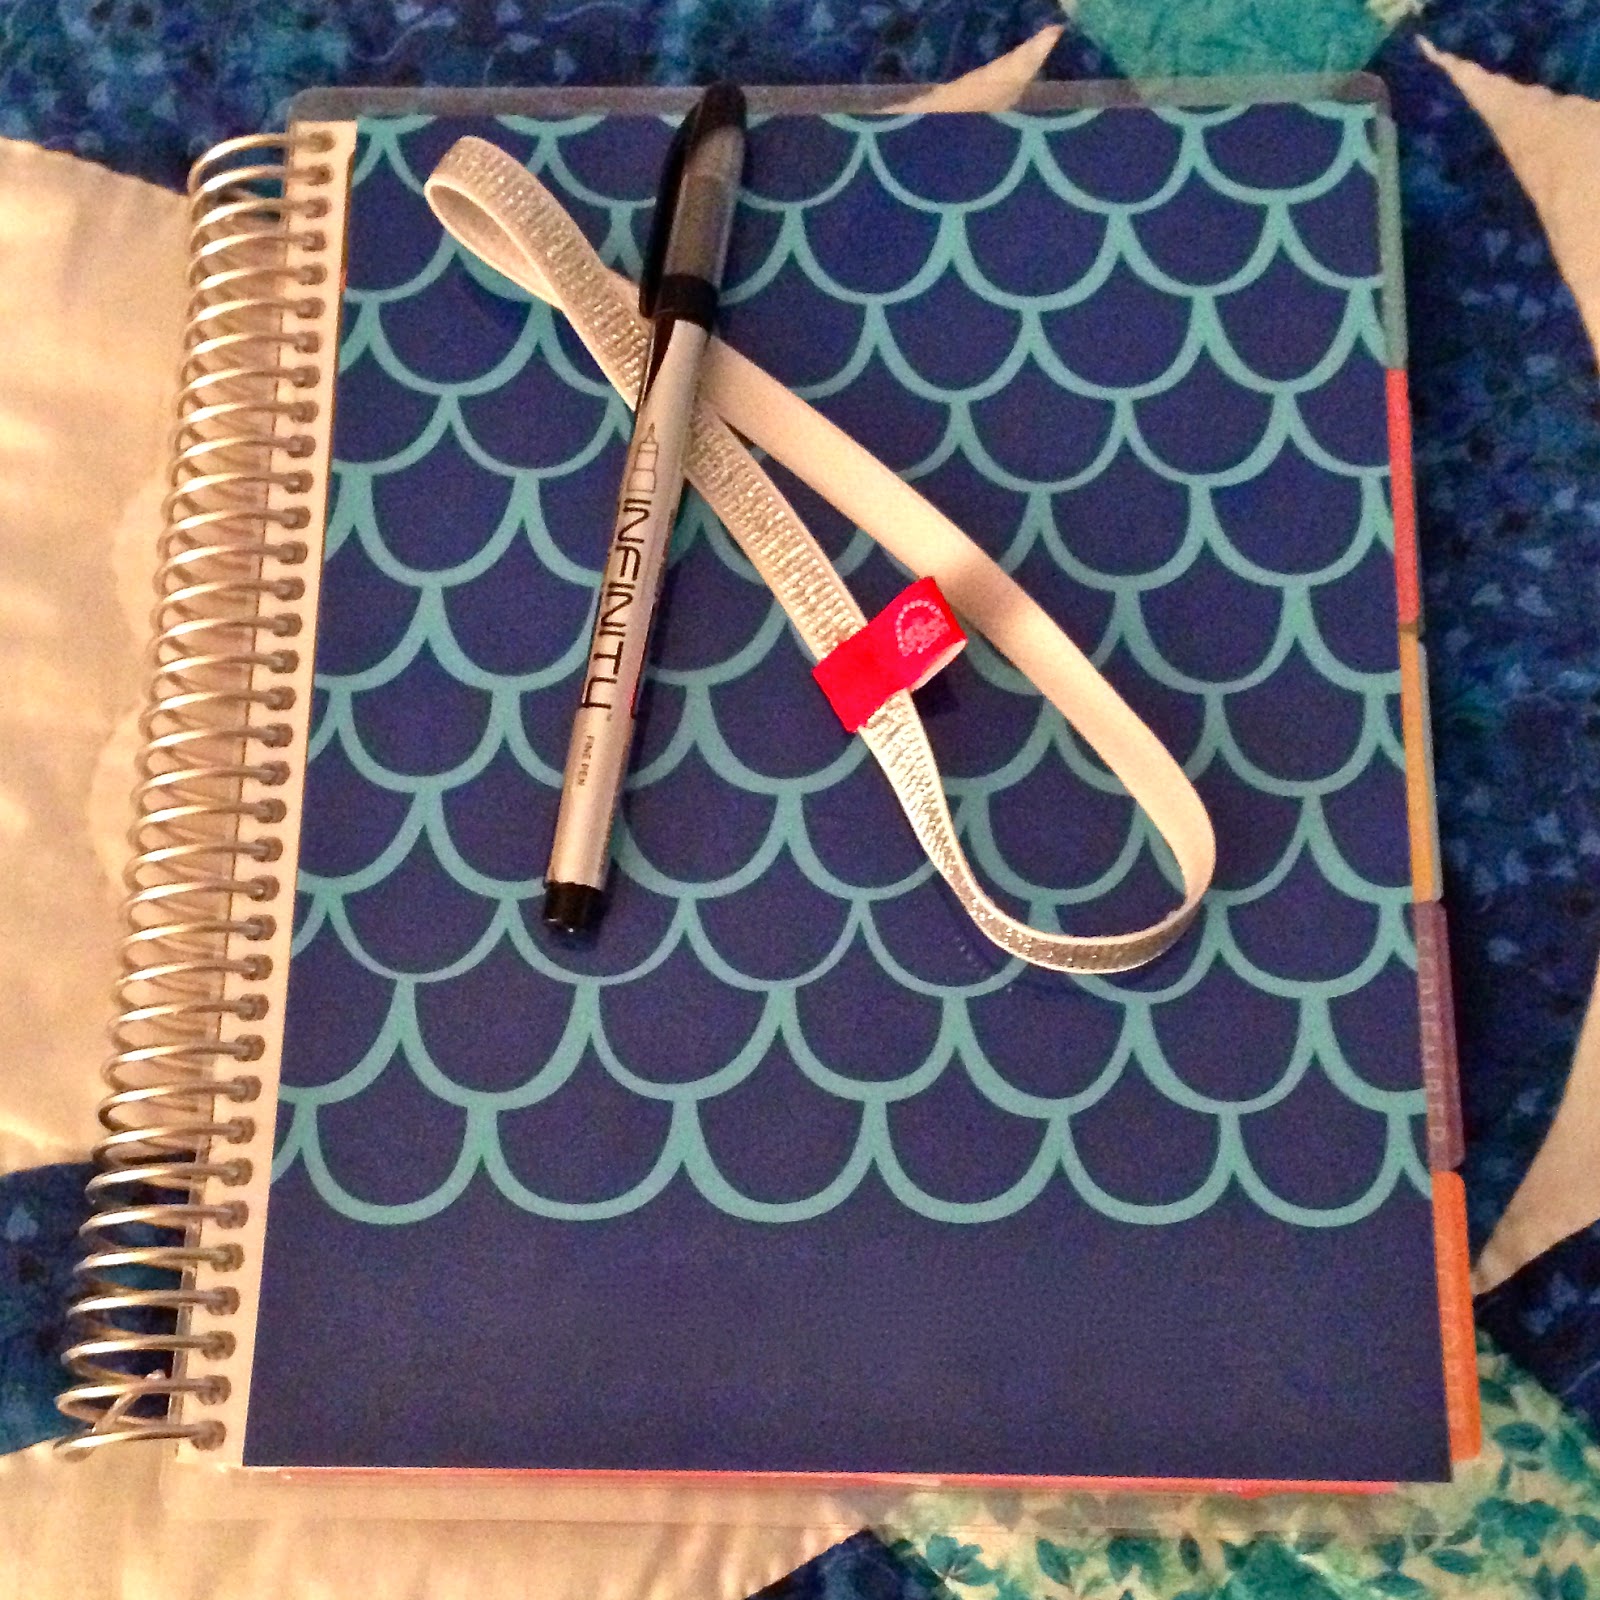
Making Your Erin Condren Life Planner Work For You

My original beauty. I *might* have purchased 2
additional covers. Shhhh!
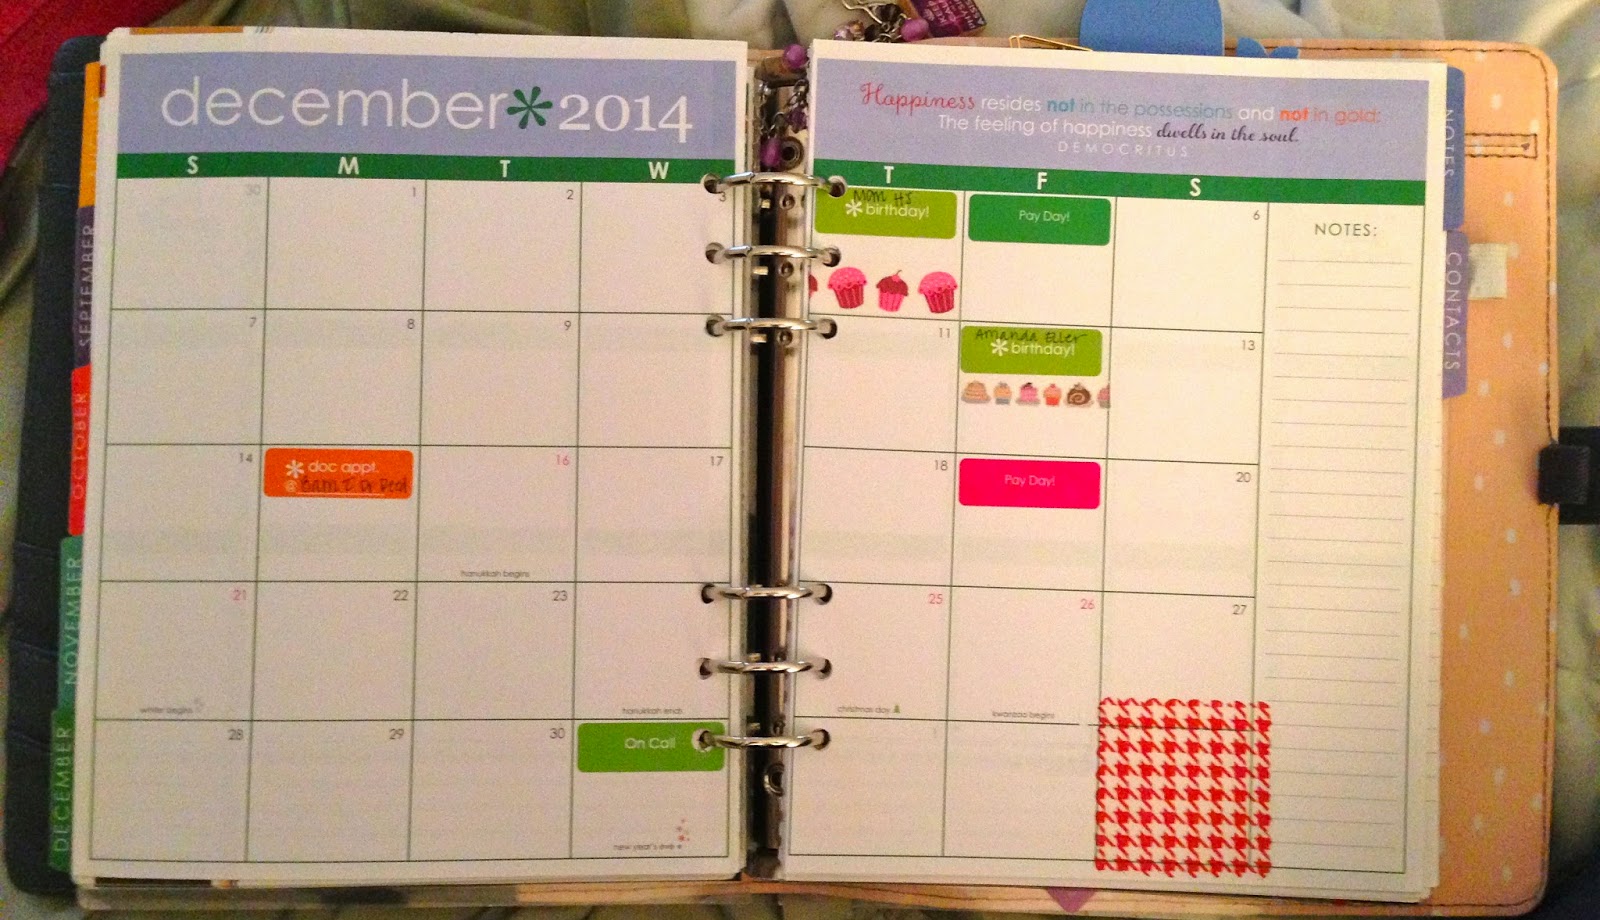
Let's face it: sometimes there's not a perfect product on the market, but there's one that comes *this* close to perfection. So how to you purchase said "this-close-to-perfection" product and make it your own?! Well, if it's an Erin Condren Life Planner (ECLP), look no further! I'm obsessed with all products Erin Condren. The list of items/products I have purchased her is too long (and possibly embarrassing?) to list. Let's just say it's a slight problem. When I purchased my first LP 18 months ago, I was fairly "boring" with how I utilized it - black pen and some check boxes, nothing more. I didn't realize all the possibilities that you can create for yourself when it come to this amazing planner! I thought that there was a slim chance that someone else was feeling like I was - they had the perfect product and felt like they weren't utilizing it to its full capacity. So here is how I have made my ECLP perfect for me!

Let's Get Started!

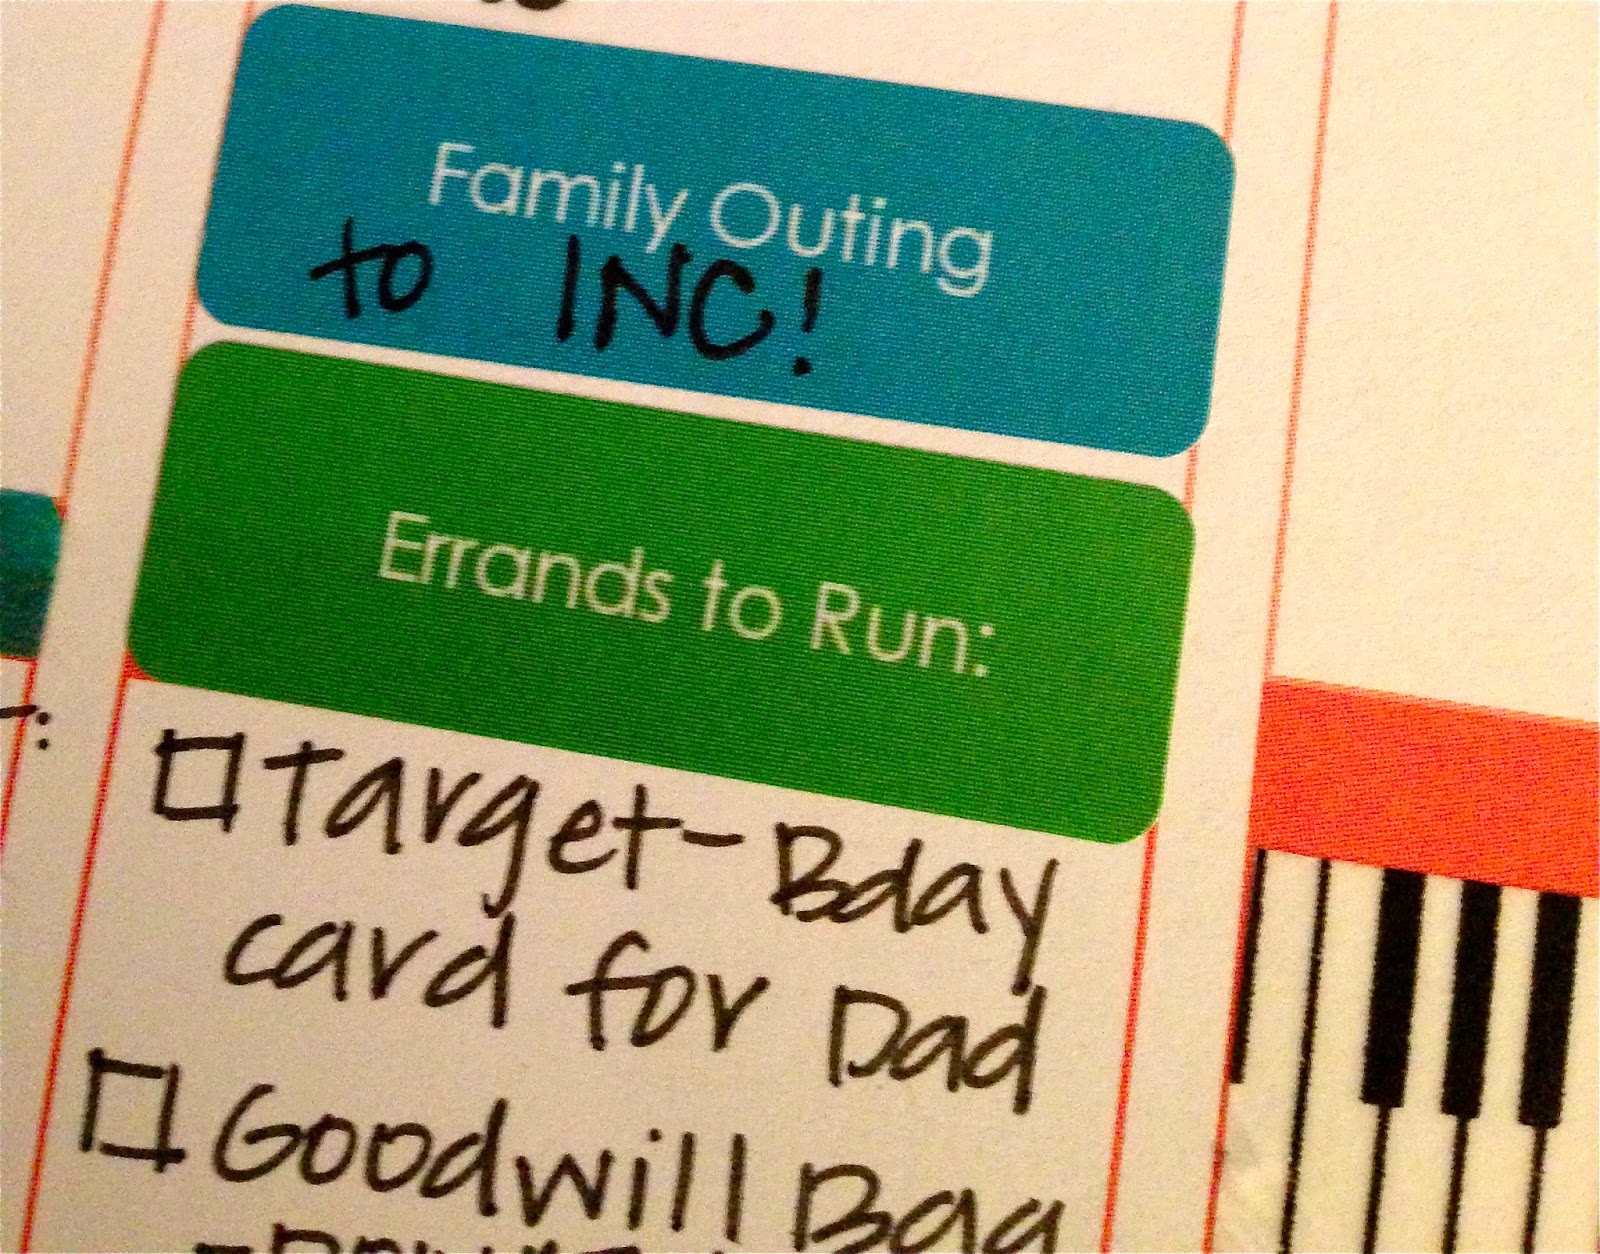
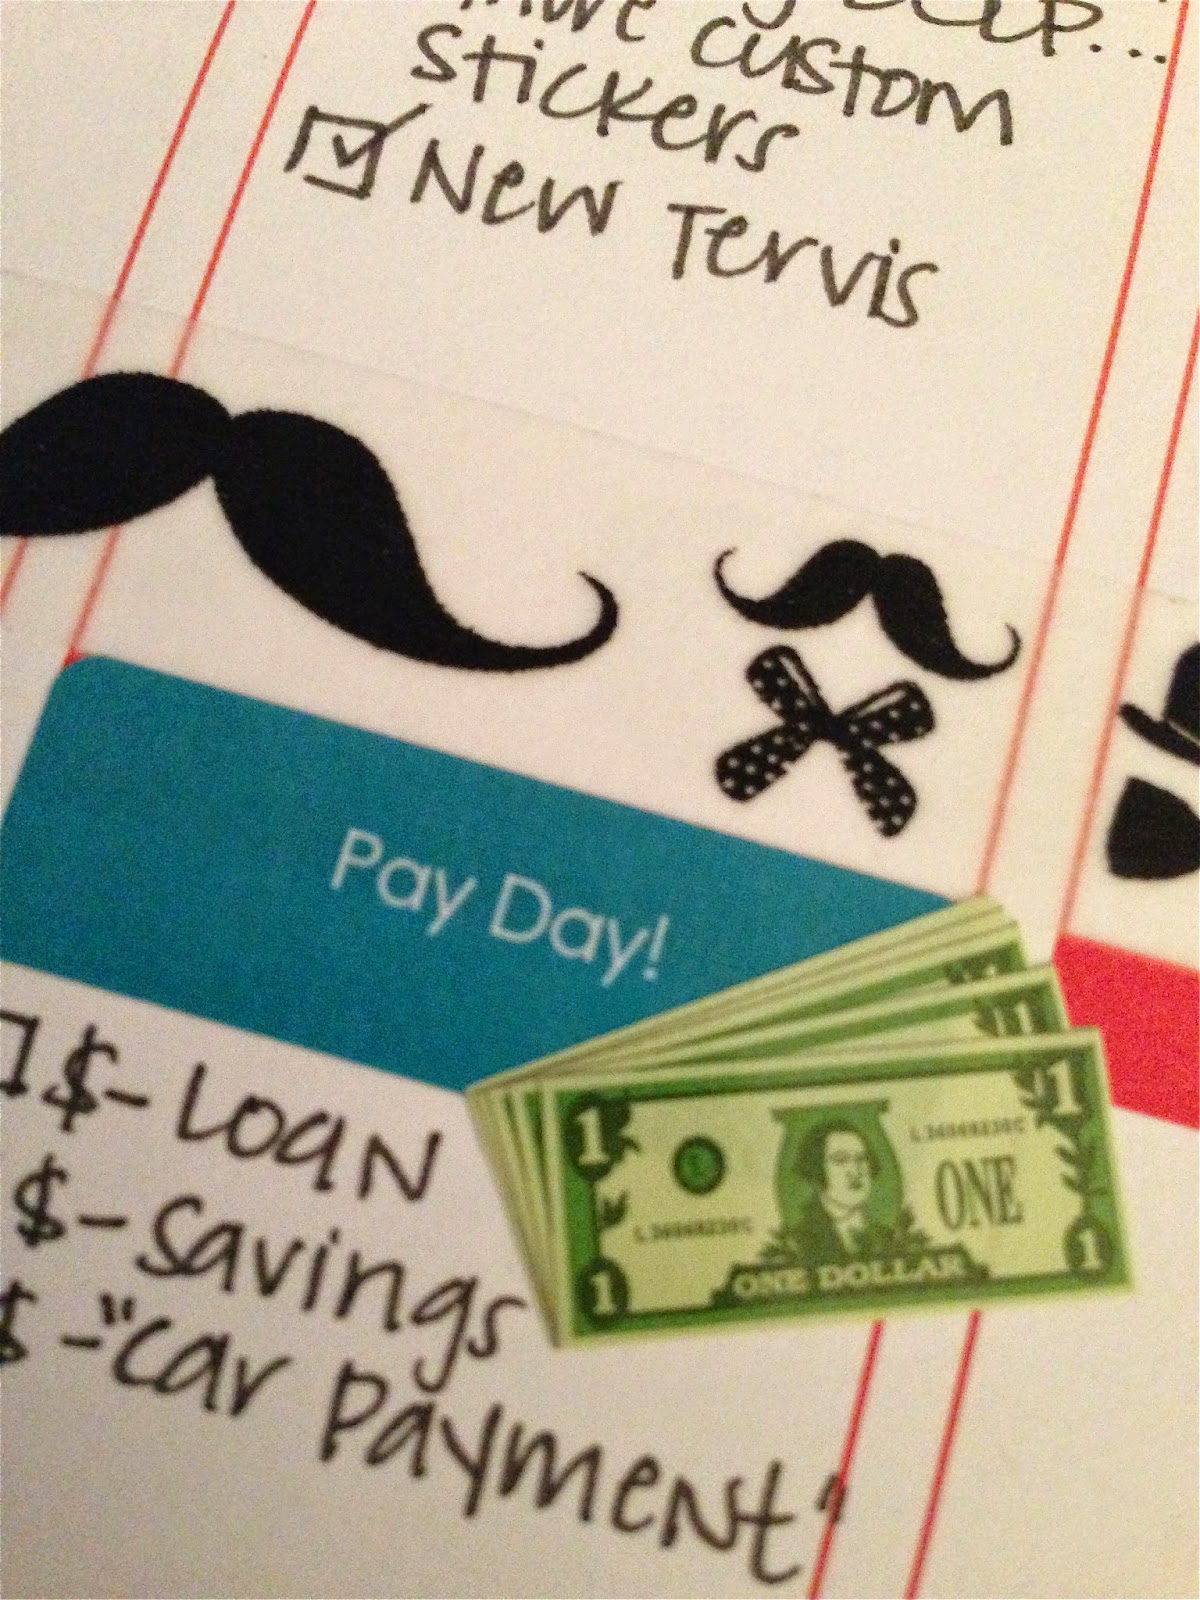
1. Custom Stickers: EC herself provides you with an option to create custom stickers on her website. Want to mark Pay Day? How about Anniversaries? Look no further than your source for an ECLP! There are PLENTY of outside sources for custom stickers if you don't like the price tag of the EC custom stickers. Here's a list of my favorite sources for custom stickers (Click on Site Name to be taken to their page!): Sizemore Designs, Love Affair With Paper, and KrissyAnneDesigns! Your options are endless, but these are few of my favorite sites!
"Family Outing" and "Errands to Run" stickers from Erin Condren
2. Page Markers: EC has an adorable clear page marker that comes with the planner. I'm not a fan. That doesn't mean YOU won't be. I have a preference for other (adorable) means of marking my pages. Those include (but are not limited to):
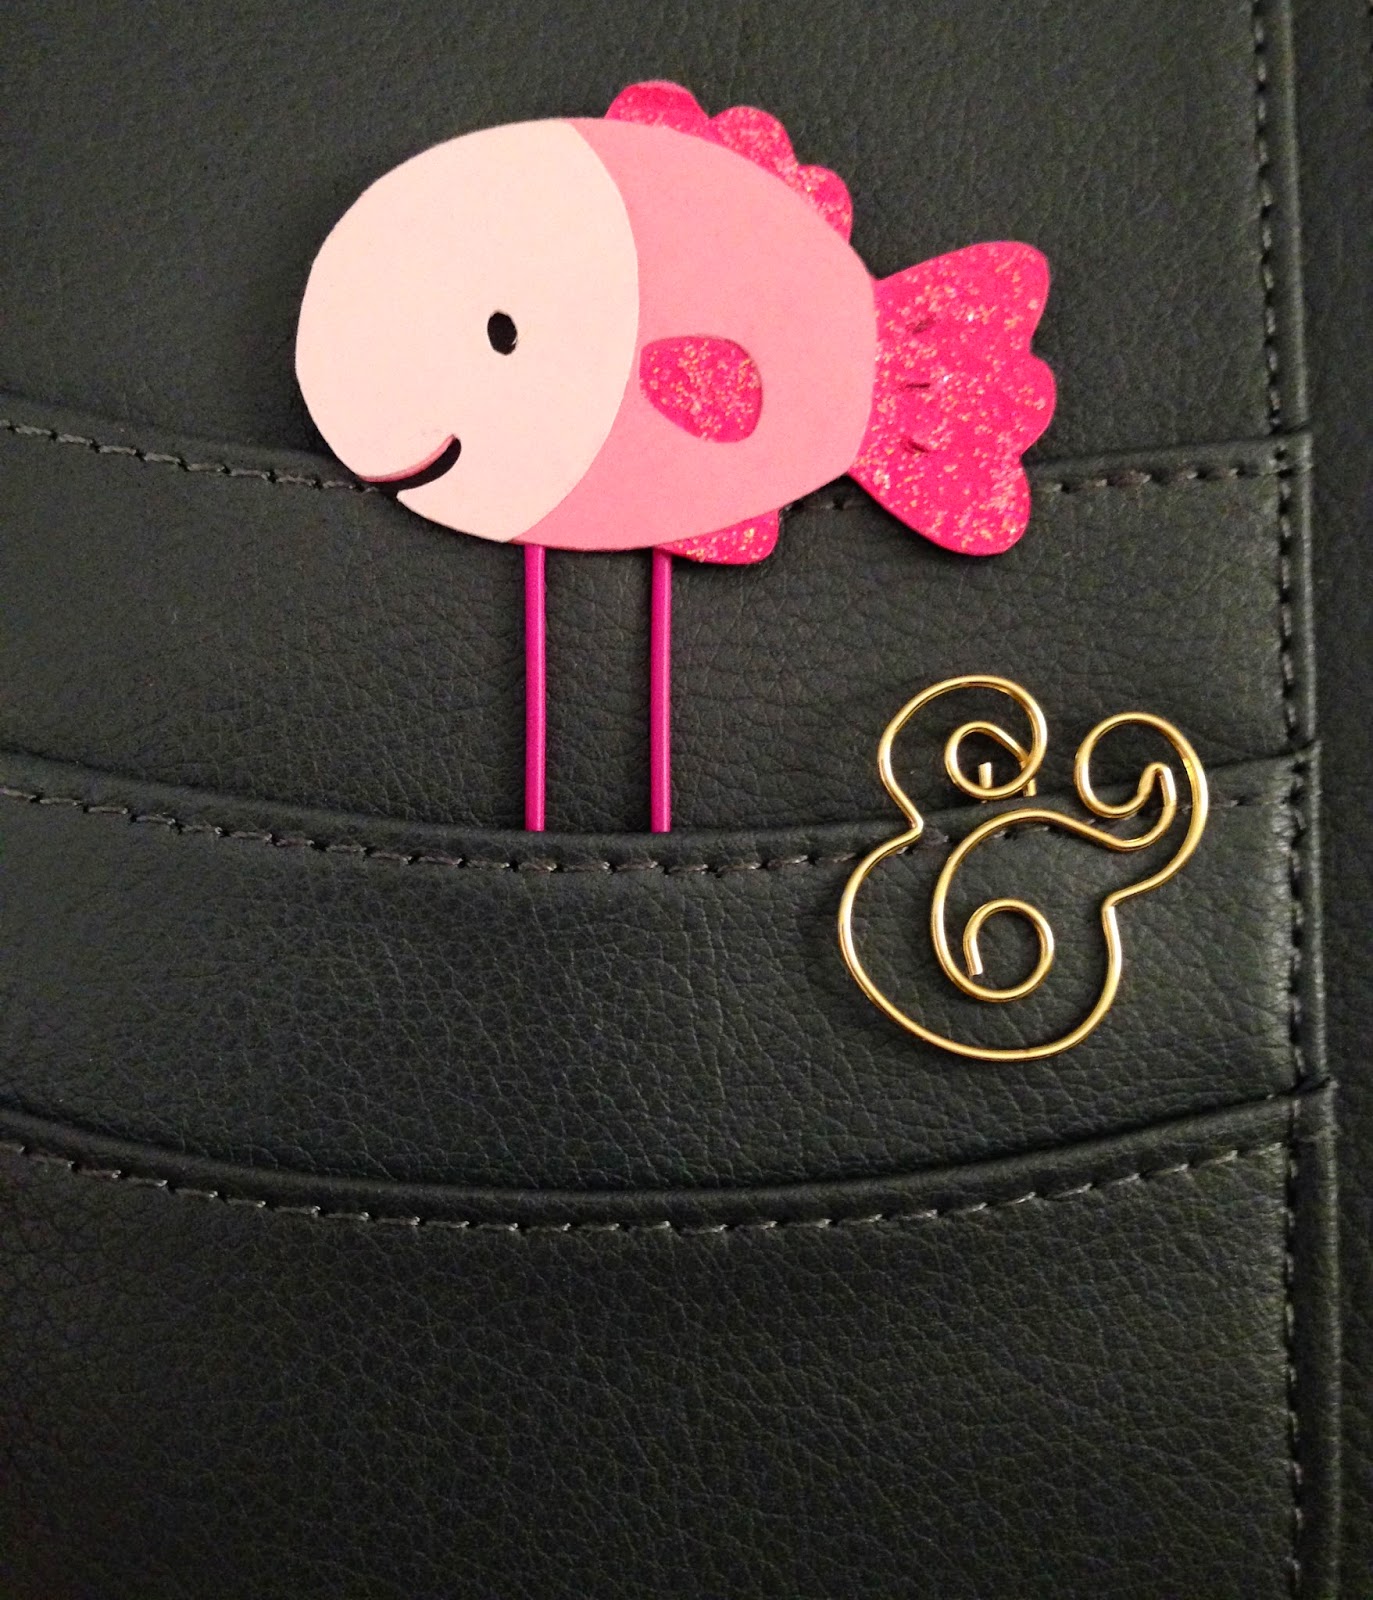
  • Adorable coffee mug, animal, and weather kawaii paper clips, as found at KawaiiPaperie on etsy.
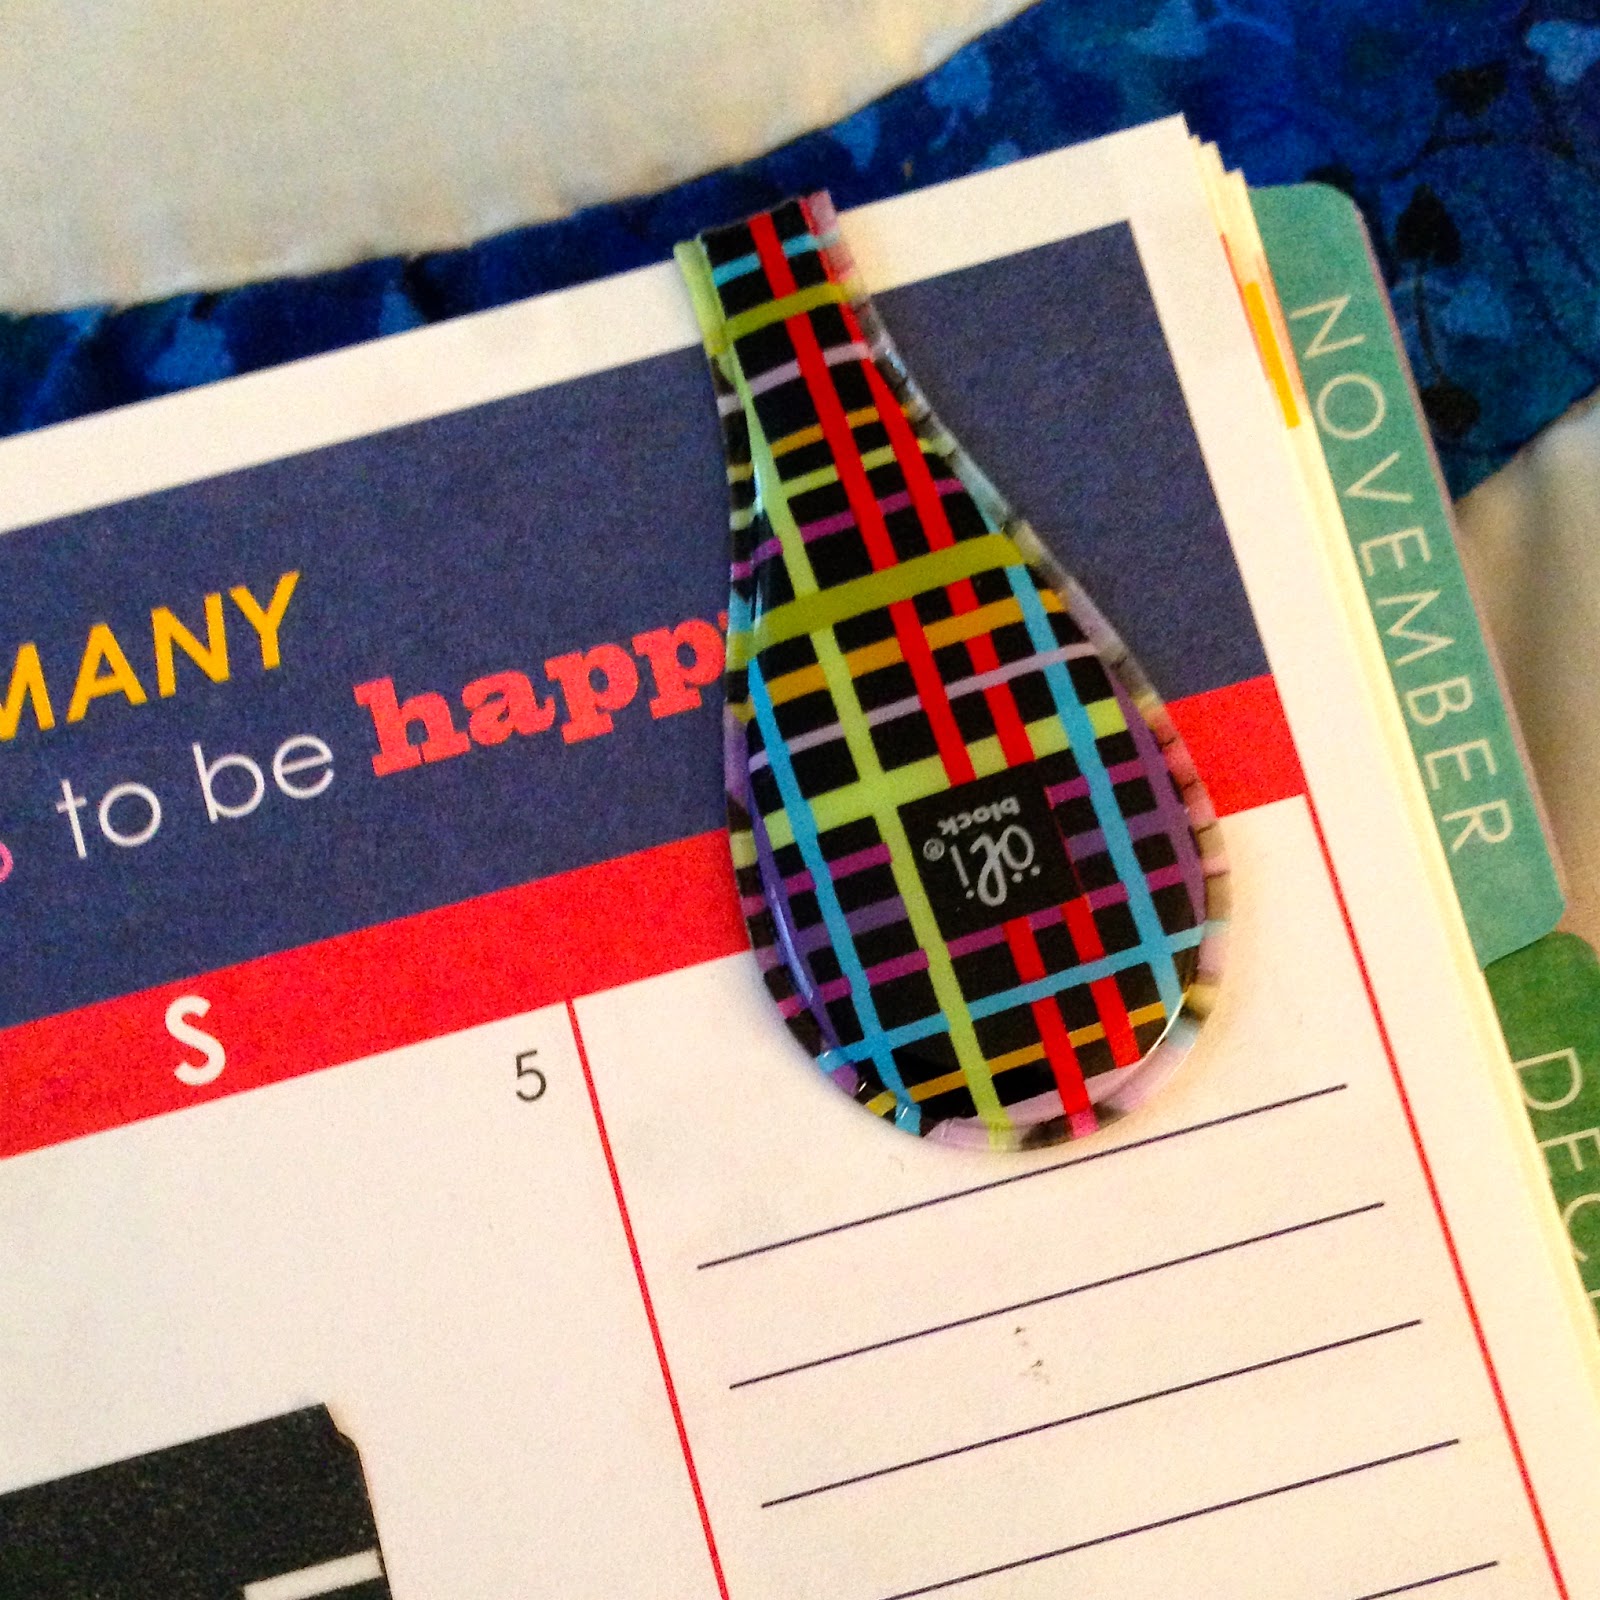
  • OliClips: Generally these gems are found at The Container Store, but there has recently been a shortage. Rumor on the street is that they will be available again on etsy soon, as well as in-stores again soon. Can't wait that long? Check out the facebook group "OliUClip by OliBlock."
One of the many cute patterns available on the OliClip
  • Want something cute, but simple? Check out these ribboned paper clips at MadeYouLookNovelities on etsy! 
  • Kate Spade: Kate Spade makes some absolutely adorable paper clips! Bow shapes, ampersand, exclamation point...adorable! Find them on amazon or if you want just one, check out MyQueenBeeDesigns on etsy.
Fish from KawaiiPaperie and ampersand from
MyQueenBeeDesigns, both found on etsy.
3. Washi Tape: Watch out - it will become an obsession. Don't say I didn't warn you! It's starts with "Oh just these few rolls and I'll be set." Then it turns into "Oh, I need 15 shoeboxes to store my collection." You can use it to mark events that occur on more than one day (i.e. vacation, road trips, retreats, etc.), decorate your daily view, mark out a time you will be doing something (i.e. DIY project, napping, driving, studying, etc.). Oh - you want my favorite places to buy this new soon-to-be collection you will own?! Of course! Check out ACherryOnTop, Pikwahchan, Washi Tape Maniac, Mind the Wrap, and LightLife.

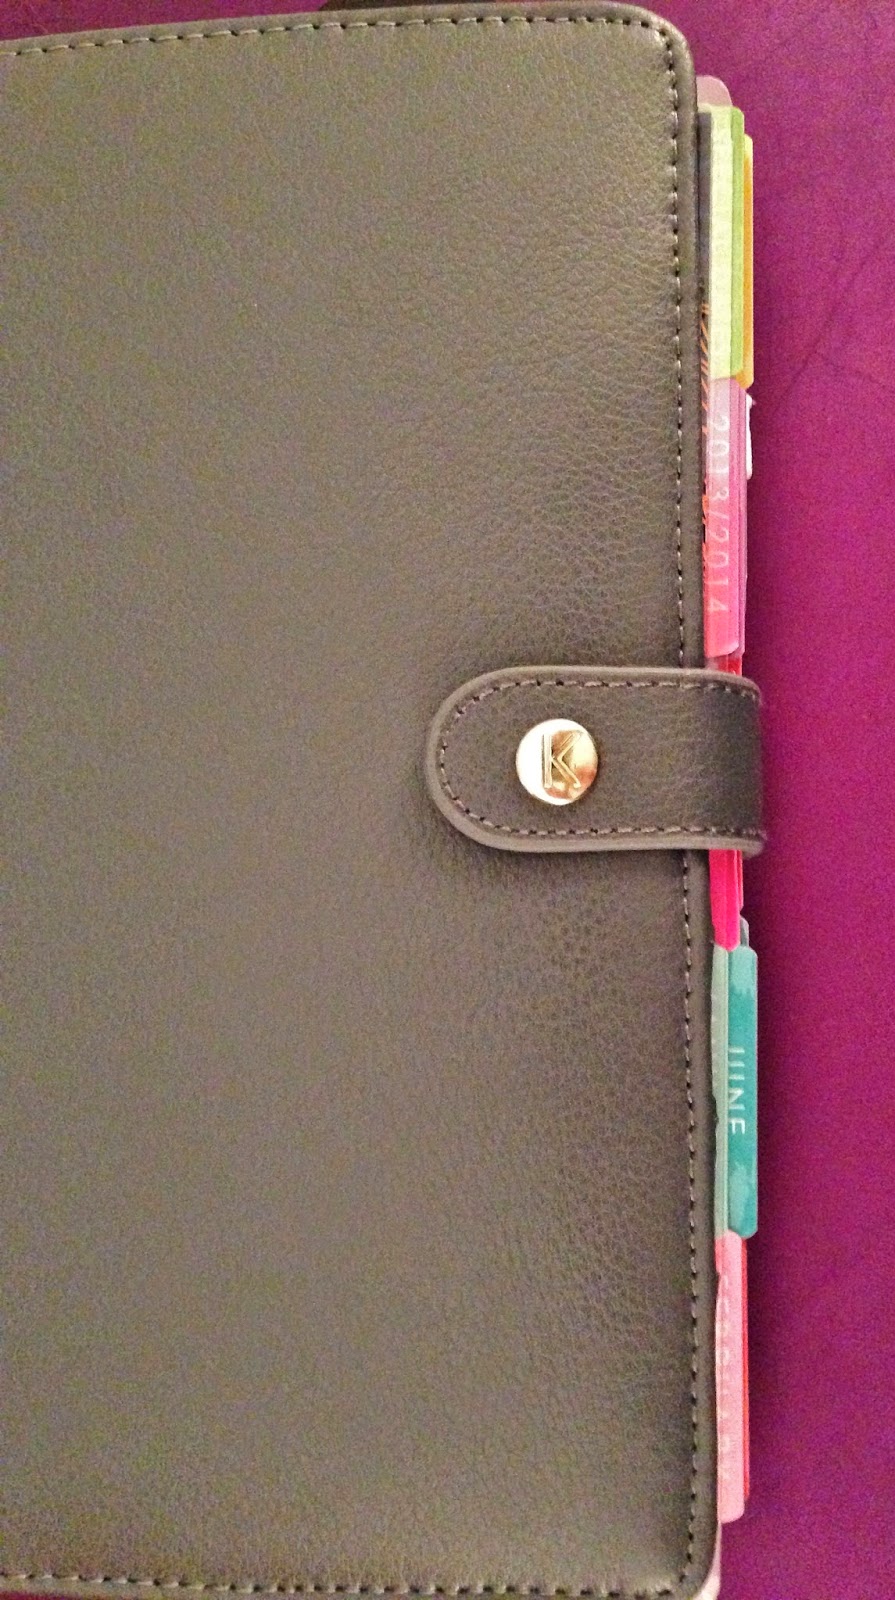
4. The Binding: I am obsessed with the spiral binding for the ECLP. But maybe that doesn't work for you. Check out Kikki K or Filfofax (A5 size). There's tons of tutorials on youtube on how to put your uncoil your planner, trim the edges off and punch it to fit into an A5 Filofax, place it in a Leather Personal Kikki K Planner, or use the Arc system. It doesn't matter what you choose to do - there are so many others who have done the same thing that you are bound to find a tutorial!
Example of my ECLP in a Kikki K
The tabs on my ECLP in a Kikki K.
5. Colorful Pens: I love Papermate Flairs. They are colorful, but don't bleed through the page like some pens do. I also love the Infinity pens, as well. They are also great for the ECLP and don't bleed through the page.

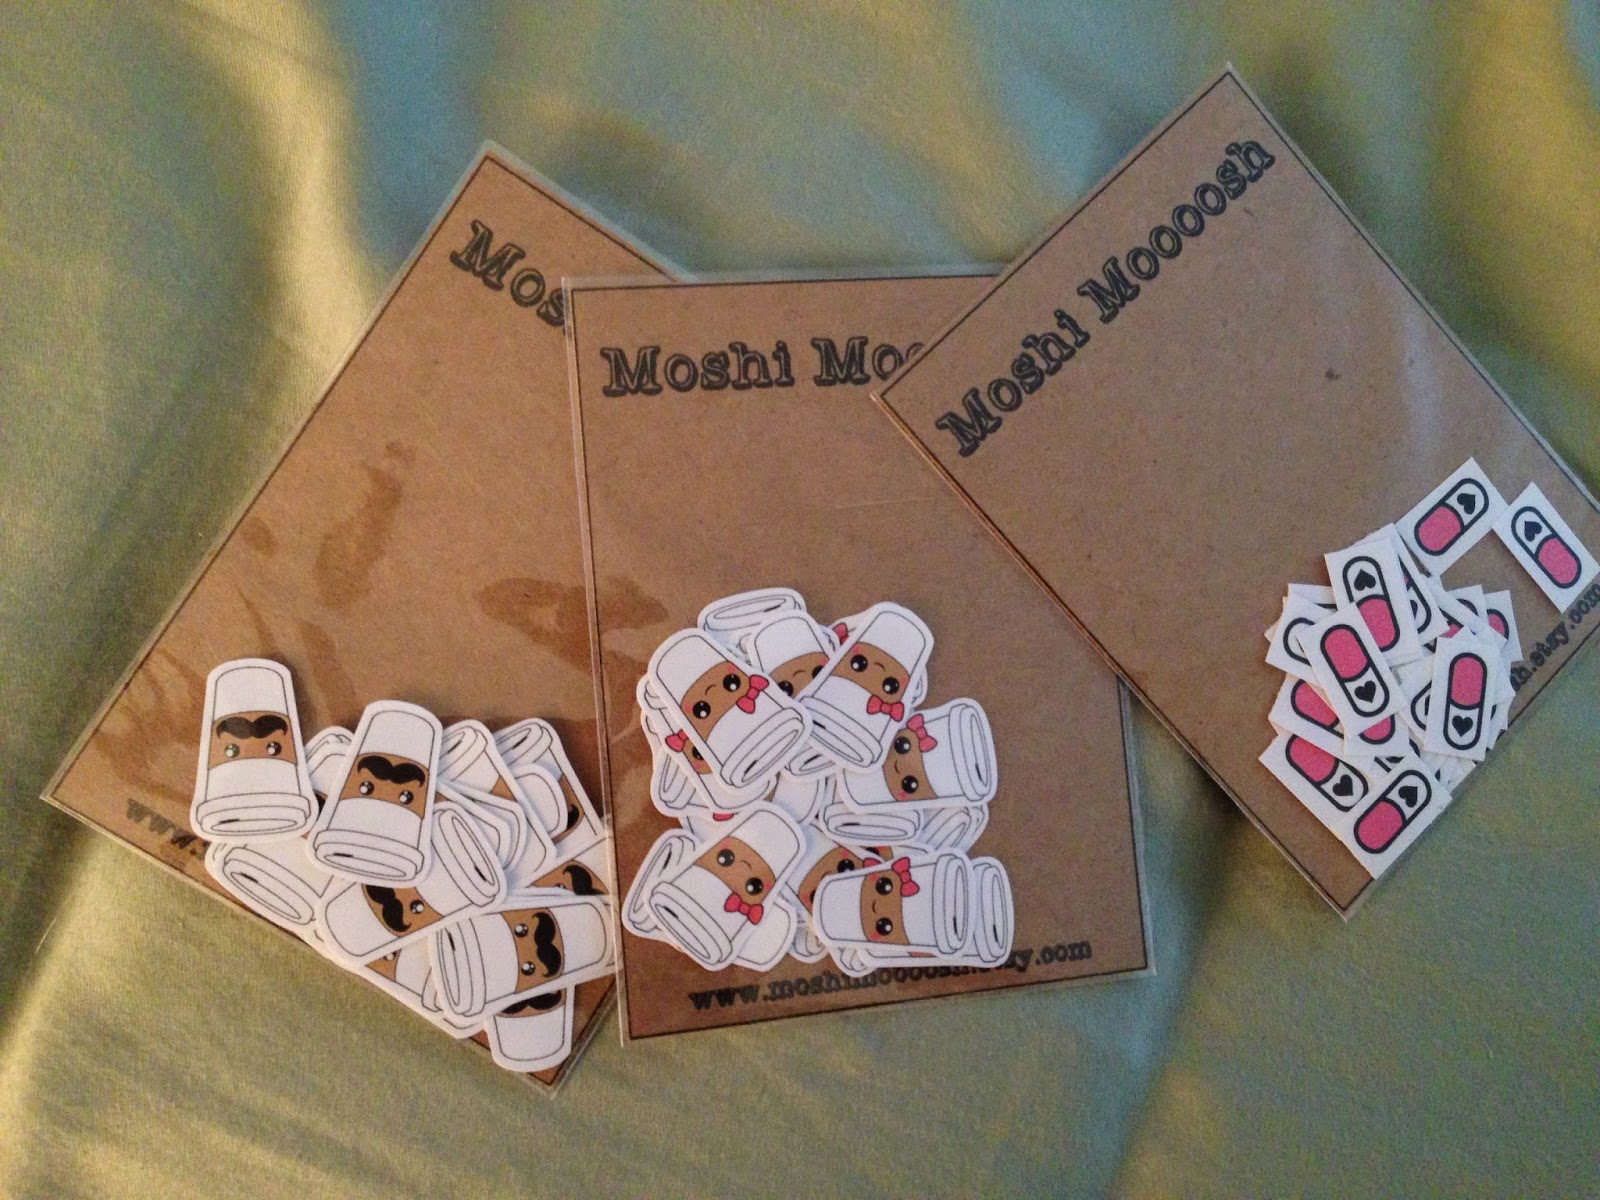
6. Decorative Stickers: Not so sure about washi tape? Check out the scrapbook stickers at your local craft store to add some flair! I would not recommend any stickers that are 3D, but some adorable seasonal stickers, holiday stickers, even cutesy fruit (or whales or hearts or....you get it) can add some adorable pops of color and fun without taking up too much room! My sweet friend Marci has a store with some adorable stickers to mark trash day, coffee time, and she'll even do custom orders. Check out her store! Or I love the stickers you can find in Moshi Moooosh.  Want some little miniature stickers? Check out KawaiiStickers4You on etsy.
My recent purchase from Moshi Moooosh.
Dollar Stickers from Mrs. Grossman's website!
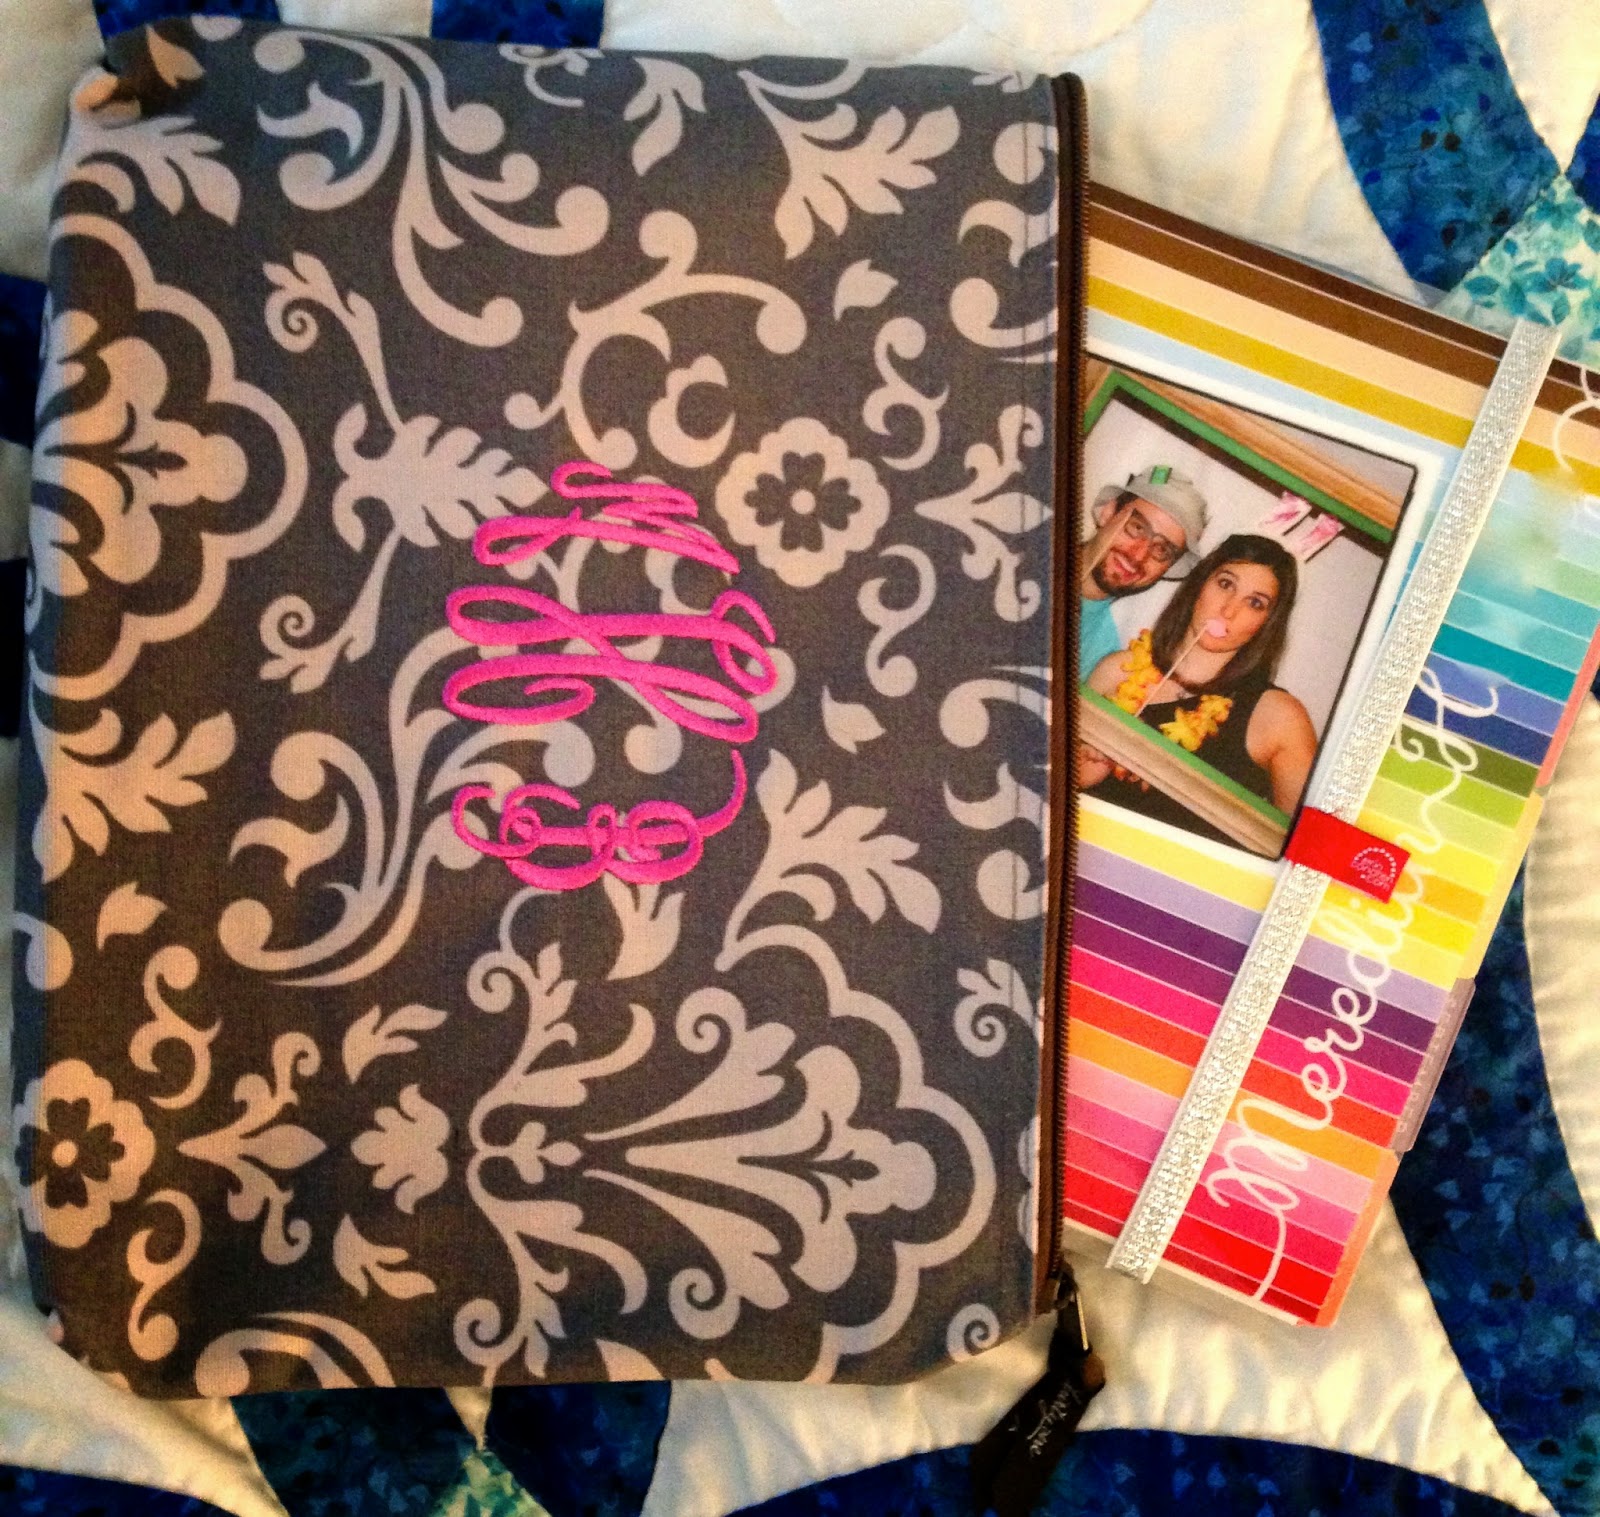
7. Cases: For some of you, slapping one of EC's adorable "Keep It Together" bands is perfect! For me, I get annoyed when the coils get caught in something else in my purse or work bag. Enter ThirtyOne product "Zipper Pouch" (No kidding - it's called that. Easy, huh?!). I love it. It's big enough to fit my ECLP and pens in! Maybe you just convert your planner to a Kikki K or Filofax and that's enough? Either way, it's totally your personal preference.
My ThirtyOne Zipper Pouch and ECLP.
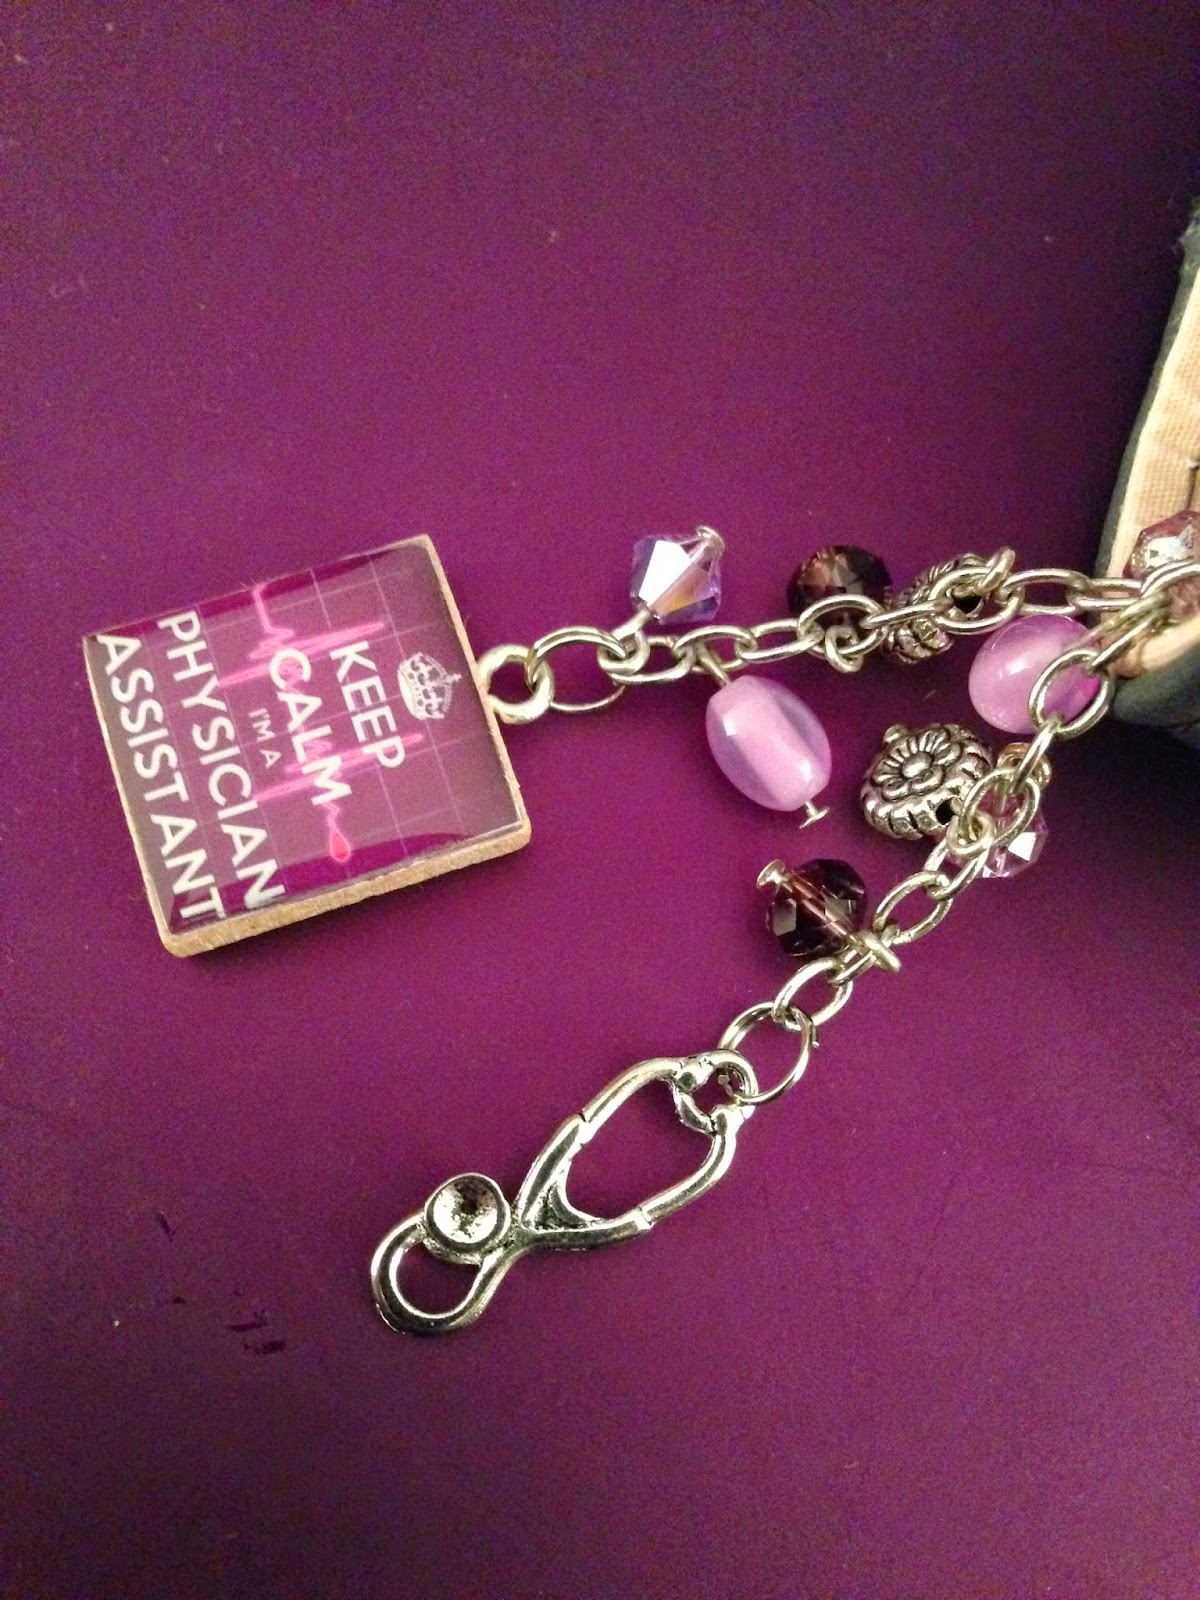
8. Planner Charms: Add some adorable flare and flaunt your favorite activity with a planner charm! Check out CraftersRetreat on etsy! Shelly makes adorable custom charms, and she'll even make one specific to your requests! She's a doll to work with! :)
My adorable custom charm from CraftersRetreat.
9. Covers: Erin Condren now makes it so easy to change out your cover on your ECLP. She even sells covers separately for $10.95. What better way to update your planner than switching out the cover?!

Do you have ideas that weren't mentioned?! Comment below! I know there is plenty of creativity out there with these adorable ECLPs, so share the wealth! :)

Wednesday, July 2, 2014

A "Pinteresting" Life: Wine Bottle Night Light

I saw this amazing idea on Pinterest a while ago and immediately pinned it to my board. I have kept it in the back of my mind because I hadn't found a bottle that I thought was "interesting" enough to use until recently. Backstory: I was wandering the wine section at Sam's and found this incredibly different, HUGE, blue wine bottle. Now, they had a smaller option, yes. BUT we were having company for dinner (and we know about their love of wine), so we thought we could stock up by purchasing just this one bottle (and I could totally use it for a craft later).  Once it had been annihilated... ahem, I mean, emptied...I had a "lightbulb" moment. Why not use this incredibly different, fairly unique, wine bottle as my "night light" for the downstairs in the hallway between the living room and the kitchen (And next to my liquor cabinet!)?!

What You Will Need (And Where to Find It):
1. A fun, interesting bottle! I recommend either some Kraken Rum or Falkenburg Wine if you want something fun or funky. Kraken Rum can be found at most local package/liquor stores. We actually have one as decoration on a set of shelves in the living room. It has such a cool look to it. Falkenburg wine (the big bottle) can be found at Sam's. I love how tall the bottle is (so unusual!) and the blue color.  You see lots of green/brown/black/yellow bottles, but I've never seen blue! We haven't found it anywhere else other than Sam's Club.

2. A Glass/Tile Drill Bit: I found one at Home Depot. This was the only brand that we found that had glass/tile drill bits in the store. I picked a fairly large drill bit (1/2 Inch) so that I would have room to push the lights/light strand through the hole into the bottle. We purchased a Bosch 1/2" Glass/Tile drill bit from Home Depot. The reviews on it online aren't great, but for craft purposes it's awesome.

3. A Strand of Lights With Only ONE Plug: I finally found a strand of lights here. The strand of lights I bought was called "Craft Lights."  It's only 35 lights, BUT there's only one plug (rather than one on each end). That way, I can stuff the lights into the wine bottle without trying to figure out a way to get a plug inside the bottle.

4. A Drill: I would recommend if yours is battery operated that you charge it first. That way you won't have an "Uh-Oh" moment in the middle as your drill dies. Speaking from experience, yes....
Here is ours. Charging - after 30 minutes of drilling.
5. Safety Supplies: This means goggles, gloves, and a safe drilling space/area! You can use construction goggles, found at your local hardware store, lab goggles found at a local community college...I don't really care. I just want you to protect your eyes! Gloves (J refused to wear these. He stablized the bottle with his feet - no joke). We laid down a moving blanket from our "recent" move (5 months ago) on our hardwood floor. We spread it out so that it covered about a 3 foot x 3 foot space. When you drill, it starts to look like a fine sand or dust accumulating on the bottle and ground around it - that's fine shards of glass, so please take these precautions when you start to drill!
Those white splotches you see?! That is the glass shard dust
that you will produce! Impressive, huh?!
Proof that J doesn't follow directions ;)
6. A Handy Man (Optional): I had J help me. I am totally fine using tools for a less fine-motor-skill activity, but drilling through glass requires more fine motor activities. However, I am fairly clumsy and I would like to keep my fingers intact! J was sweet enough to  agree to help me. But if you are comfortable with your drill-wielding skills, I bow to you girl! Go get 'em!
J - not following any of my directions...at least
he's using his hand to stabilize in this picture!
How to Make It:
1. Set Up: Once you have all of your supplies (it took me several days to accumulate mine!), and some muscle, set up your "construction zone." I would recommend that you do this away from kids and pets. One blog I read recommended duct tape in the area you are going to drill. This will provide traction for the drill bit so it doesn't walk all over the glass and it will help reinforce the glass. We decided to leave the labels on (as we felt it was part of the bottle's charm), so we did not to place duct tape where we were going to drill. Don your gloves and safety goggles!

2. Go To Work: Set your drill bit in your *CHARGED* drill. Now, here's the tricky part: start drilling. I read on another blog while researching the best way to do this that you need to have the mindset that you are etching a hole into the bottle, rather than drilling a hole. You need to have a firm grip on the bottle and the drill, but DO NOT bear down hard with the drill. It took us a total drill time of one hour to have a complete 1/2" hole through the entire thickness of the bottle. If your press down with the drill bit too hard, the bottle will shatter. Take your time, and take breaks if you need to! Slow and steady makes the most perfect bottle night light ever! This is where patience truly is a virtue!
After 15 minutes of drilling.
After a half-hour of drilling...Just after J's drill died.
3. Clean Up: The bottle will need to be dusted off (hopefully, into a trash can!). We dusted the bottle off onto the blanket we drilled on, and then threw the blanket away. No need to re-use a glass-shard infested blanket for anything else. I would highly recommend that you leave your gloves ON for this (as well as your eye-protection gear). Rinse the inside of the bottle as well. Point that little hole you drilled away from you. Yes, again...speaking from experience.

4. Test It Out: Plug those lights in and make sure you didn't get a faulty strand or a burned out light. I know that I personally would hate to find out the lights didn't work after I had stuffed them into the bottle!! Better to find out sooner rather than later if they don't work.

5. Stuff It: No, really. Stuff those lights in, sister! This is a fairly slow, tedious process as I am OCD and a perfectionist. However, it's nevertheless worth wriggling the lights around to make such a beautiful final product! I would recommend leaving the lights plugged in as you stuff to make sure that you are spreading the lights around the bottle adequately!

6. Enjoy It: It's that simple! You've worked hard to make such a beautiful product! Put it in a highly visible spot and enjoy! :)

Sunday, June 29, 2014

What's In Your Bag?, Episode 3

Kerri is a very sweet Mommy of three that I met in a Facebook group for planner addicts, such as myself. She sells Origami Owl, which is an adorable way to express yourself with jewelry without a huge price tag! I received one from my mother-in-law for Christmas, and I wear it tons! Check out her site! :) Kerri's husband works long hours, as he is in his LAST year of residency! There's no better person to show off how to stay organized on the go than Kerri! I hope you enjoy, and a very special thanks to Kerri for sharing how she keeps it all together! 

1. The bag: my amazing leather Whipping Post tote. This bag holds everything I need for 3 kids, planner items, and wallet (I have 2 in diapers!).


2. What's in my bag: 
- My Erin Condren
- Louis Vuitton Cluth (carry hair elastics, hand sanitizer and lip gloss)
- My Origami Owl yellow cosmetic pouch (Carries lotion and sunscreen)
- My hot pink Origami Owl business card holder
- Diapers, wipes, change of clothes for each kids
- Briber tools (M&Ms & stickers)
- My In A Pikle (A Mommy Must-Have!)
- Quick snacks squeeze pouches
- Sunglasses
- Sophie, the Teething Giraffe
- Lovie Blanket for my baby

3. I'm obsessed with my Orla Kiely (cosmetic organizer), and I use it to house all my planner goodies! Below shows the inside, which is filled with EC stickers, Post-Its (another must have on the go), pens, labels, and travel washi tape that I wrapped around business cards.

4. My gorgeous EC planner & Nate Berkus pouch (also pictured with the Orla Kiely). I use my planner to balance schedules and crazy family life with 3 babies: Bills, To-Dos, my Origami Owl business (mostly tax info). I love washi tape & stickers.


5. A closer look at the planner! (How sweet is this picture of her 3 kiddos?!)

6. A Monthly View of My EC Planner. I finally came up with a monthly view I enjoy! Just a touch of washi, my husband's schedule, birthdays, and small dot stickers mark when a bill is due. 


Thank you Kerri for taking some time to share how you keep it all together on-the-go! :)

Wednesday, June 25, 2014

A "Pinteresting" Life: Making Space

T's room in its most recent state is an atrosity, monstrosity, eye-sore...you get it. I am almost embarrassed to even post a picture, but I feel a before and after is a must in this case.  I cringe every time I walk by. It's disorganized, constantly cluttered, and there's very little floor room for him to play in, which means my living room floor is constantly cluttered with matchbox cars and legos (which do NOT feel good when stepped on).


Cue Pinterest. I found an adorable picture on Pinterest not too long ago and got inspired. As you can see from T's before picture he has the staples to making this set up work, particularly the bed (kind of a staple) and the cube shelves. Now, I know the title of the blog this photo was taken from was "Decorating Ideas for a 3-year-old Girl's Room," BUT I am only using it for layout inspiration. And this layout is kind of the bomb.
My Inspiration: http://www.tinyoranges.com/2012/11
/07/decorating-ideas-for-a-3-year-old-girls-room/
So I started by decluttering the room. Literally, I emptied out all the toys into the very tiny space that is our upstairs hallway. I would highly recommend warning your spouse if you do this. I didn't think to mention anything to J, and he about killed himself trying to navigate the mess that was me tossing toys into the hall. Whoops. Once that was done, I moved the biggest piece of furniture first. In this case, that was the bed...and I totally should've asked for some help. And maybe made the bed up first (minus the pillows). With some struggling, I got the bed into the corner of the room and made back up.  I then moved the tiny bedside table out of the way and replaced it with the 3x2 cube shelves.

Once I got the spacing like I wanted it, I put the table lamp onto the shelves to get it out of the hallway and out of the way! I then shifted the 3x3 cube shelving unit so that it was centered under the "You are my Sunshine" canvas. This has a particularly special meaning to us as it was the first song that J would sing to sing T to sleep. 

Once the shelves were set up, I sorted through the toys and formed 3 piles: organize, give away, throw away. Throw away toys were generally happy meal toys from various fast food restaurants that T never plays with. I then took the toys in the "Organize" pile and started to organize them into bins. The toys that had smaller pieces were placed in a little Thirty-One bag to keep them from being lost in the organizing chaos. Matchbox cars were tossed into an old-school metal lunch box with T's name on it (Bought from Sarah + Abraham).

After getting the furniture situated like I wanted it, I was able to add in the toys and books that J and I agreed we would keep for T. After the toys were put away, we were able to lay down an adorable rug that was given to T by J's mom, which is a little town where T can drive all his cars around! Adorable! And plenty of room for little T to play with his "Basketball Arcade" now, too!

J and I are so happy with how little T's room turned out once it was re-arranged! There is plenty of room for him to play on his town rug or open up the tee-pee tent my mom made him for Christmas - without the need to clutter my living room floor with toys, tents, and rugs. I love how we didn't have to change out or buy new furniture to make plenty of room for T to play! It's so uplifting that we were able to make space (well, more space) for T without having to spend any money. Here's a quick comparison of the before and after set-up (Sorry some of the pictures are a little dark!).
Before (*Cringe!*) 
After (YAY!).